46 High Peaks: Algonquin & Iroquois 9.18.15

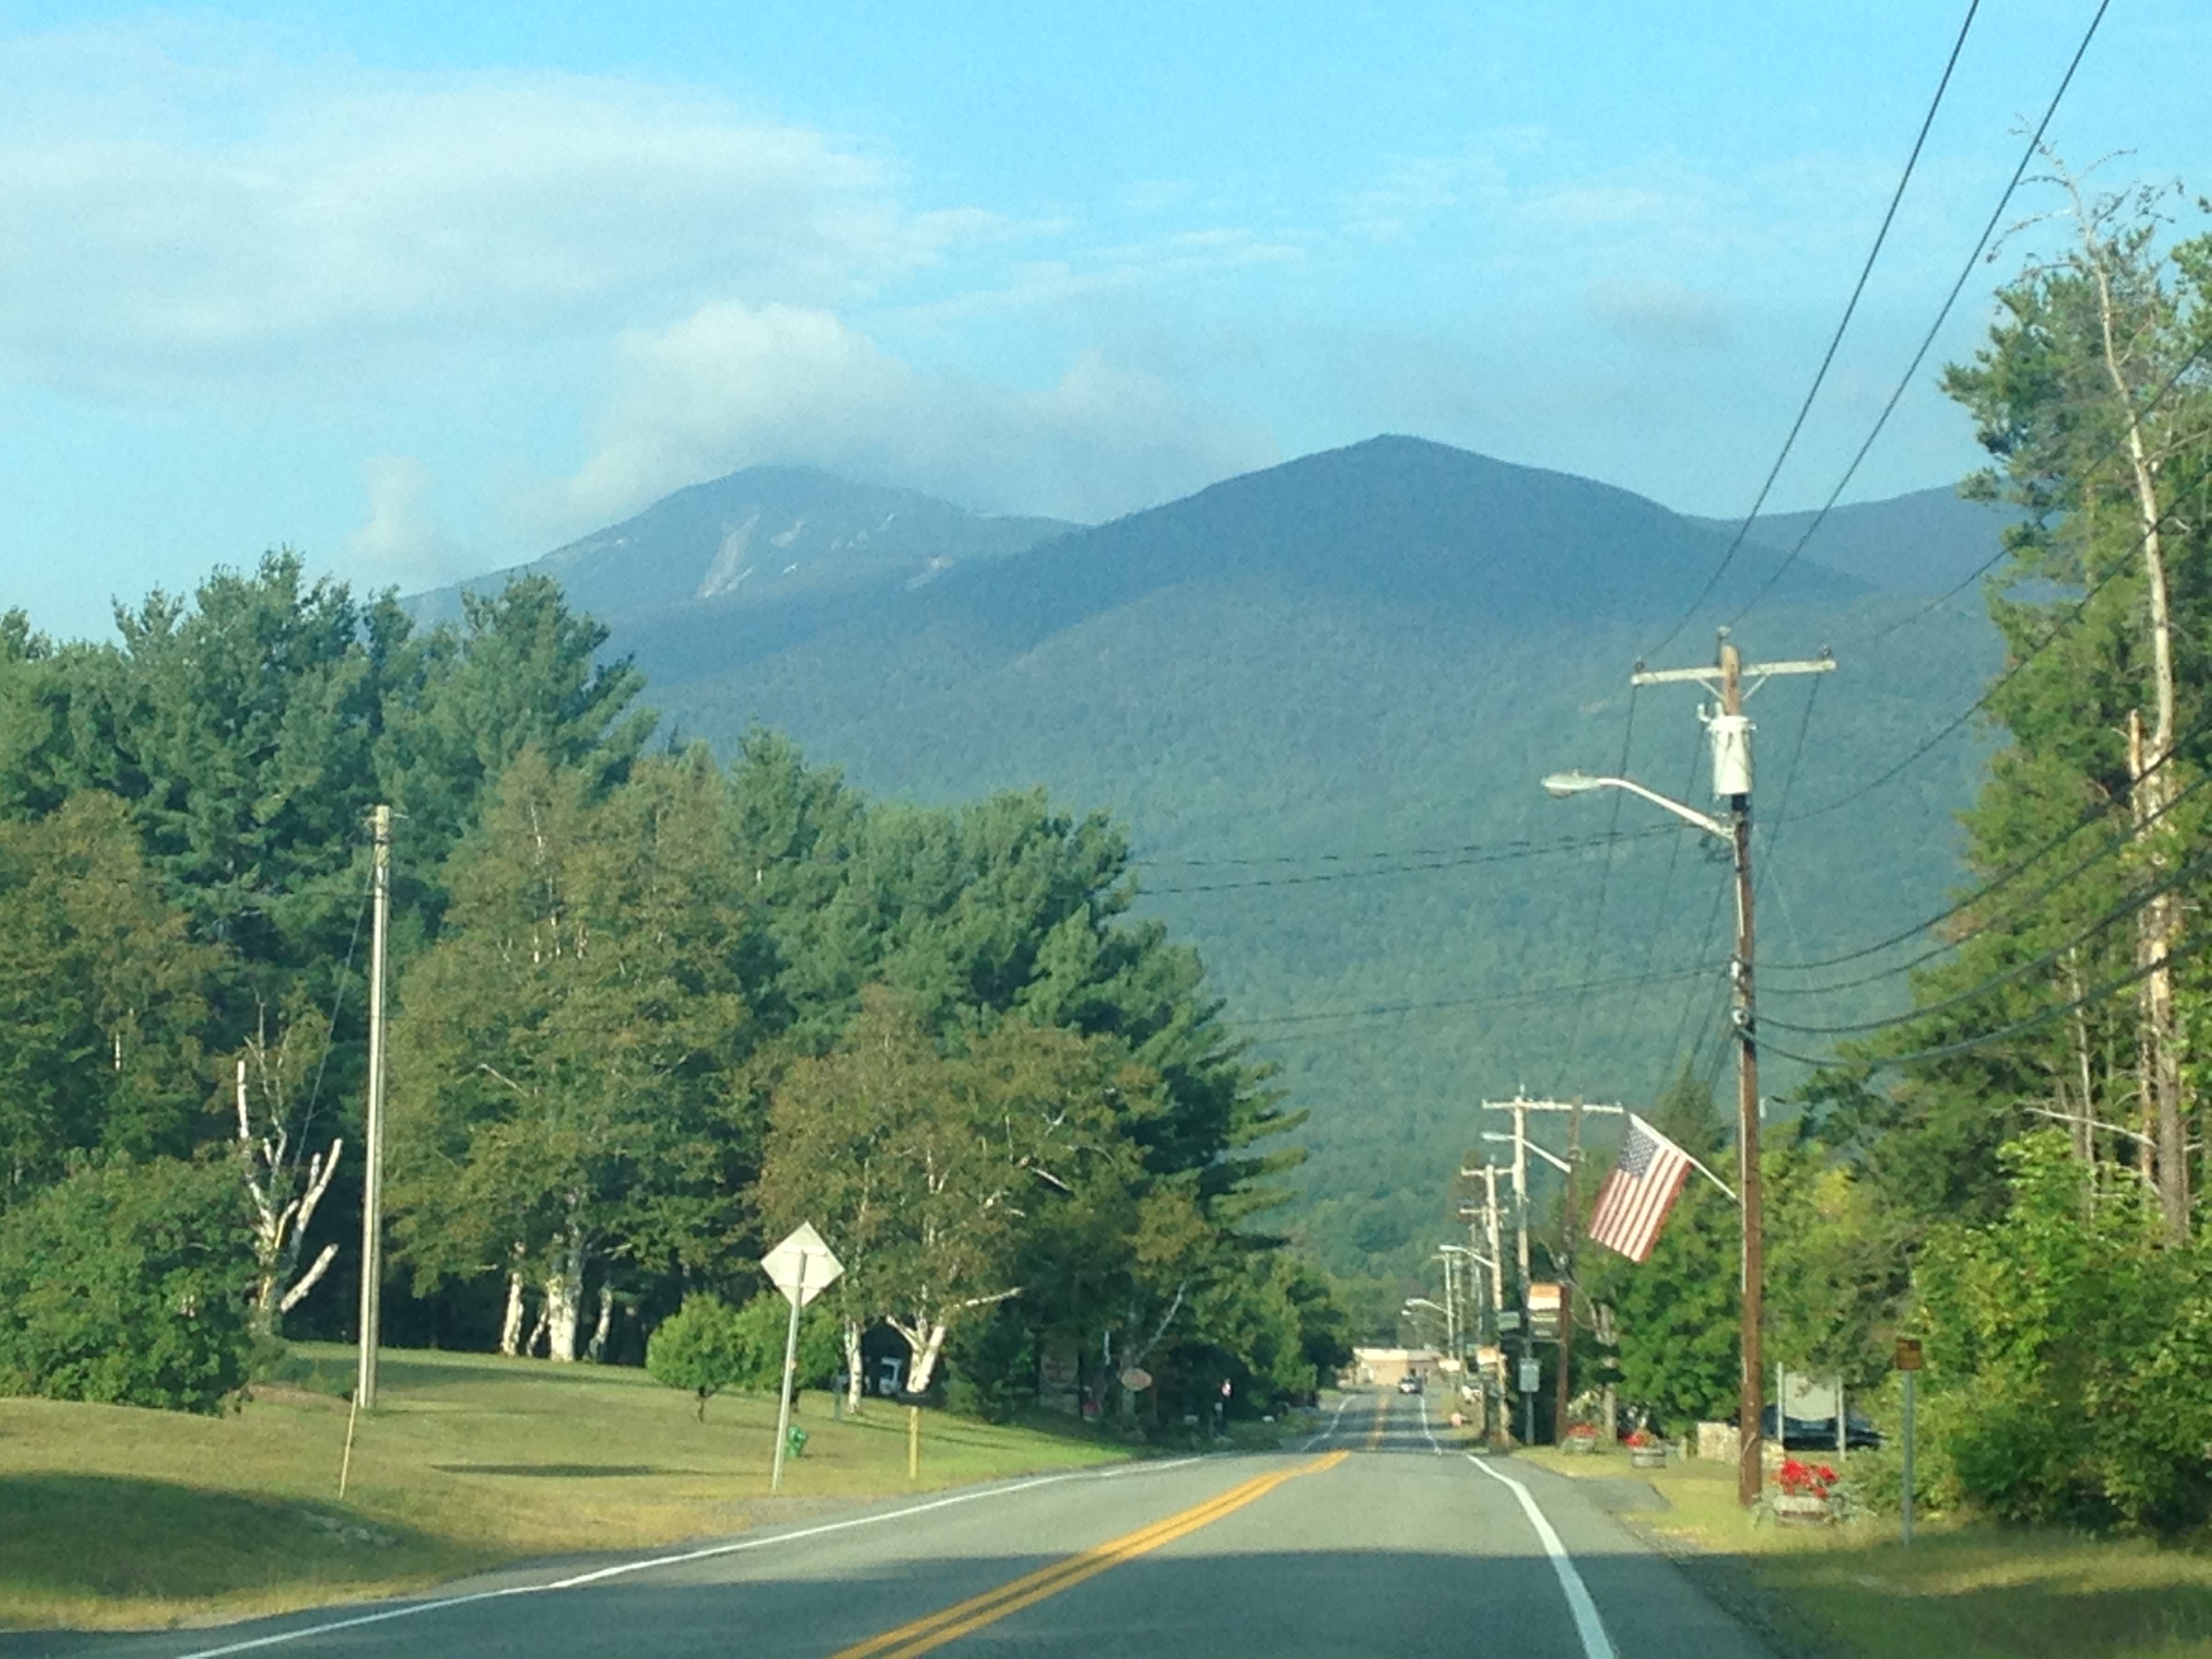
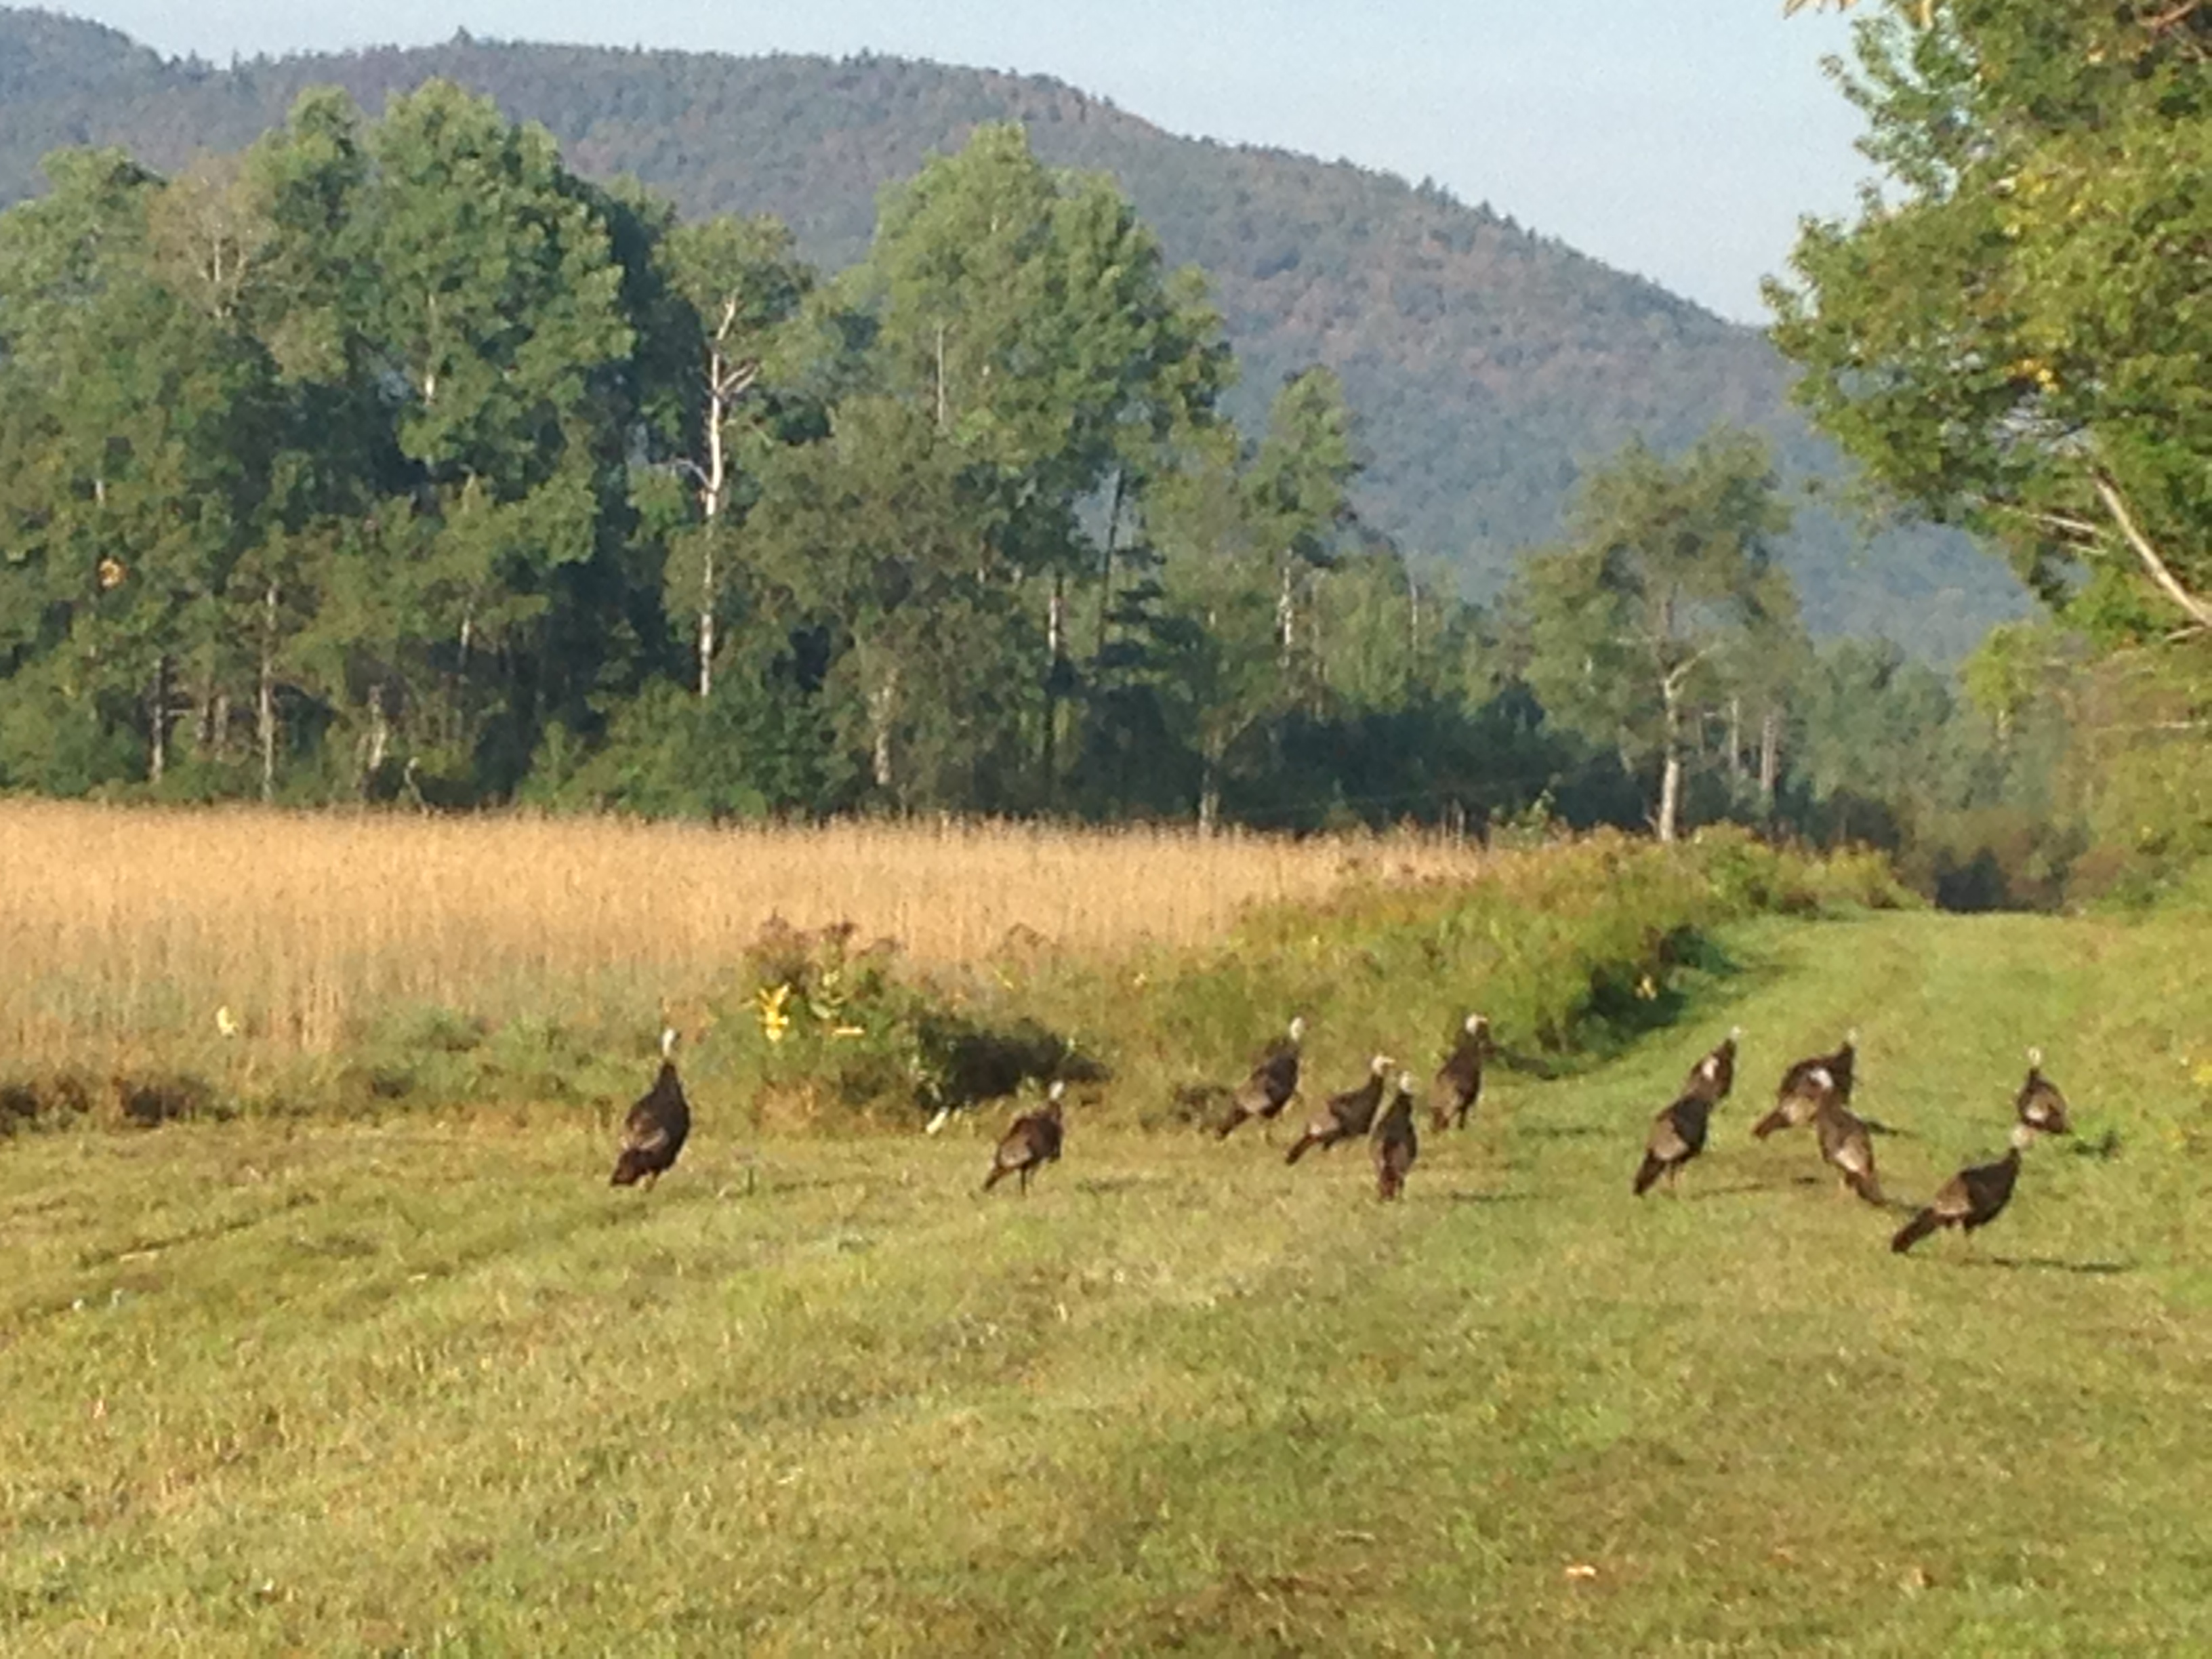
When I climbed Wright Peak a few weeks ago, I’d looked up at Algonquin in the distance and felt a little intimidated. It was tall. And I was already pretty tuckered out on its lower neighbor. But with a couple more climbs under my belt and a gorgeous, sunny day ahead, I decided to give Algonquin a try and go on to climb Iroquois, too, if I had time.  I met these turkeys along Adirondack Loj Road.

IMG_1762


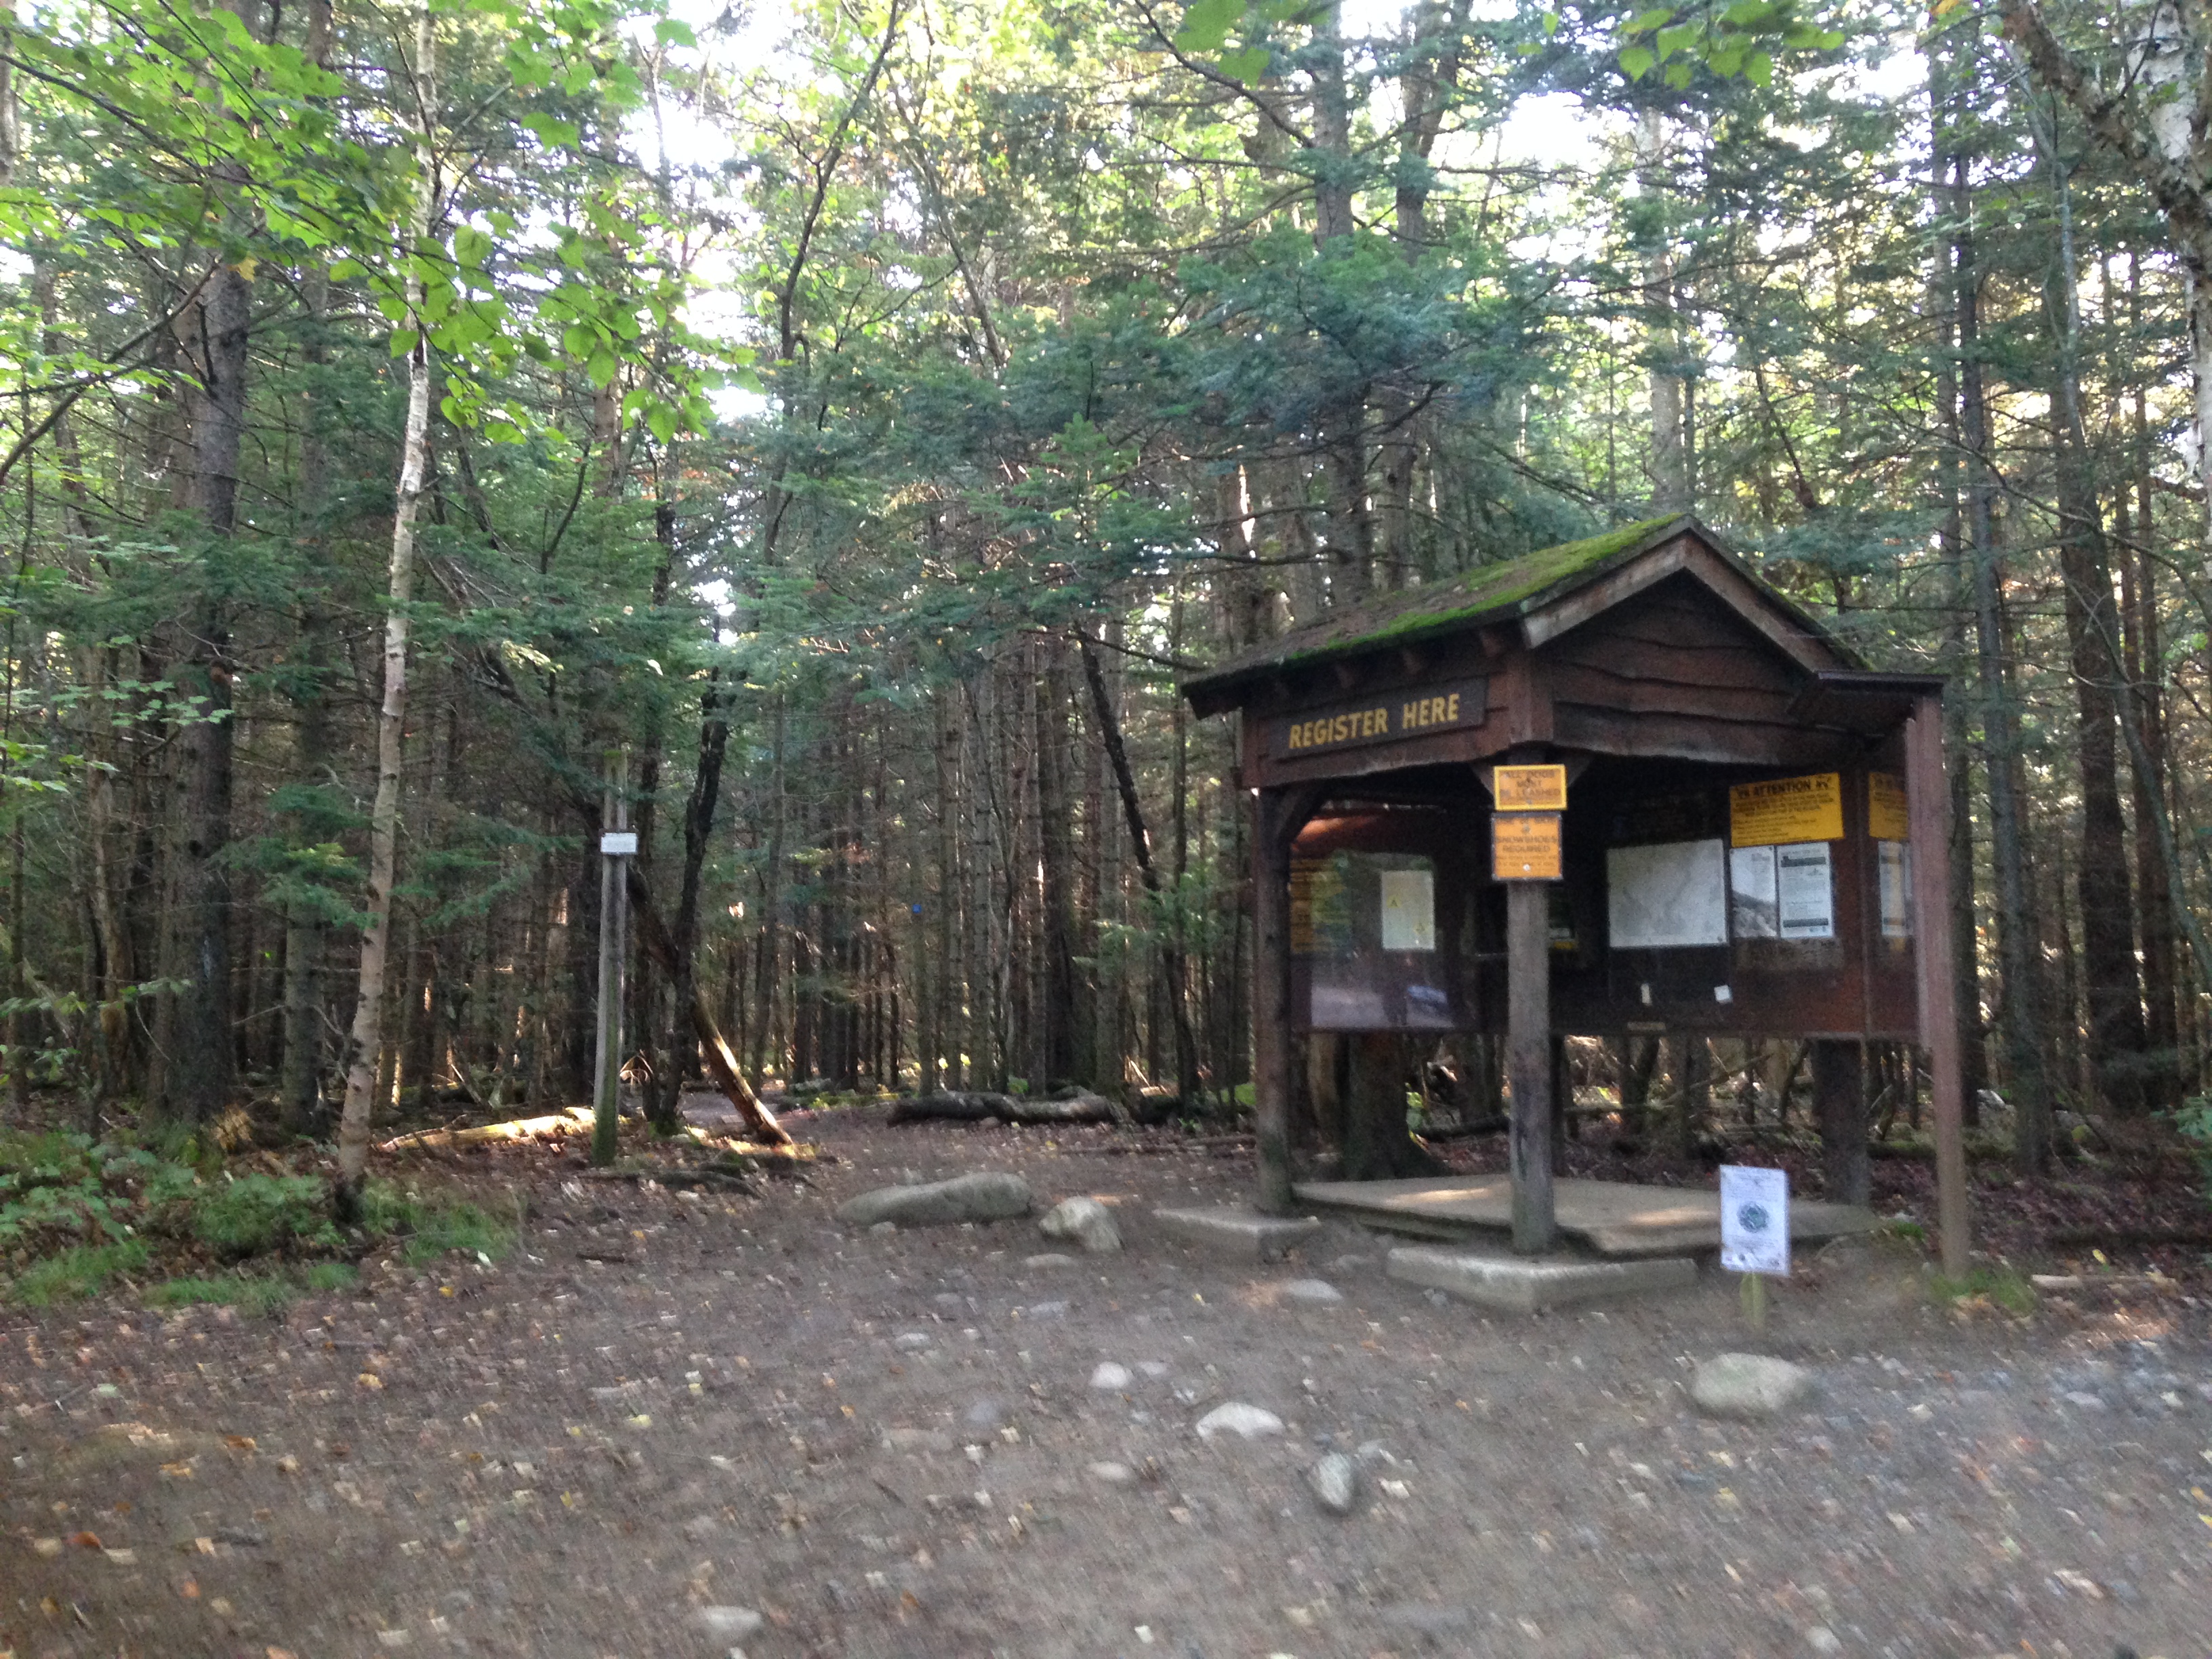
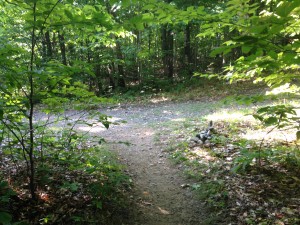
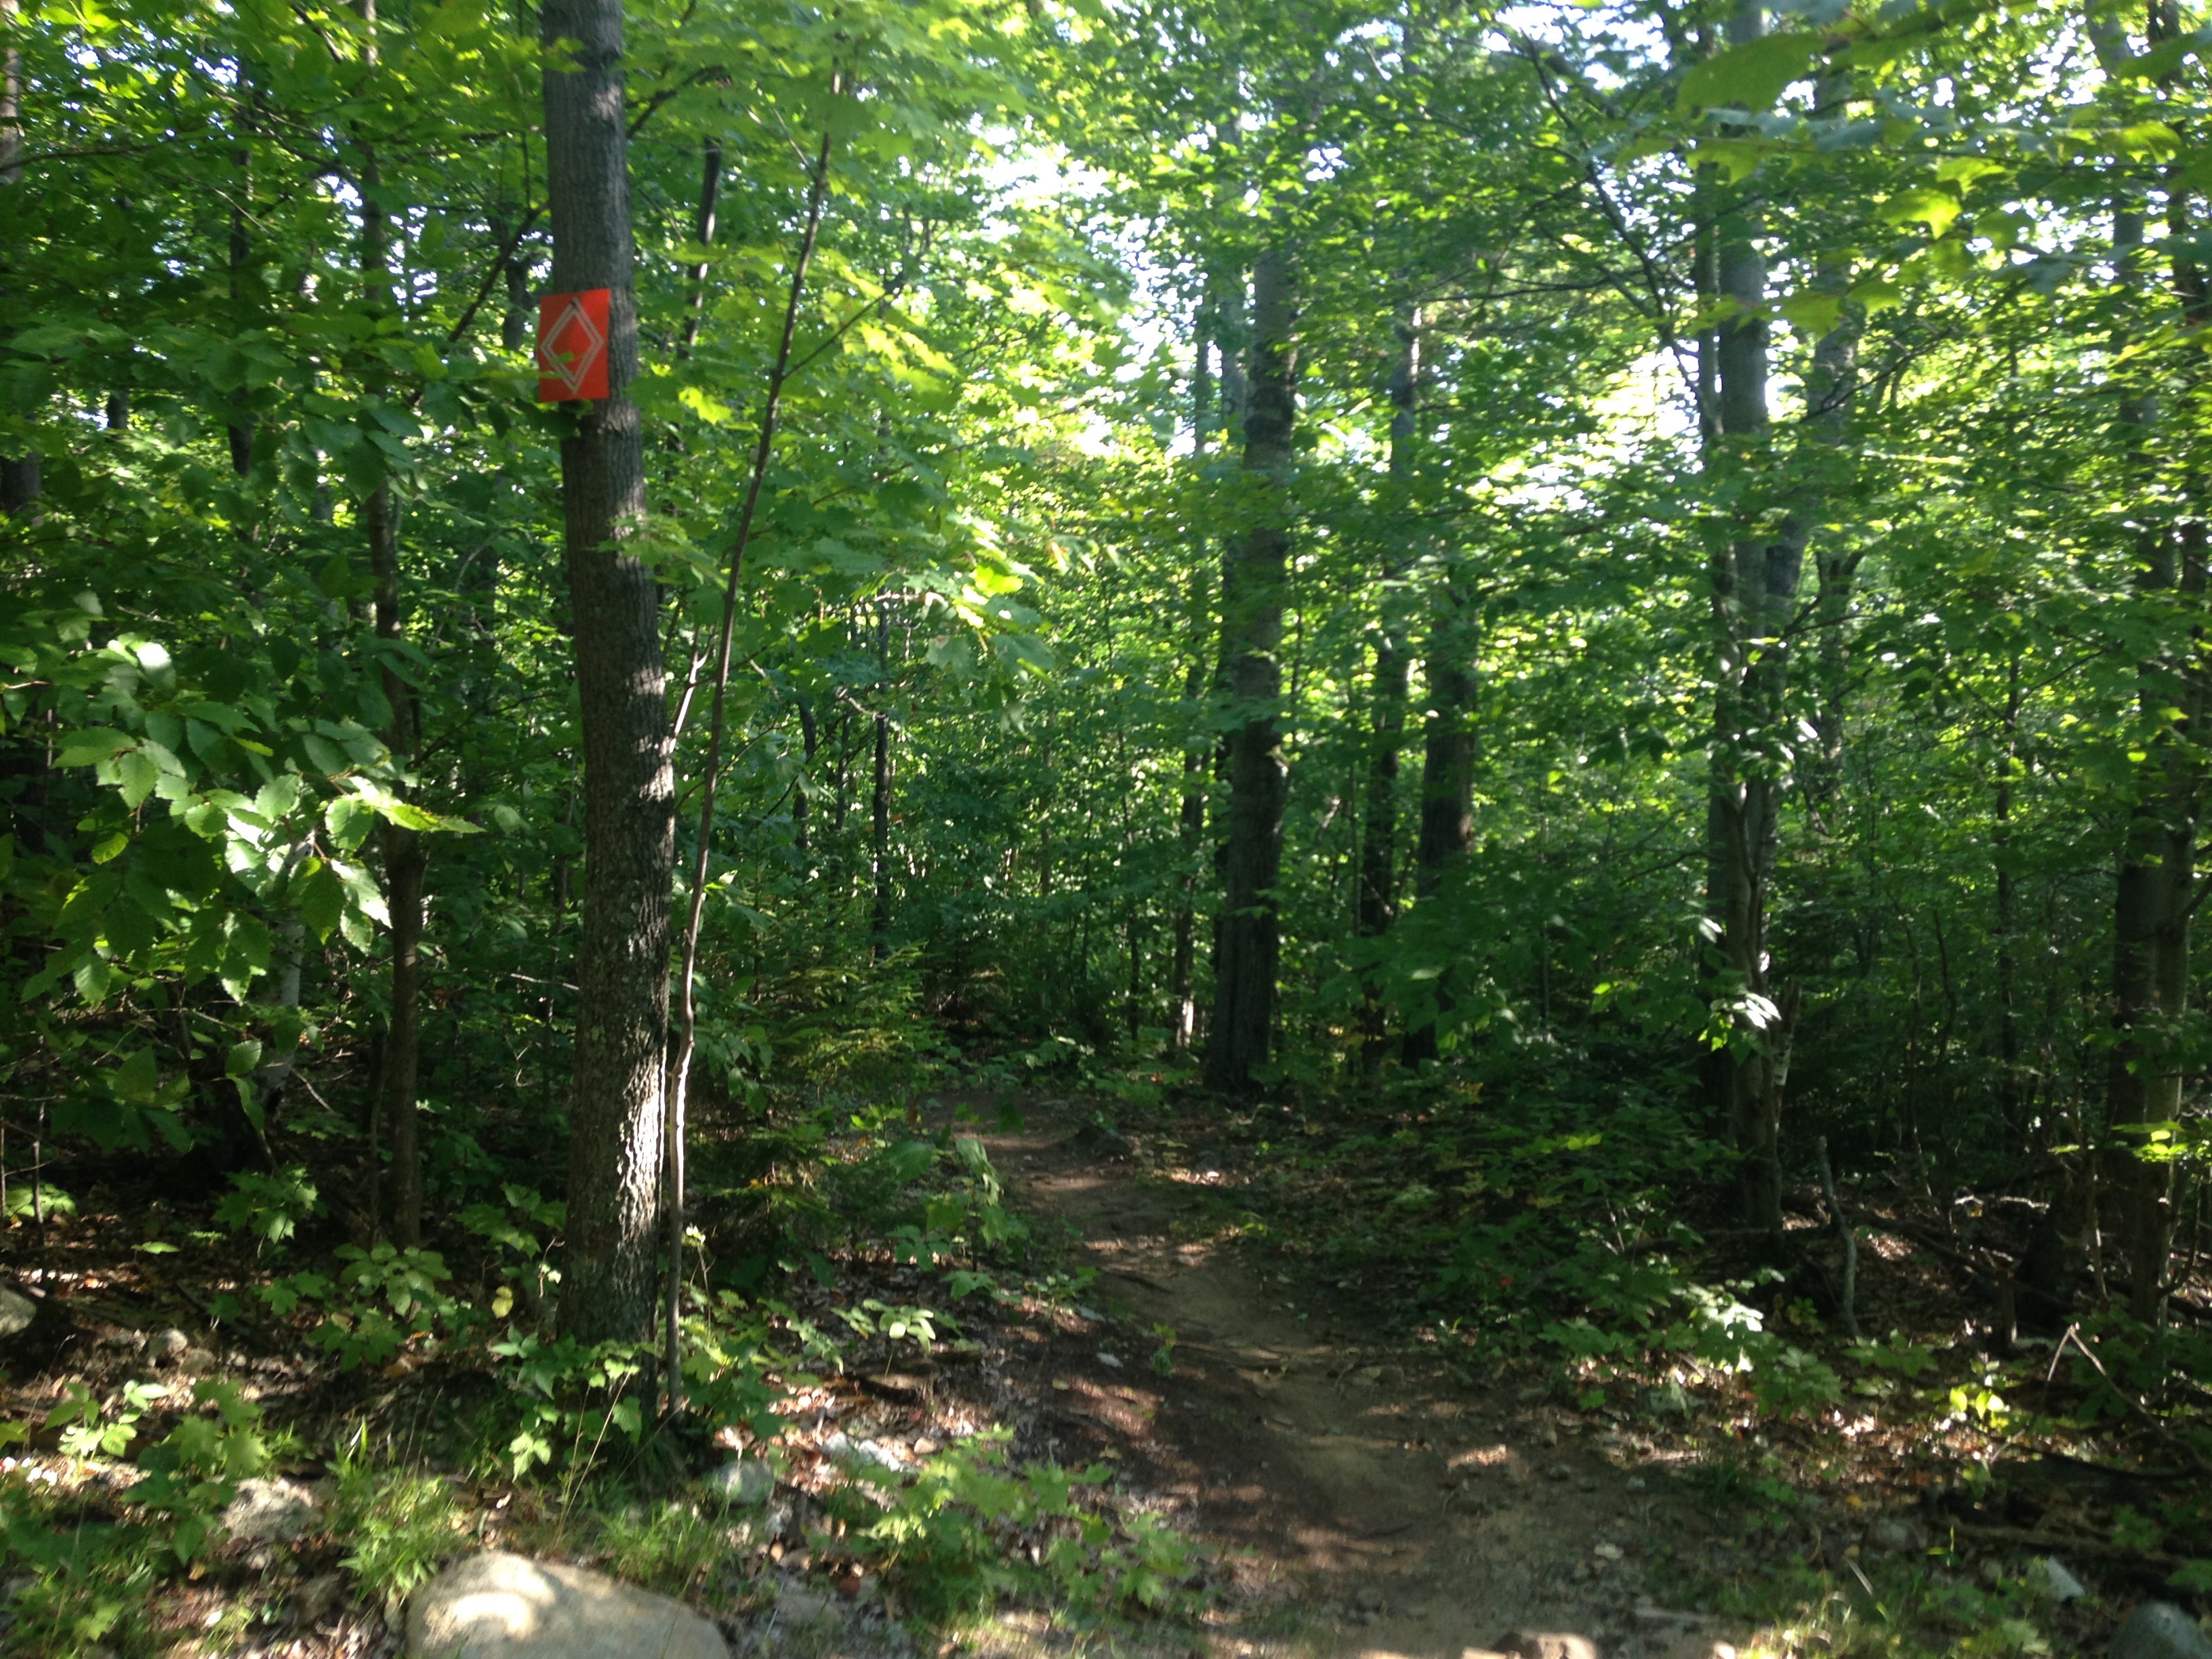
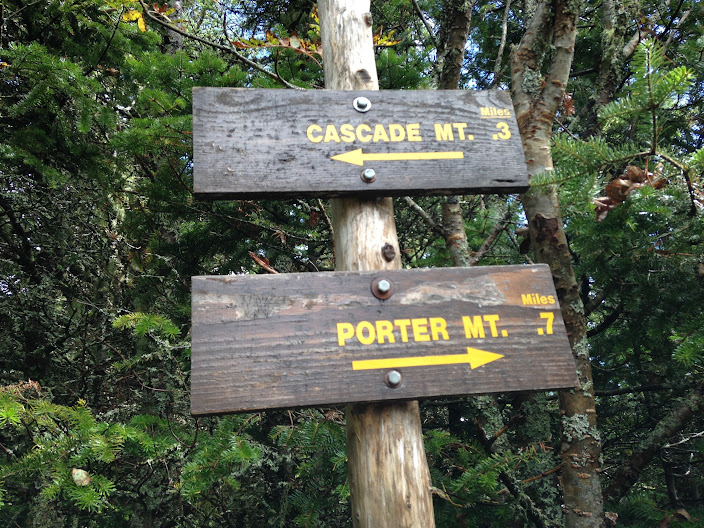
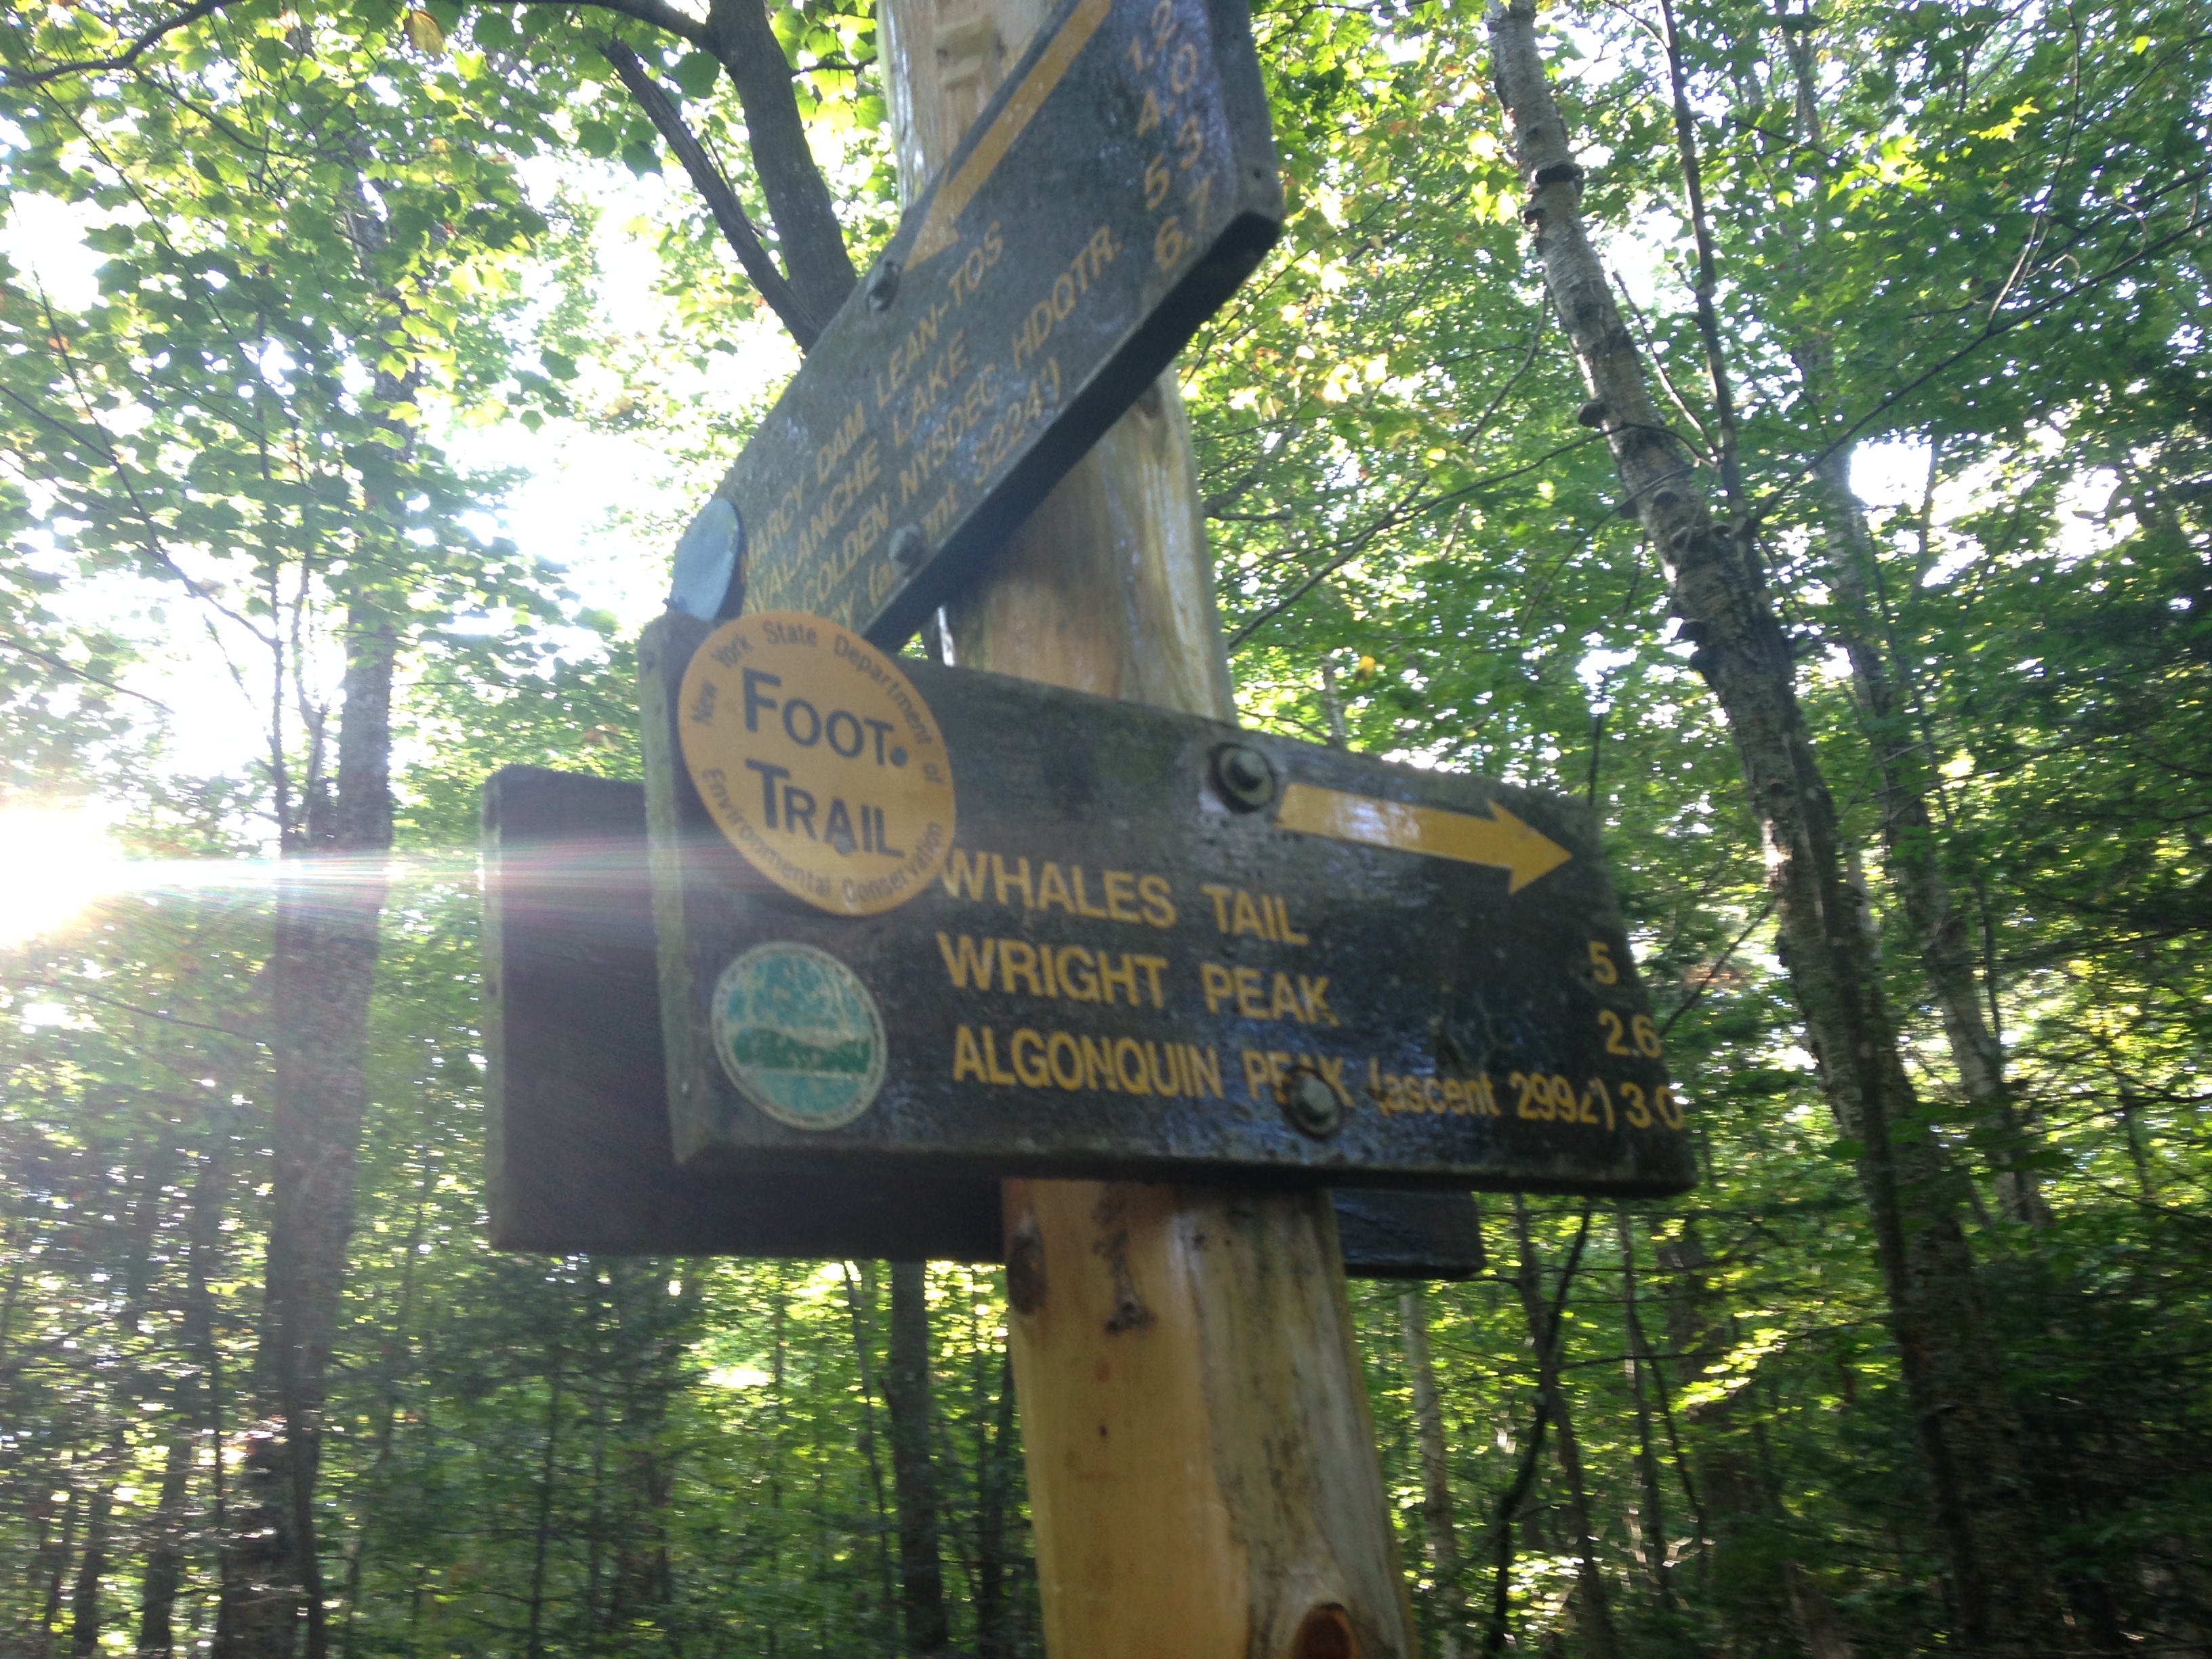
I parked at the Loj, signed the trail register, and started out at 8:40am. After almost a mile, the trail splits, with one branch going left toward Marcy Dam and the other turning right toward Wright Peak, Algonquin, and Iroquois. If you climb this way, you’ll be following the orange trail markers from this point.

IMG_1768

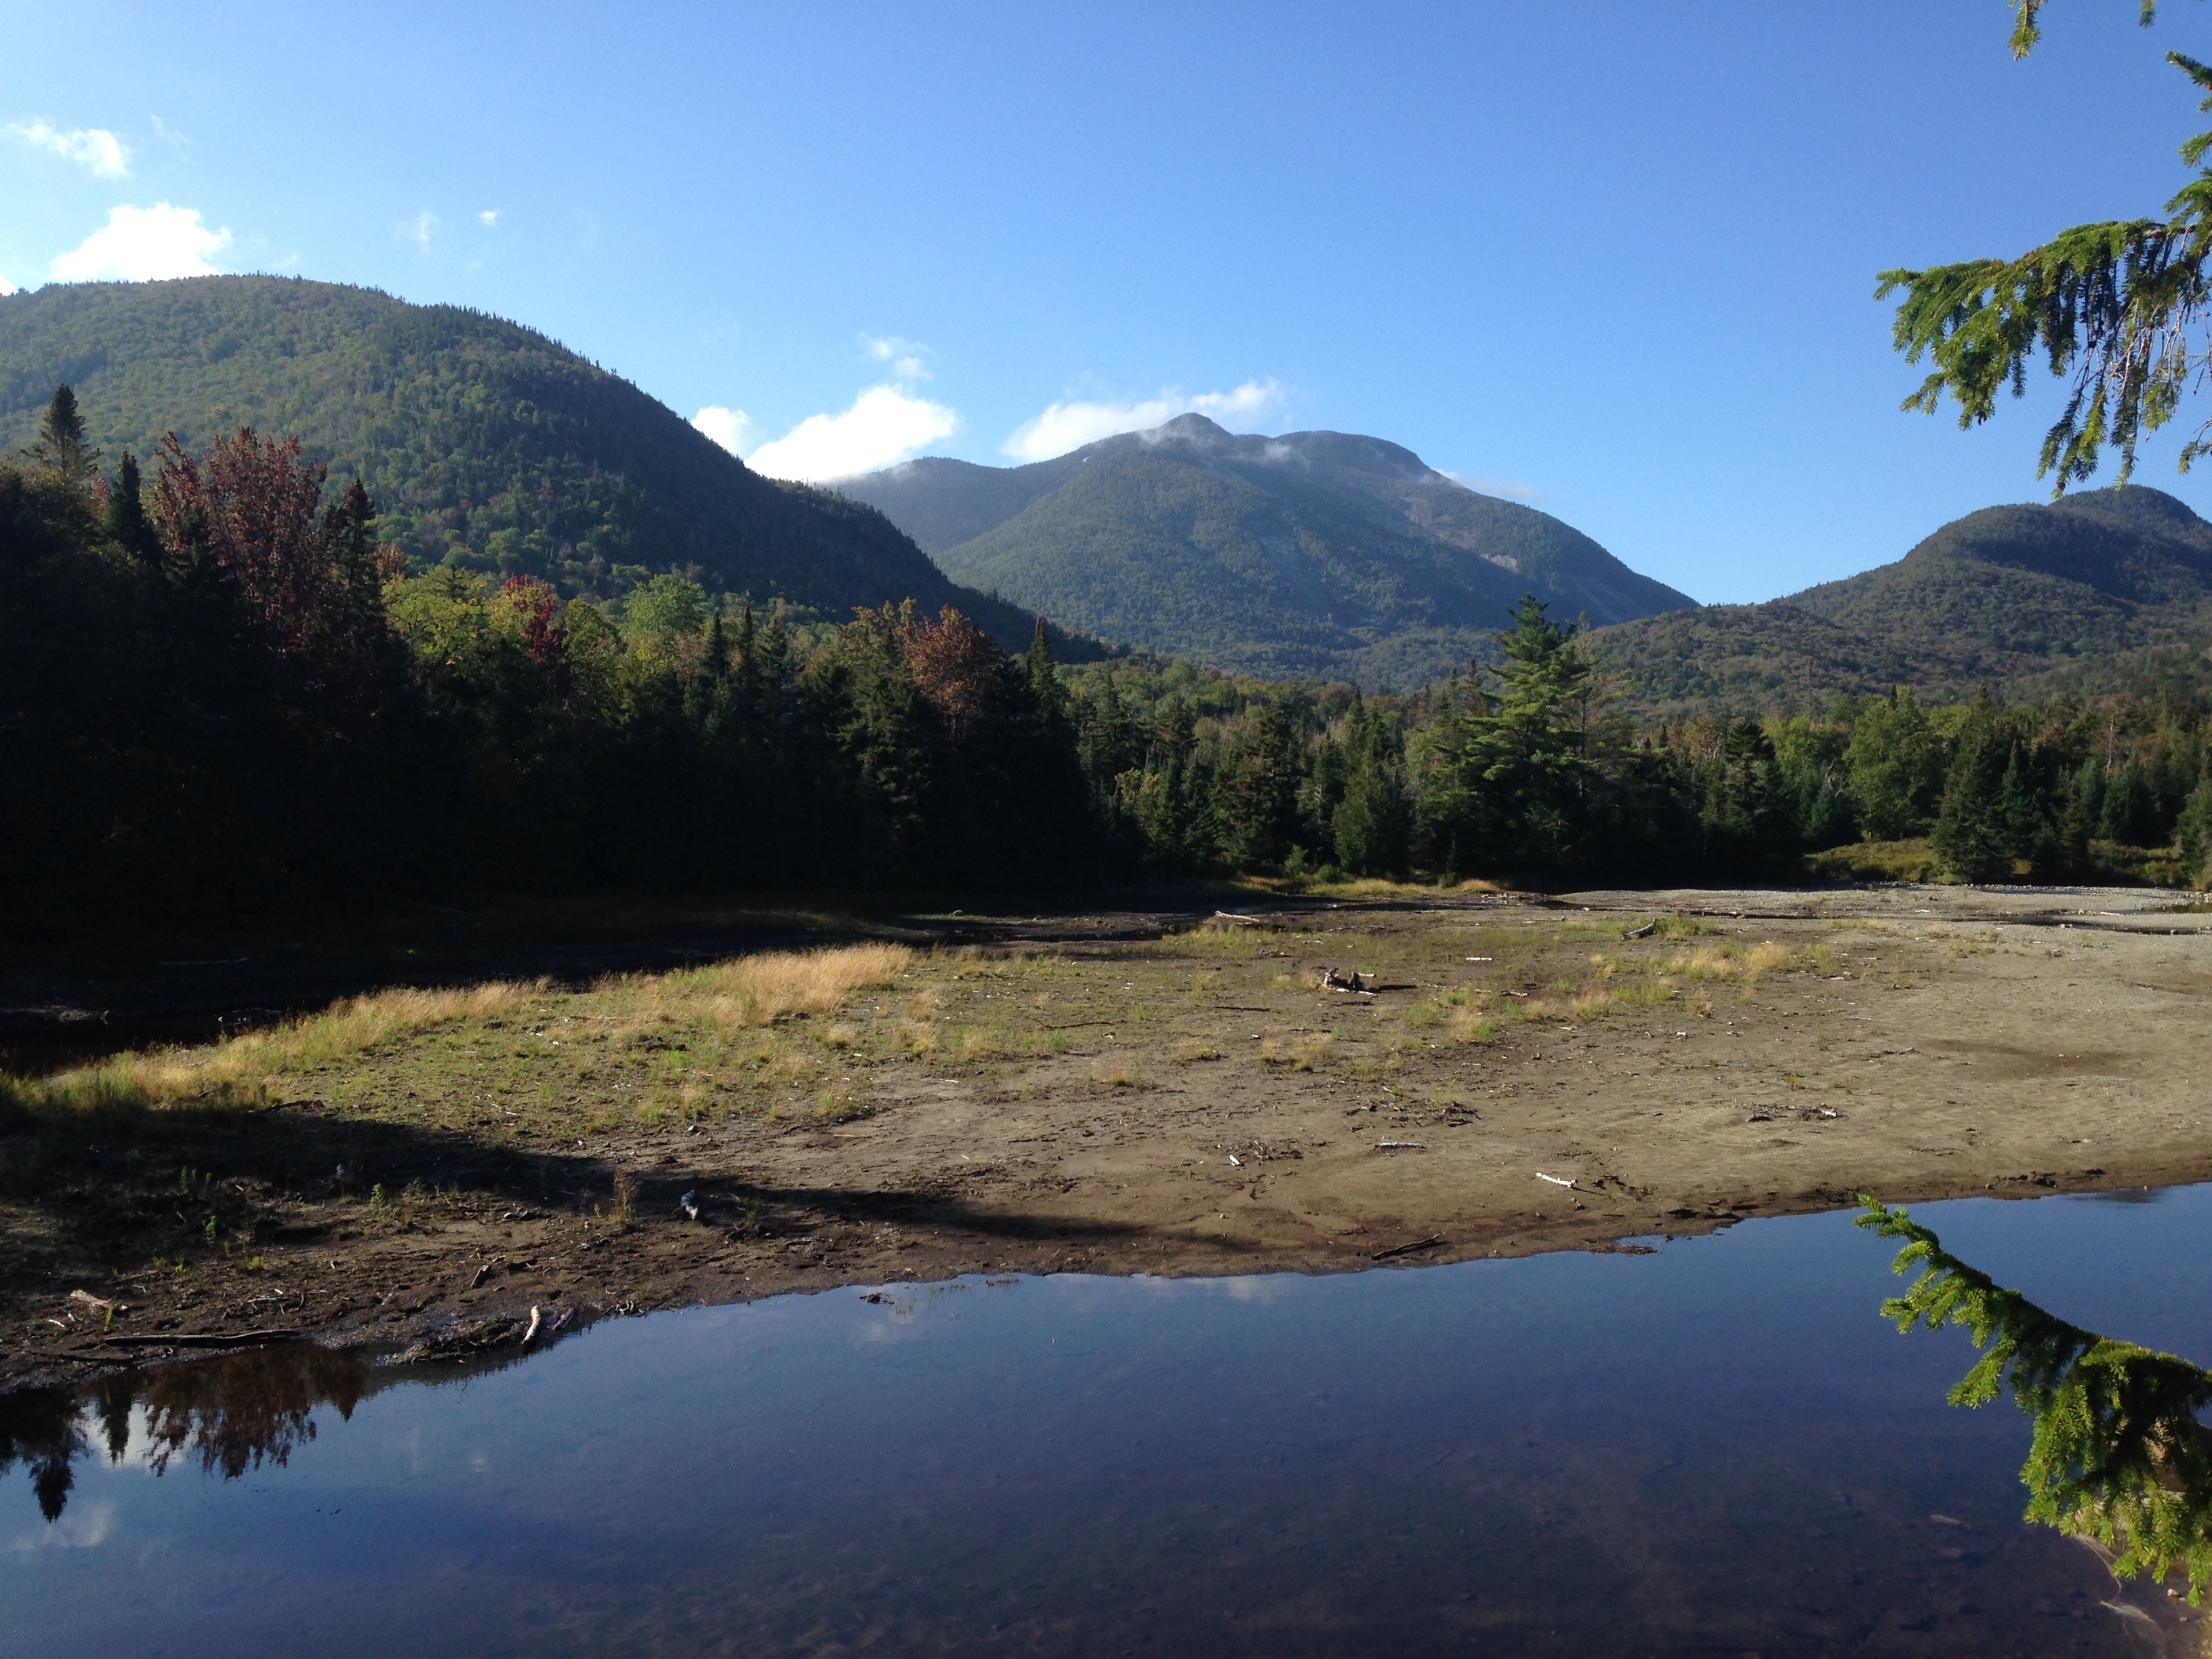
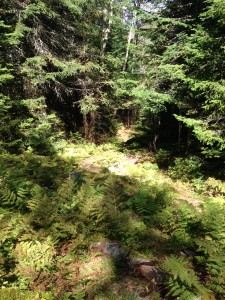
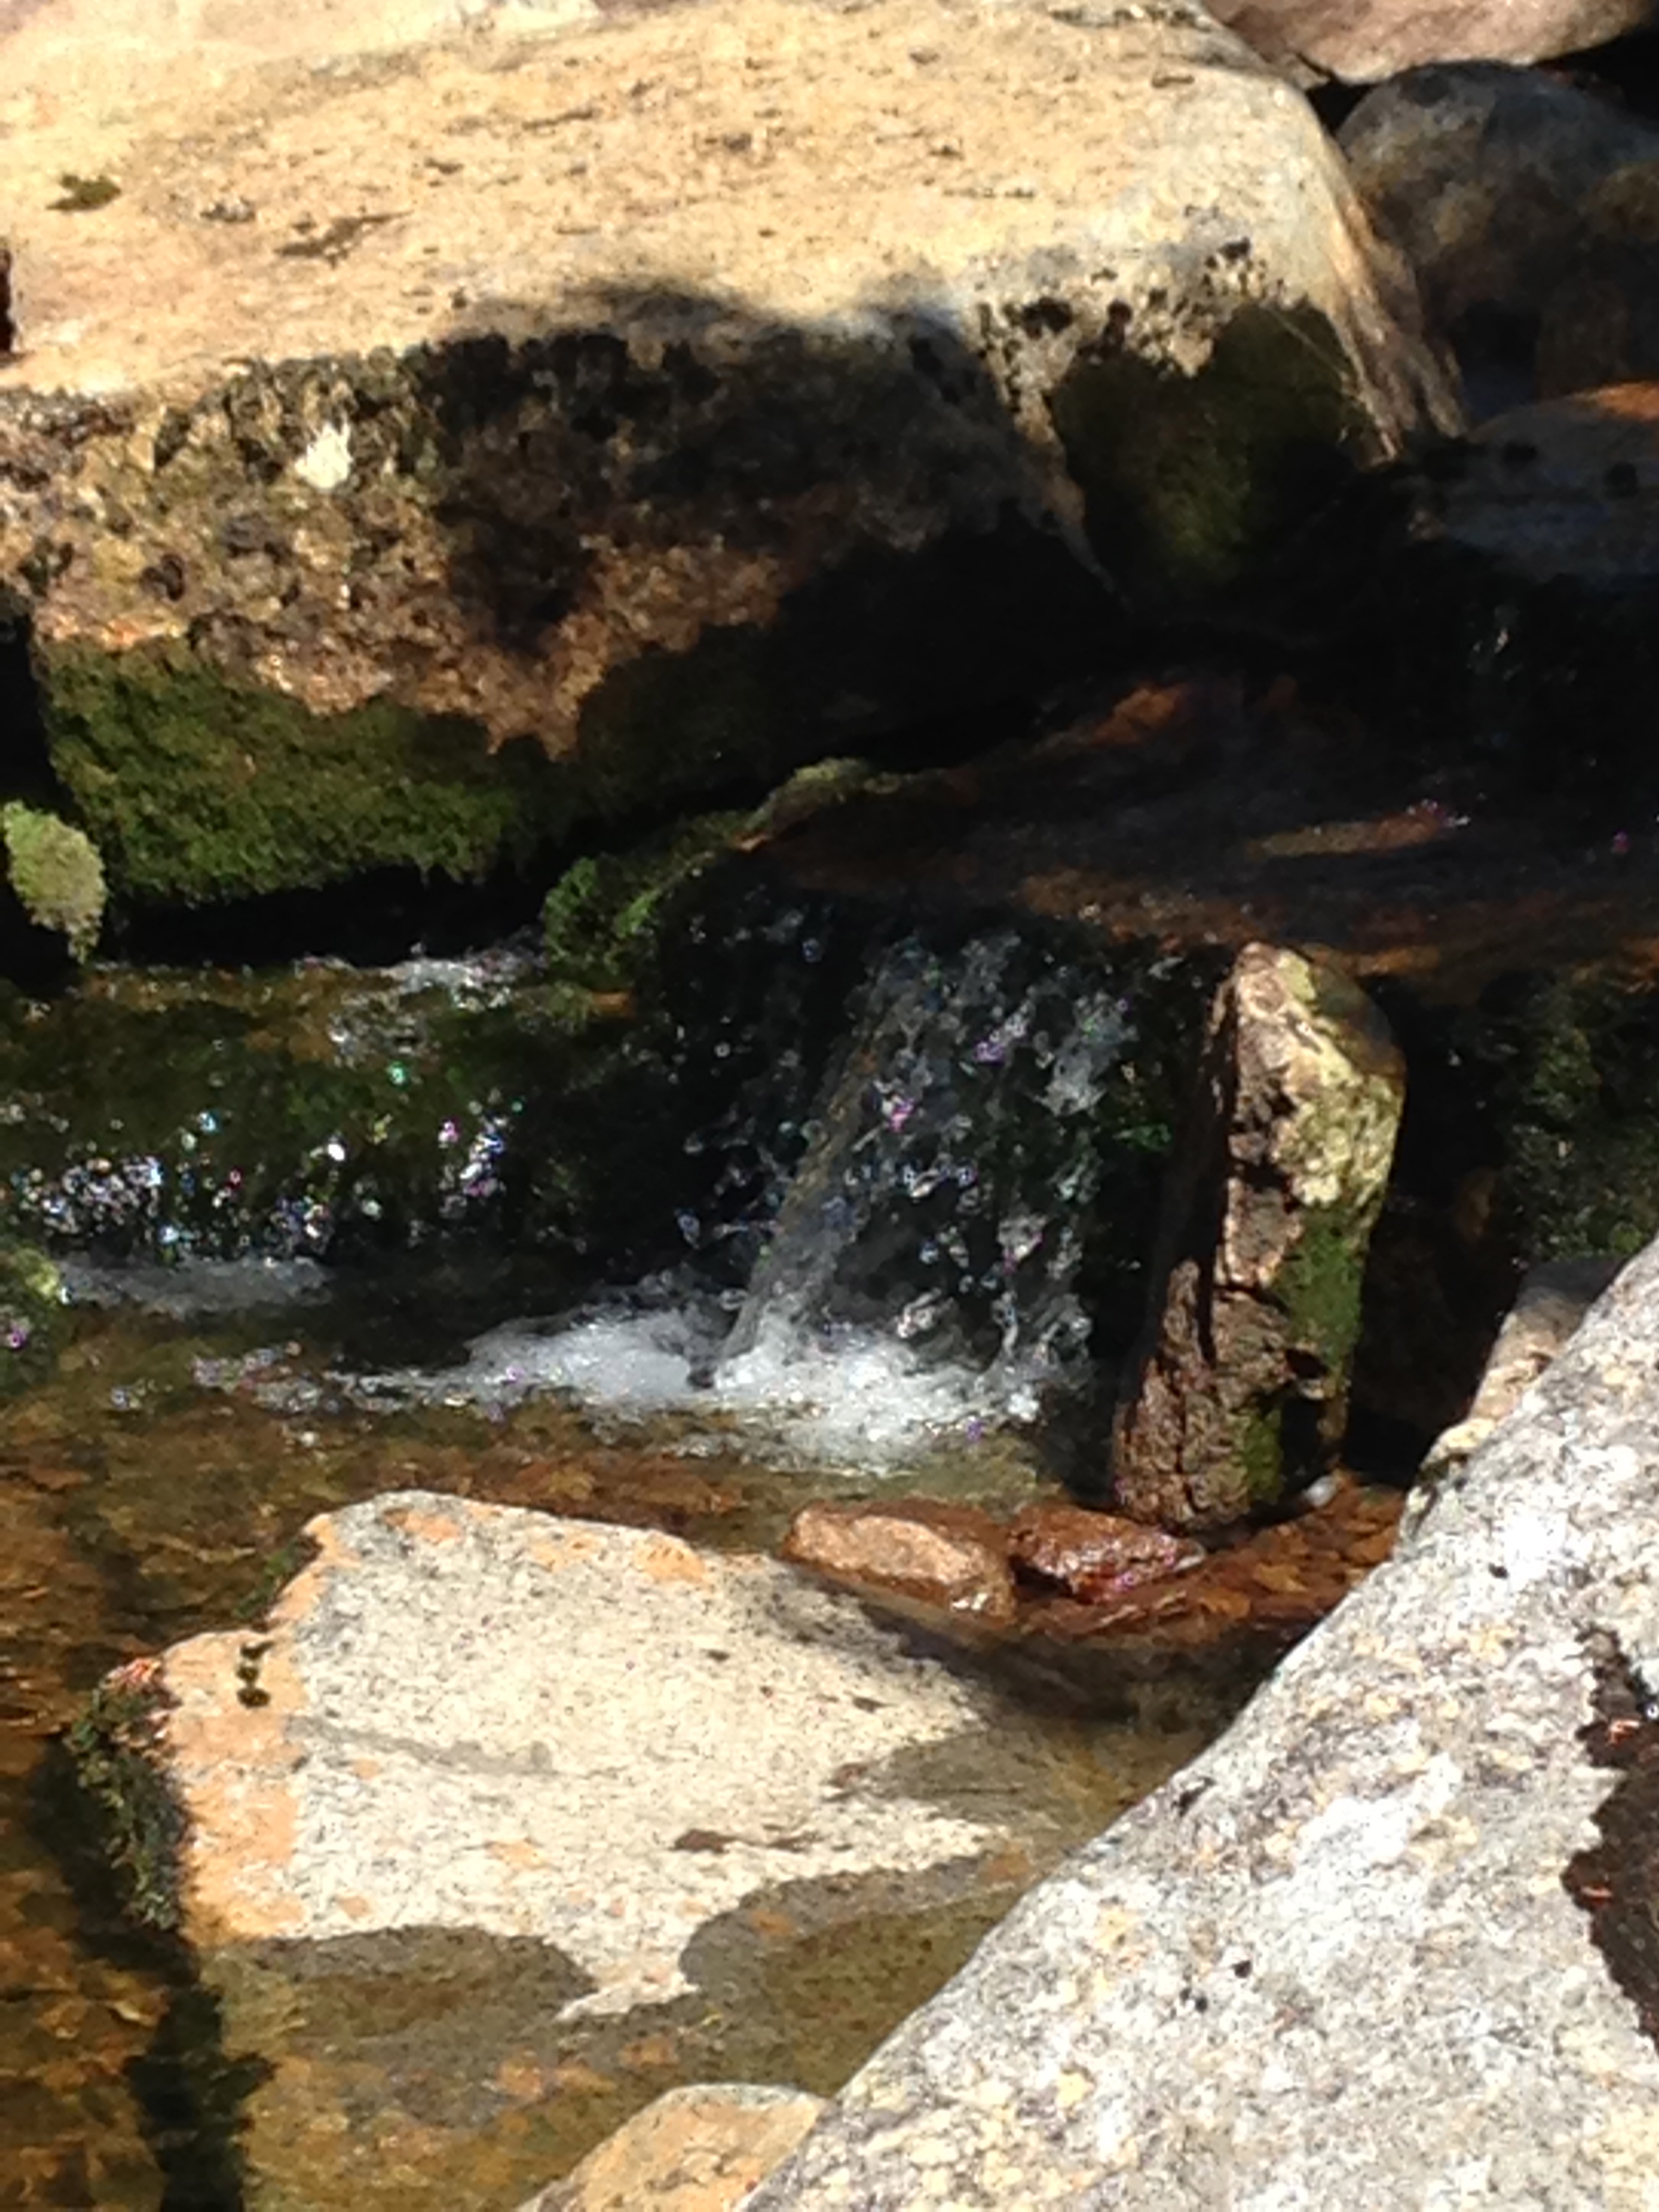
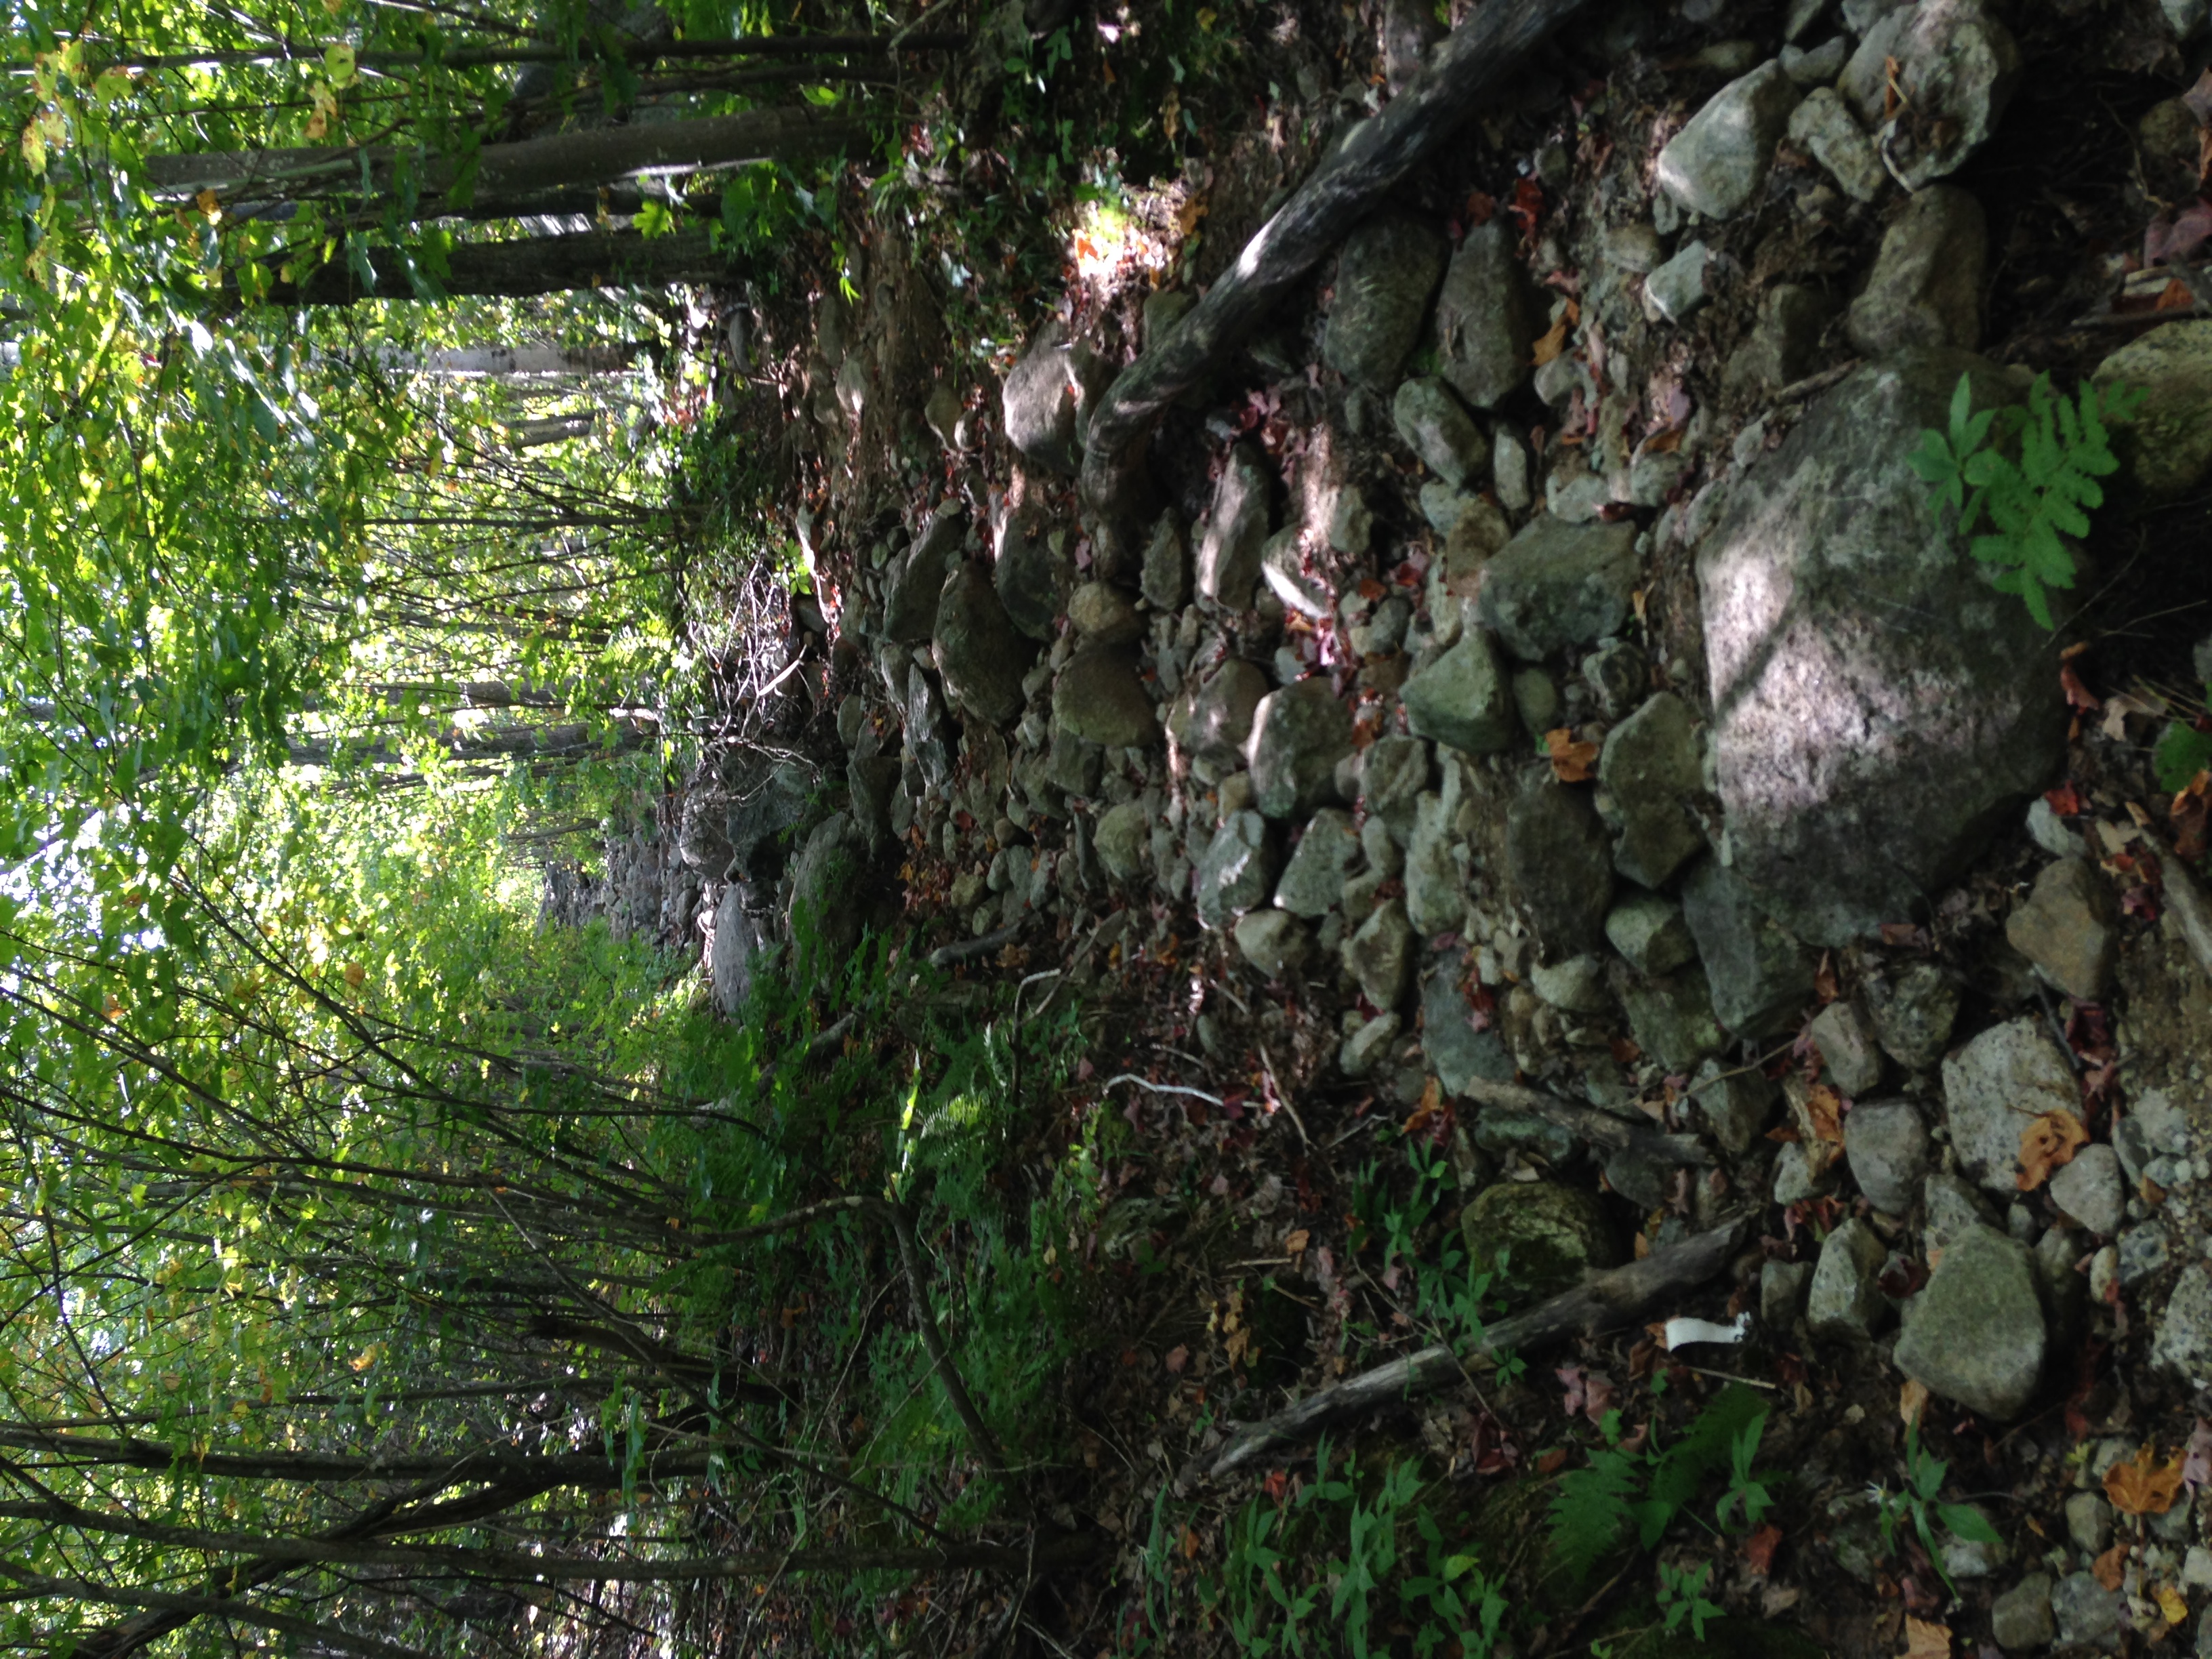
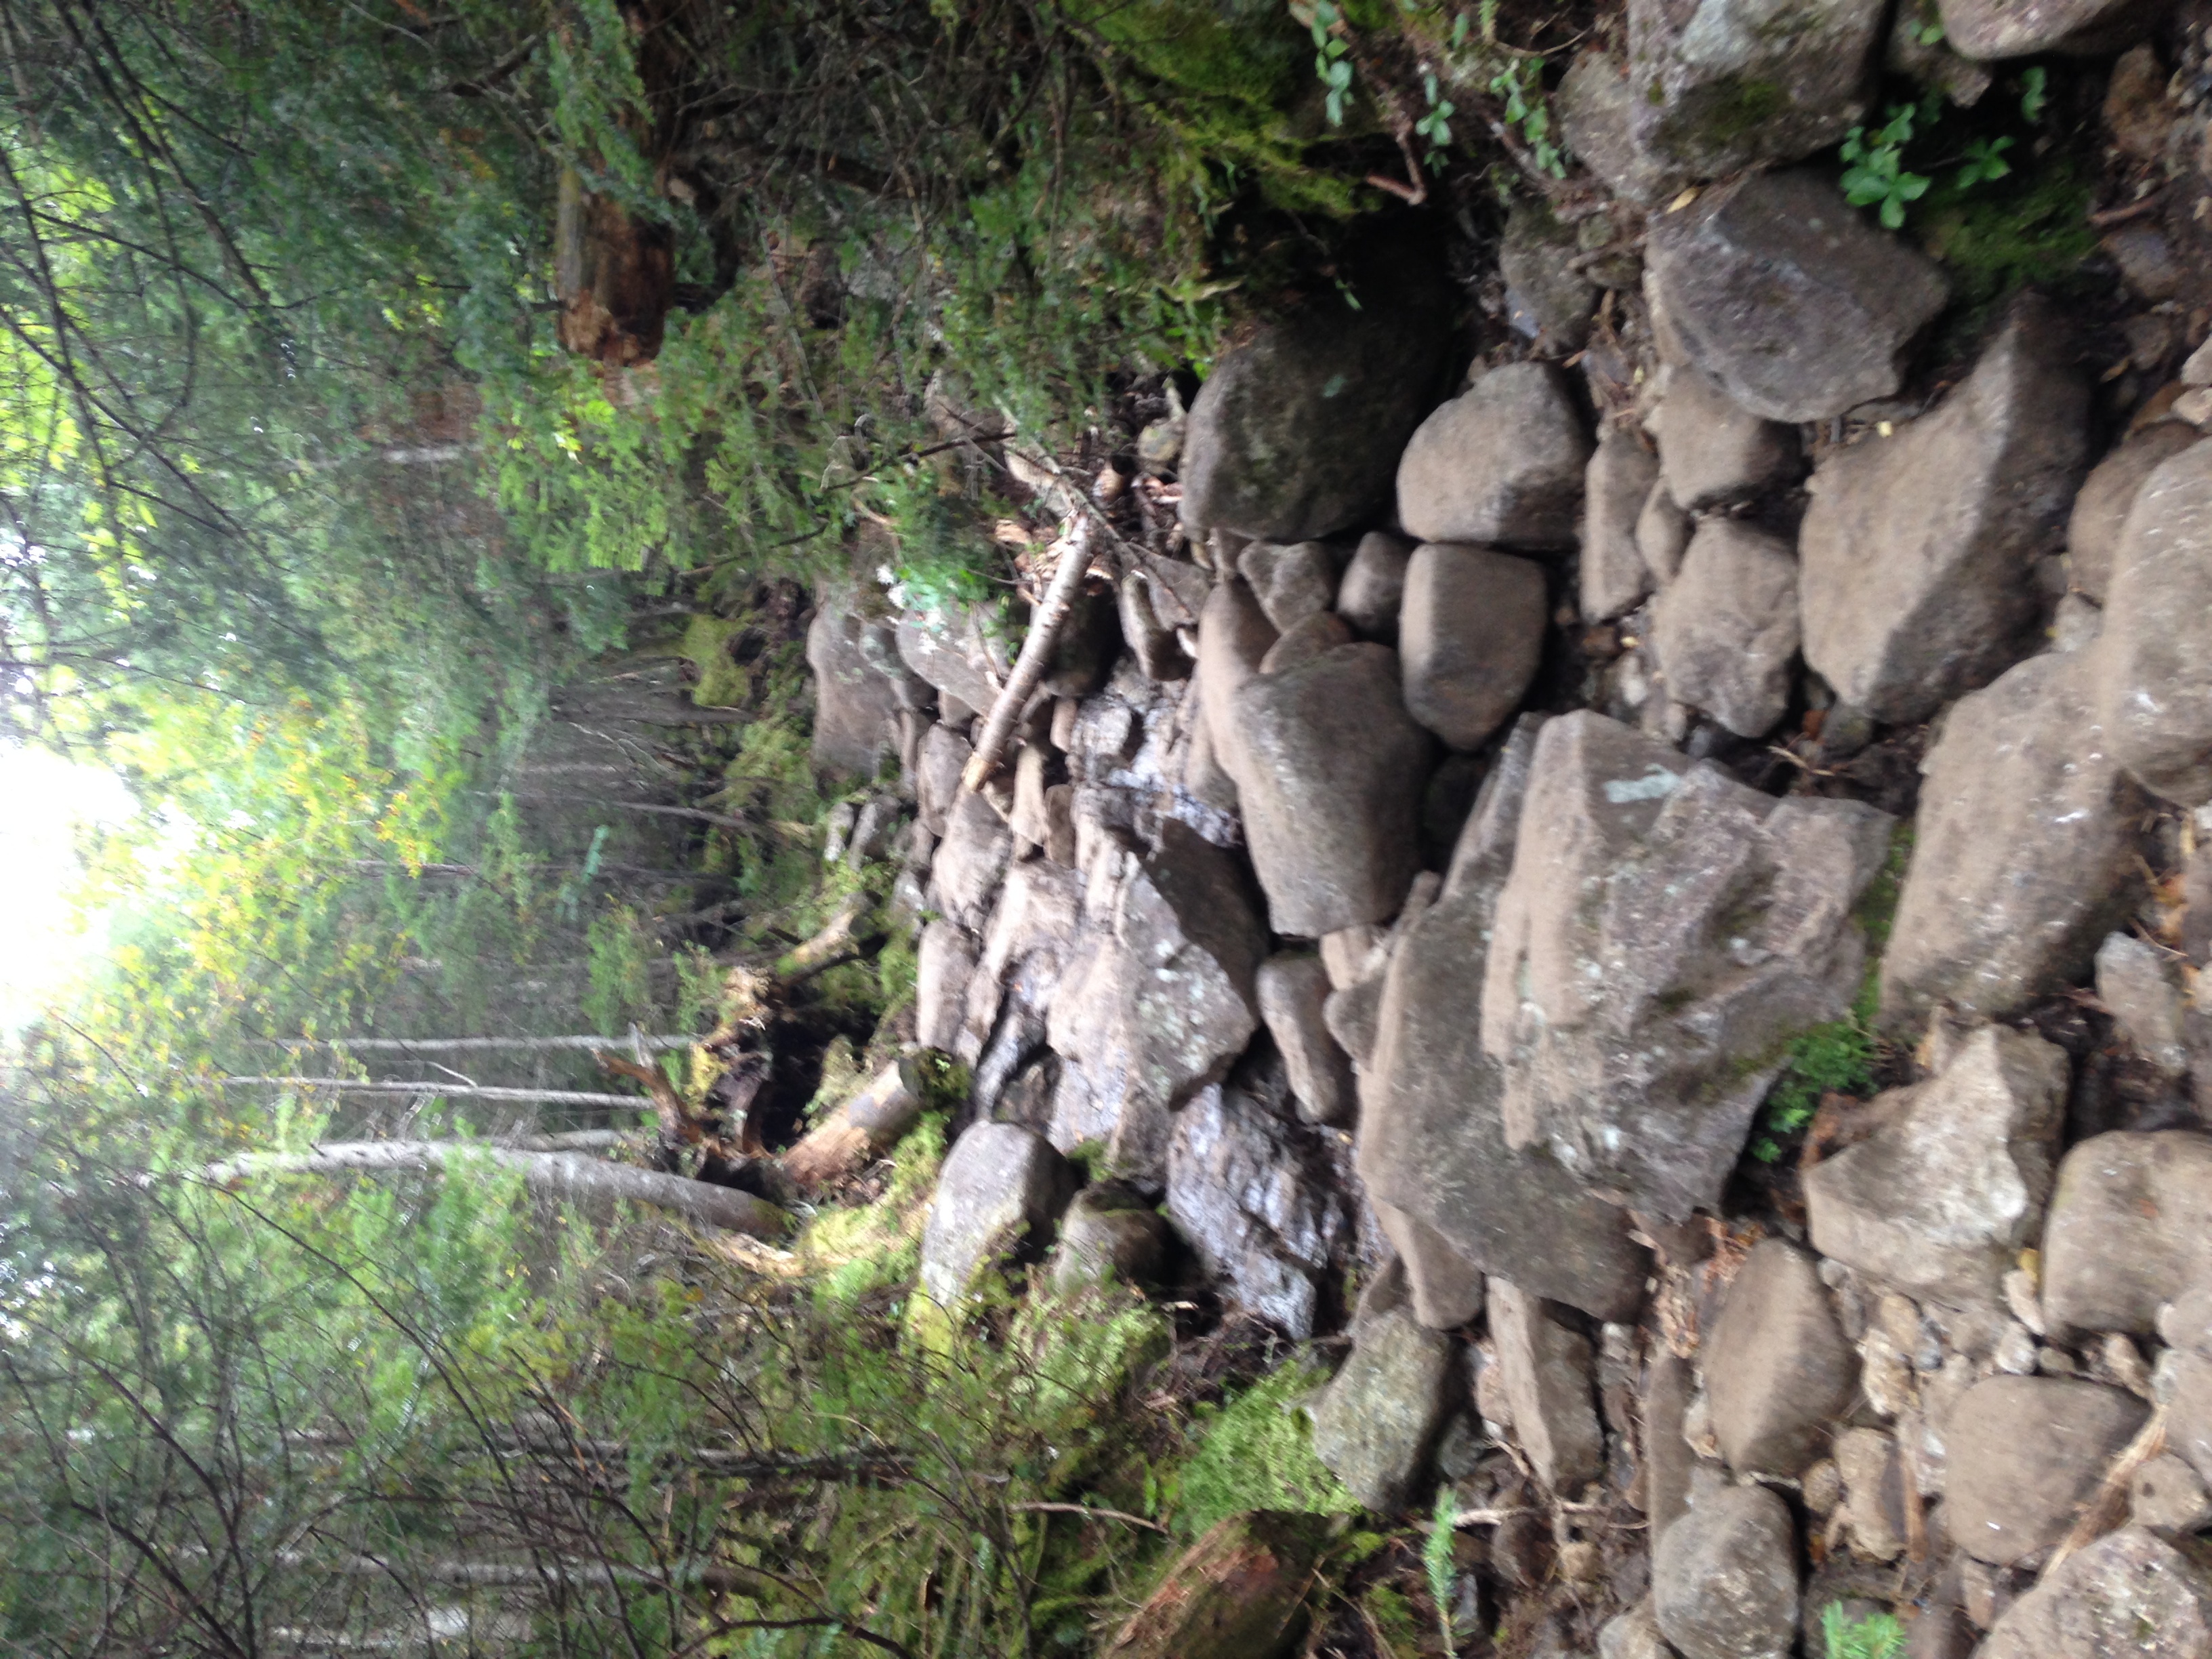
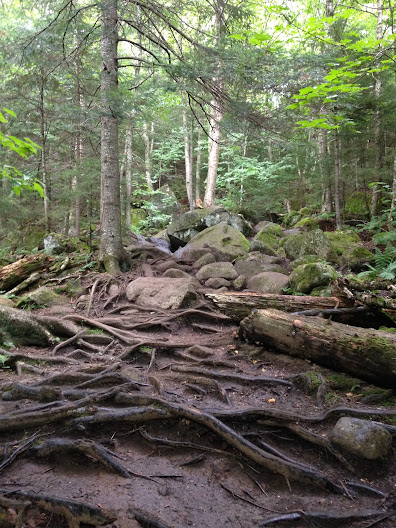
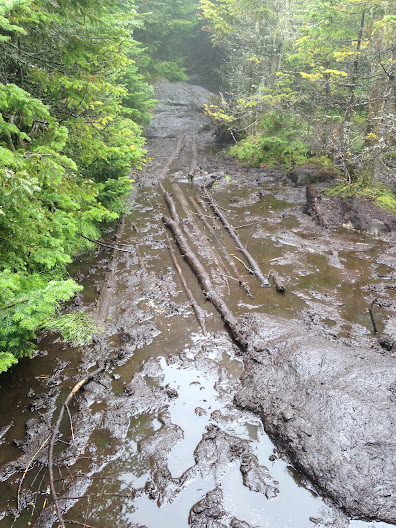
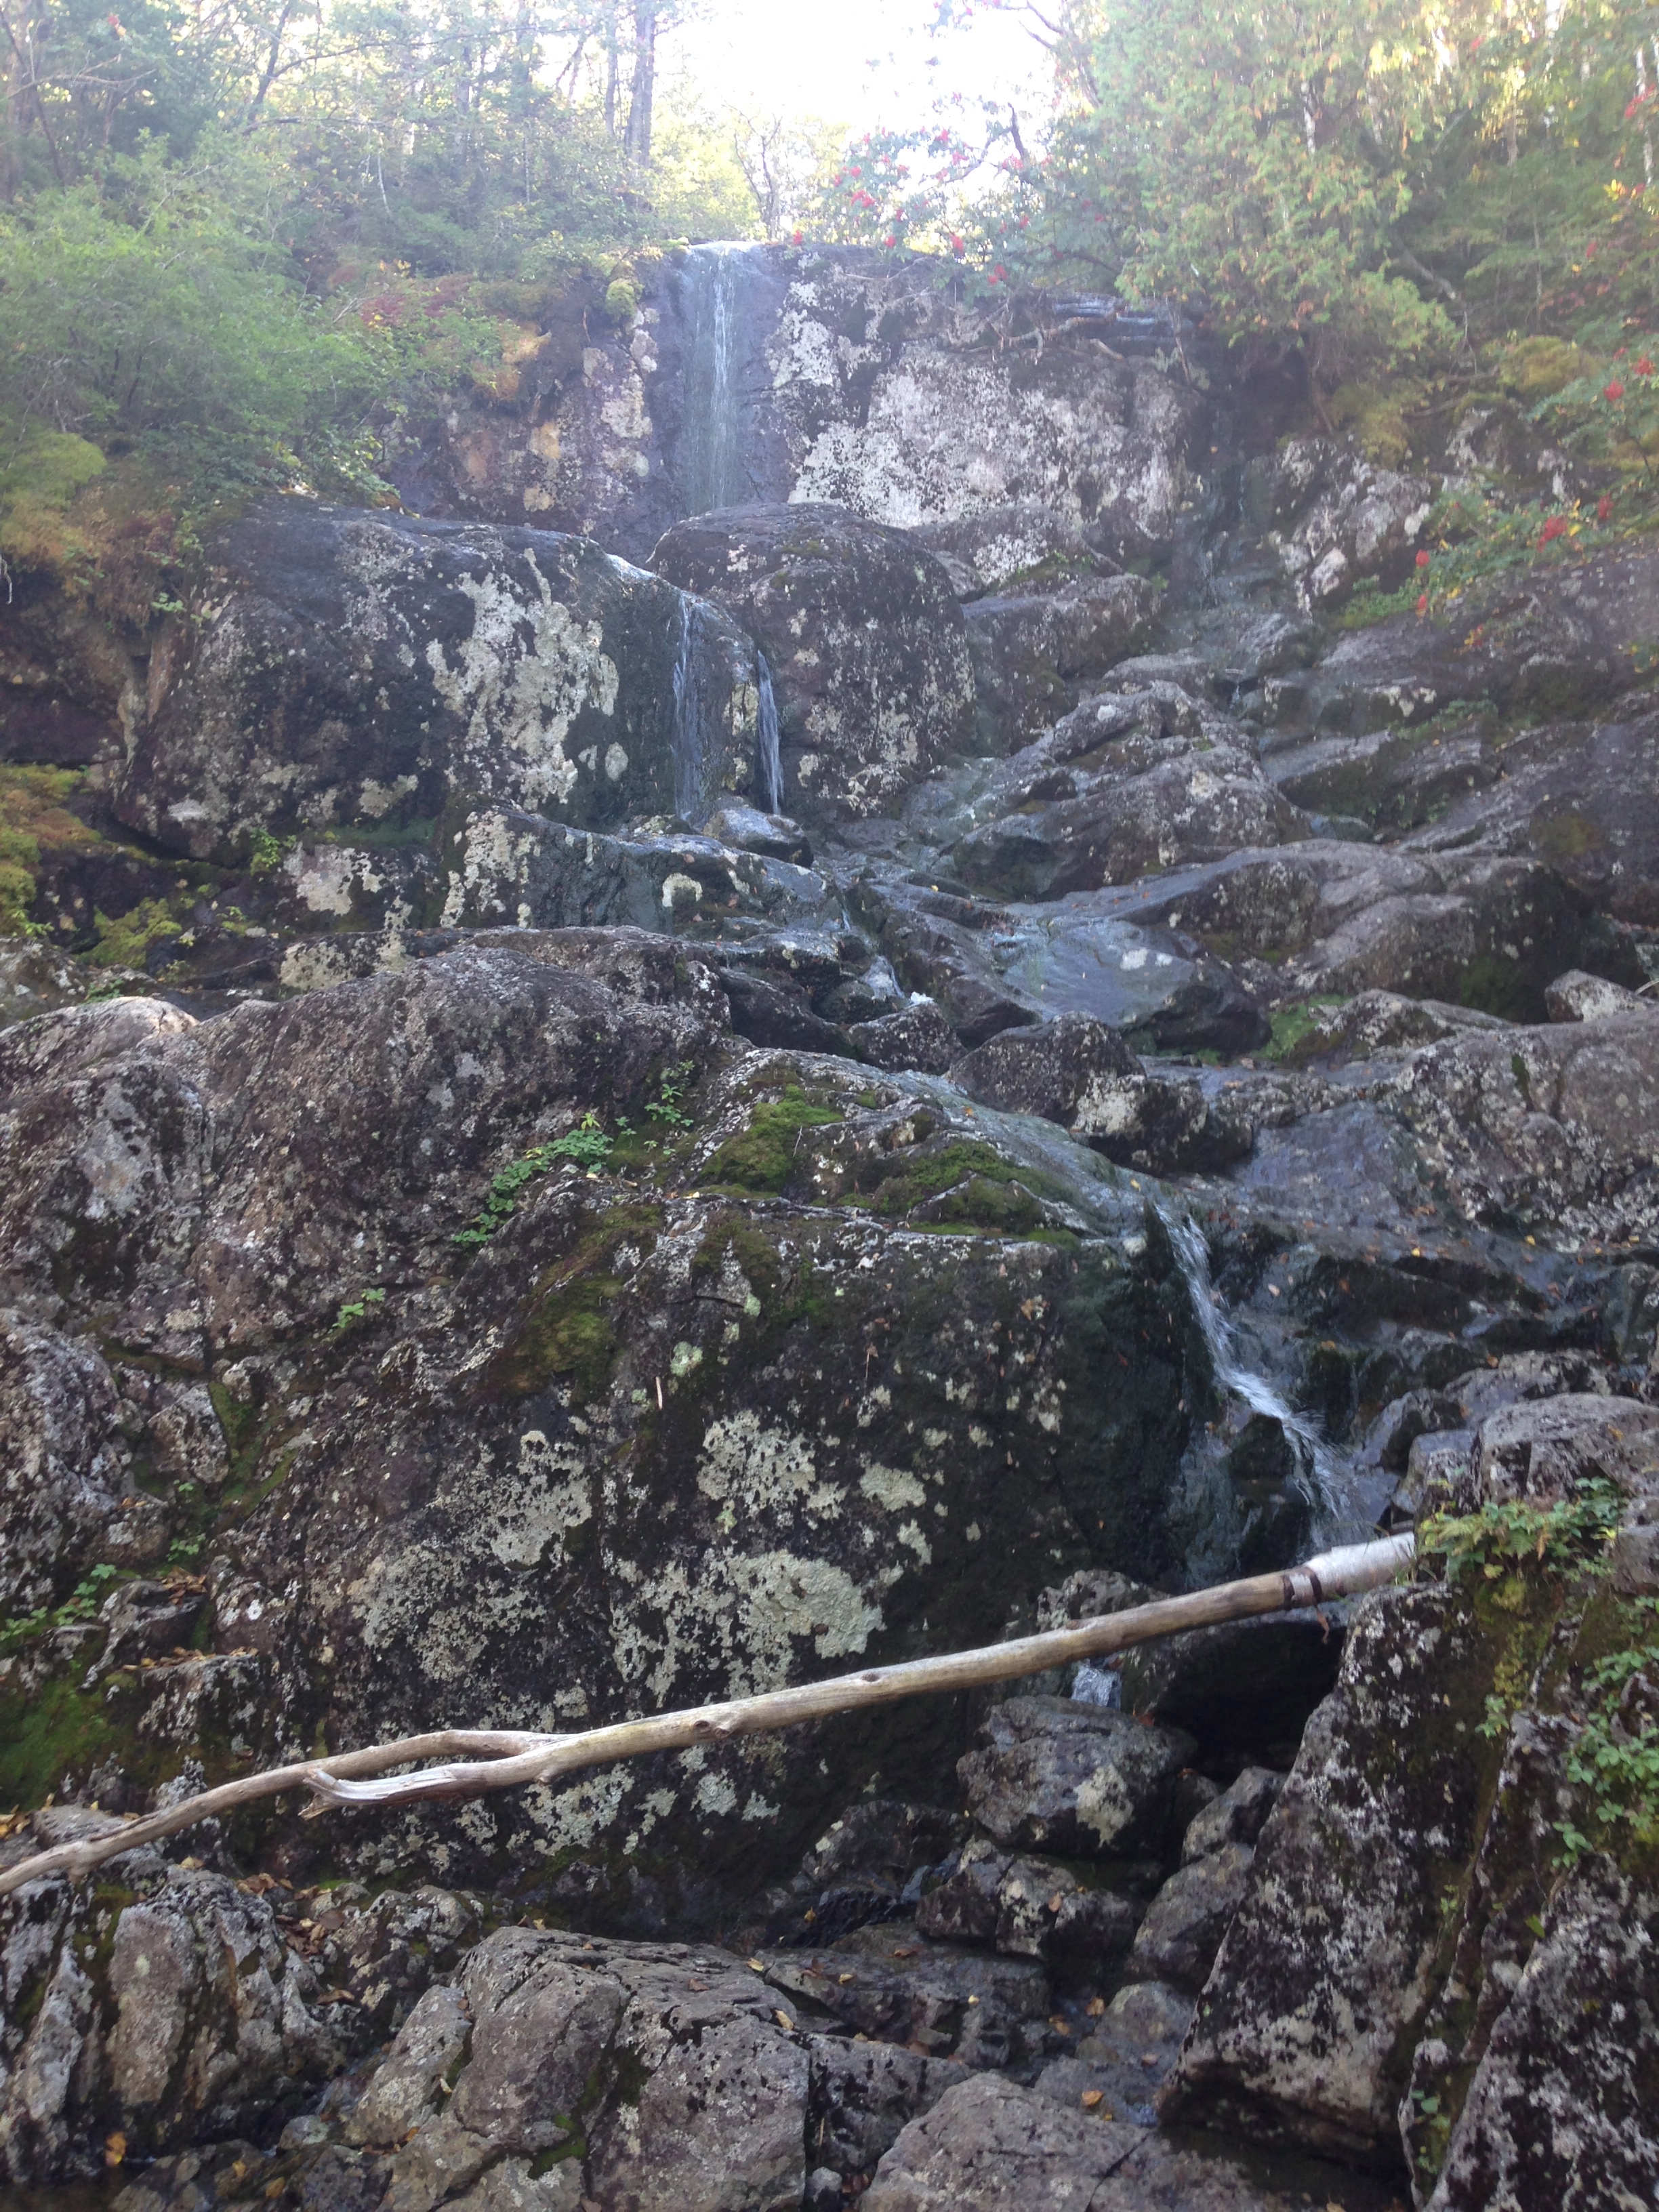
The trail is moderate at first and easy to follow. After another mile and a half, it gets steeper, and I could hear the pretty cascade known as MacIntyre Falls before I saw it.

IMG_1878


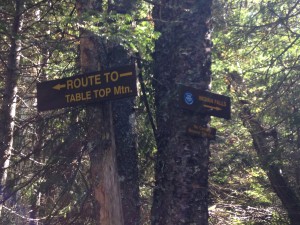
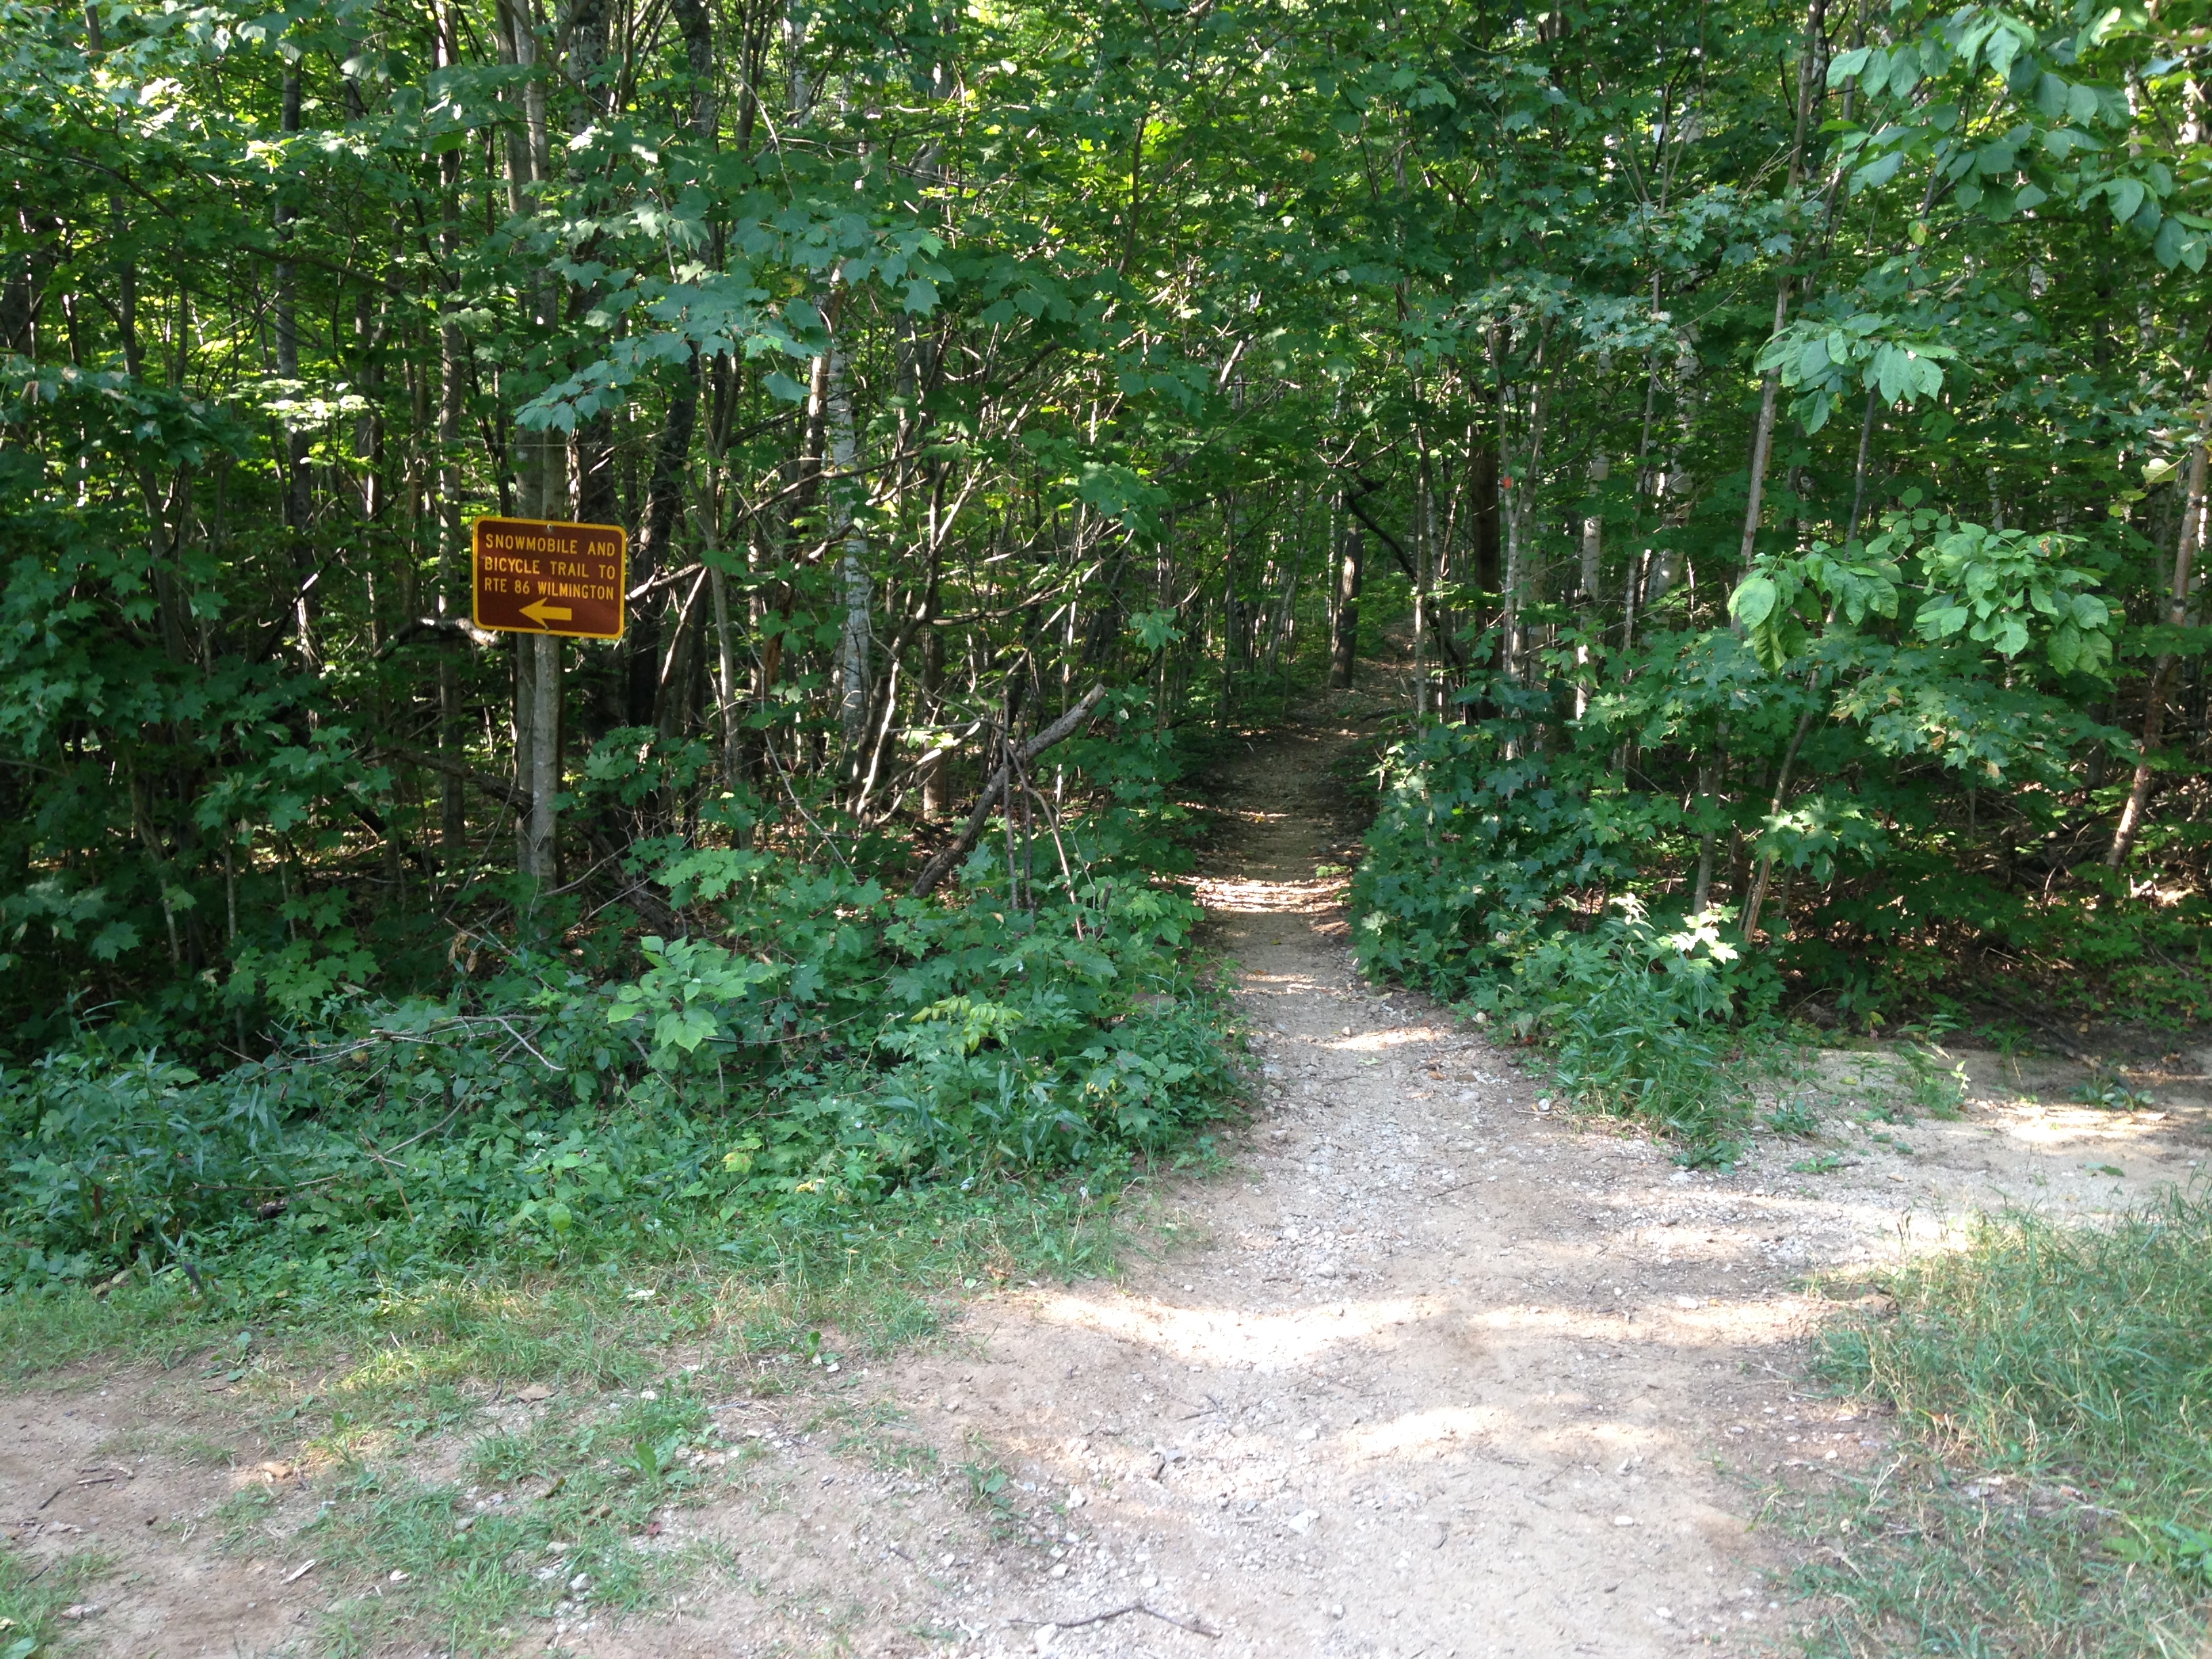
From the falls, it’s about another half mile to another split in the trail.

IMG_1877


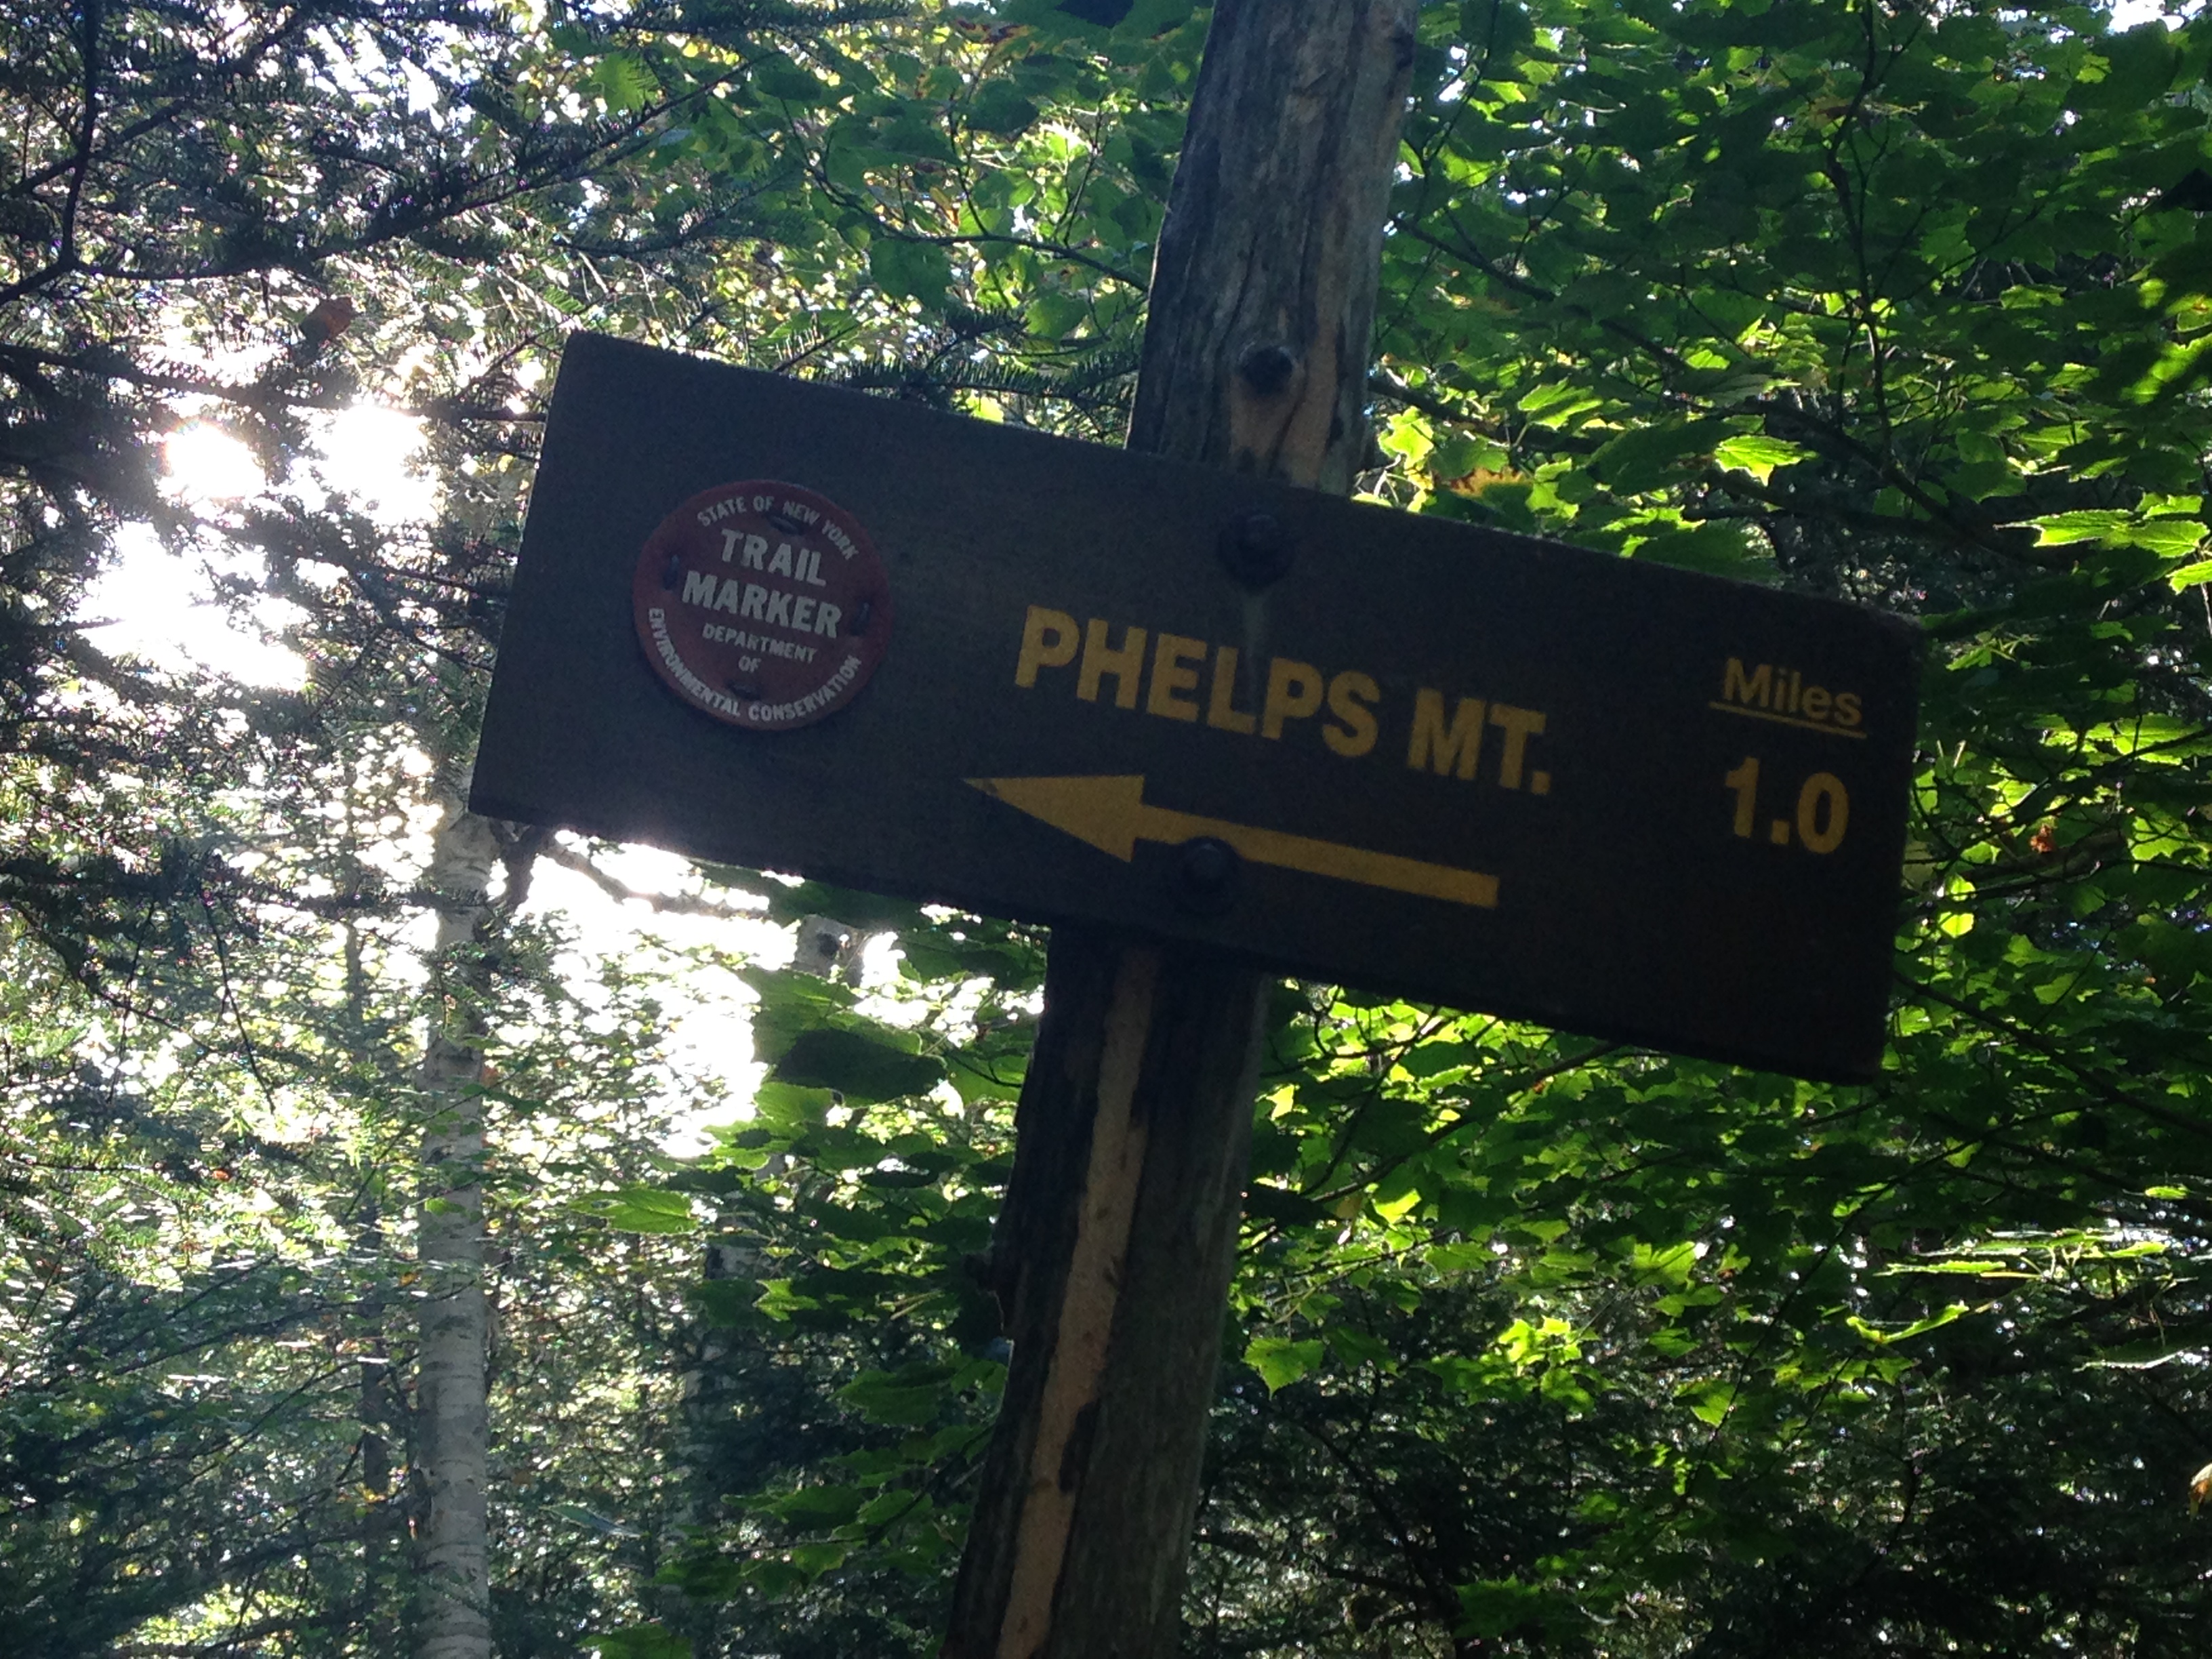
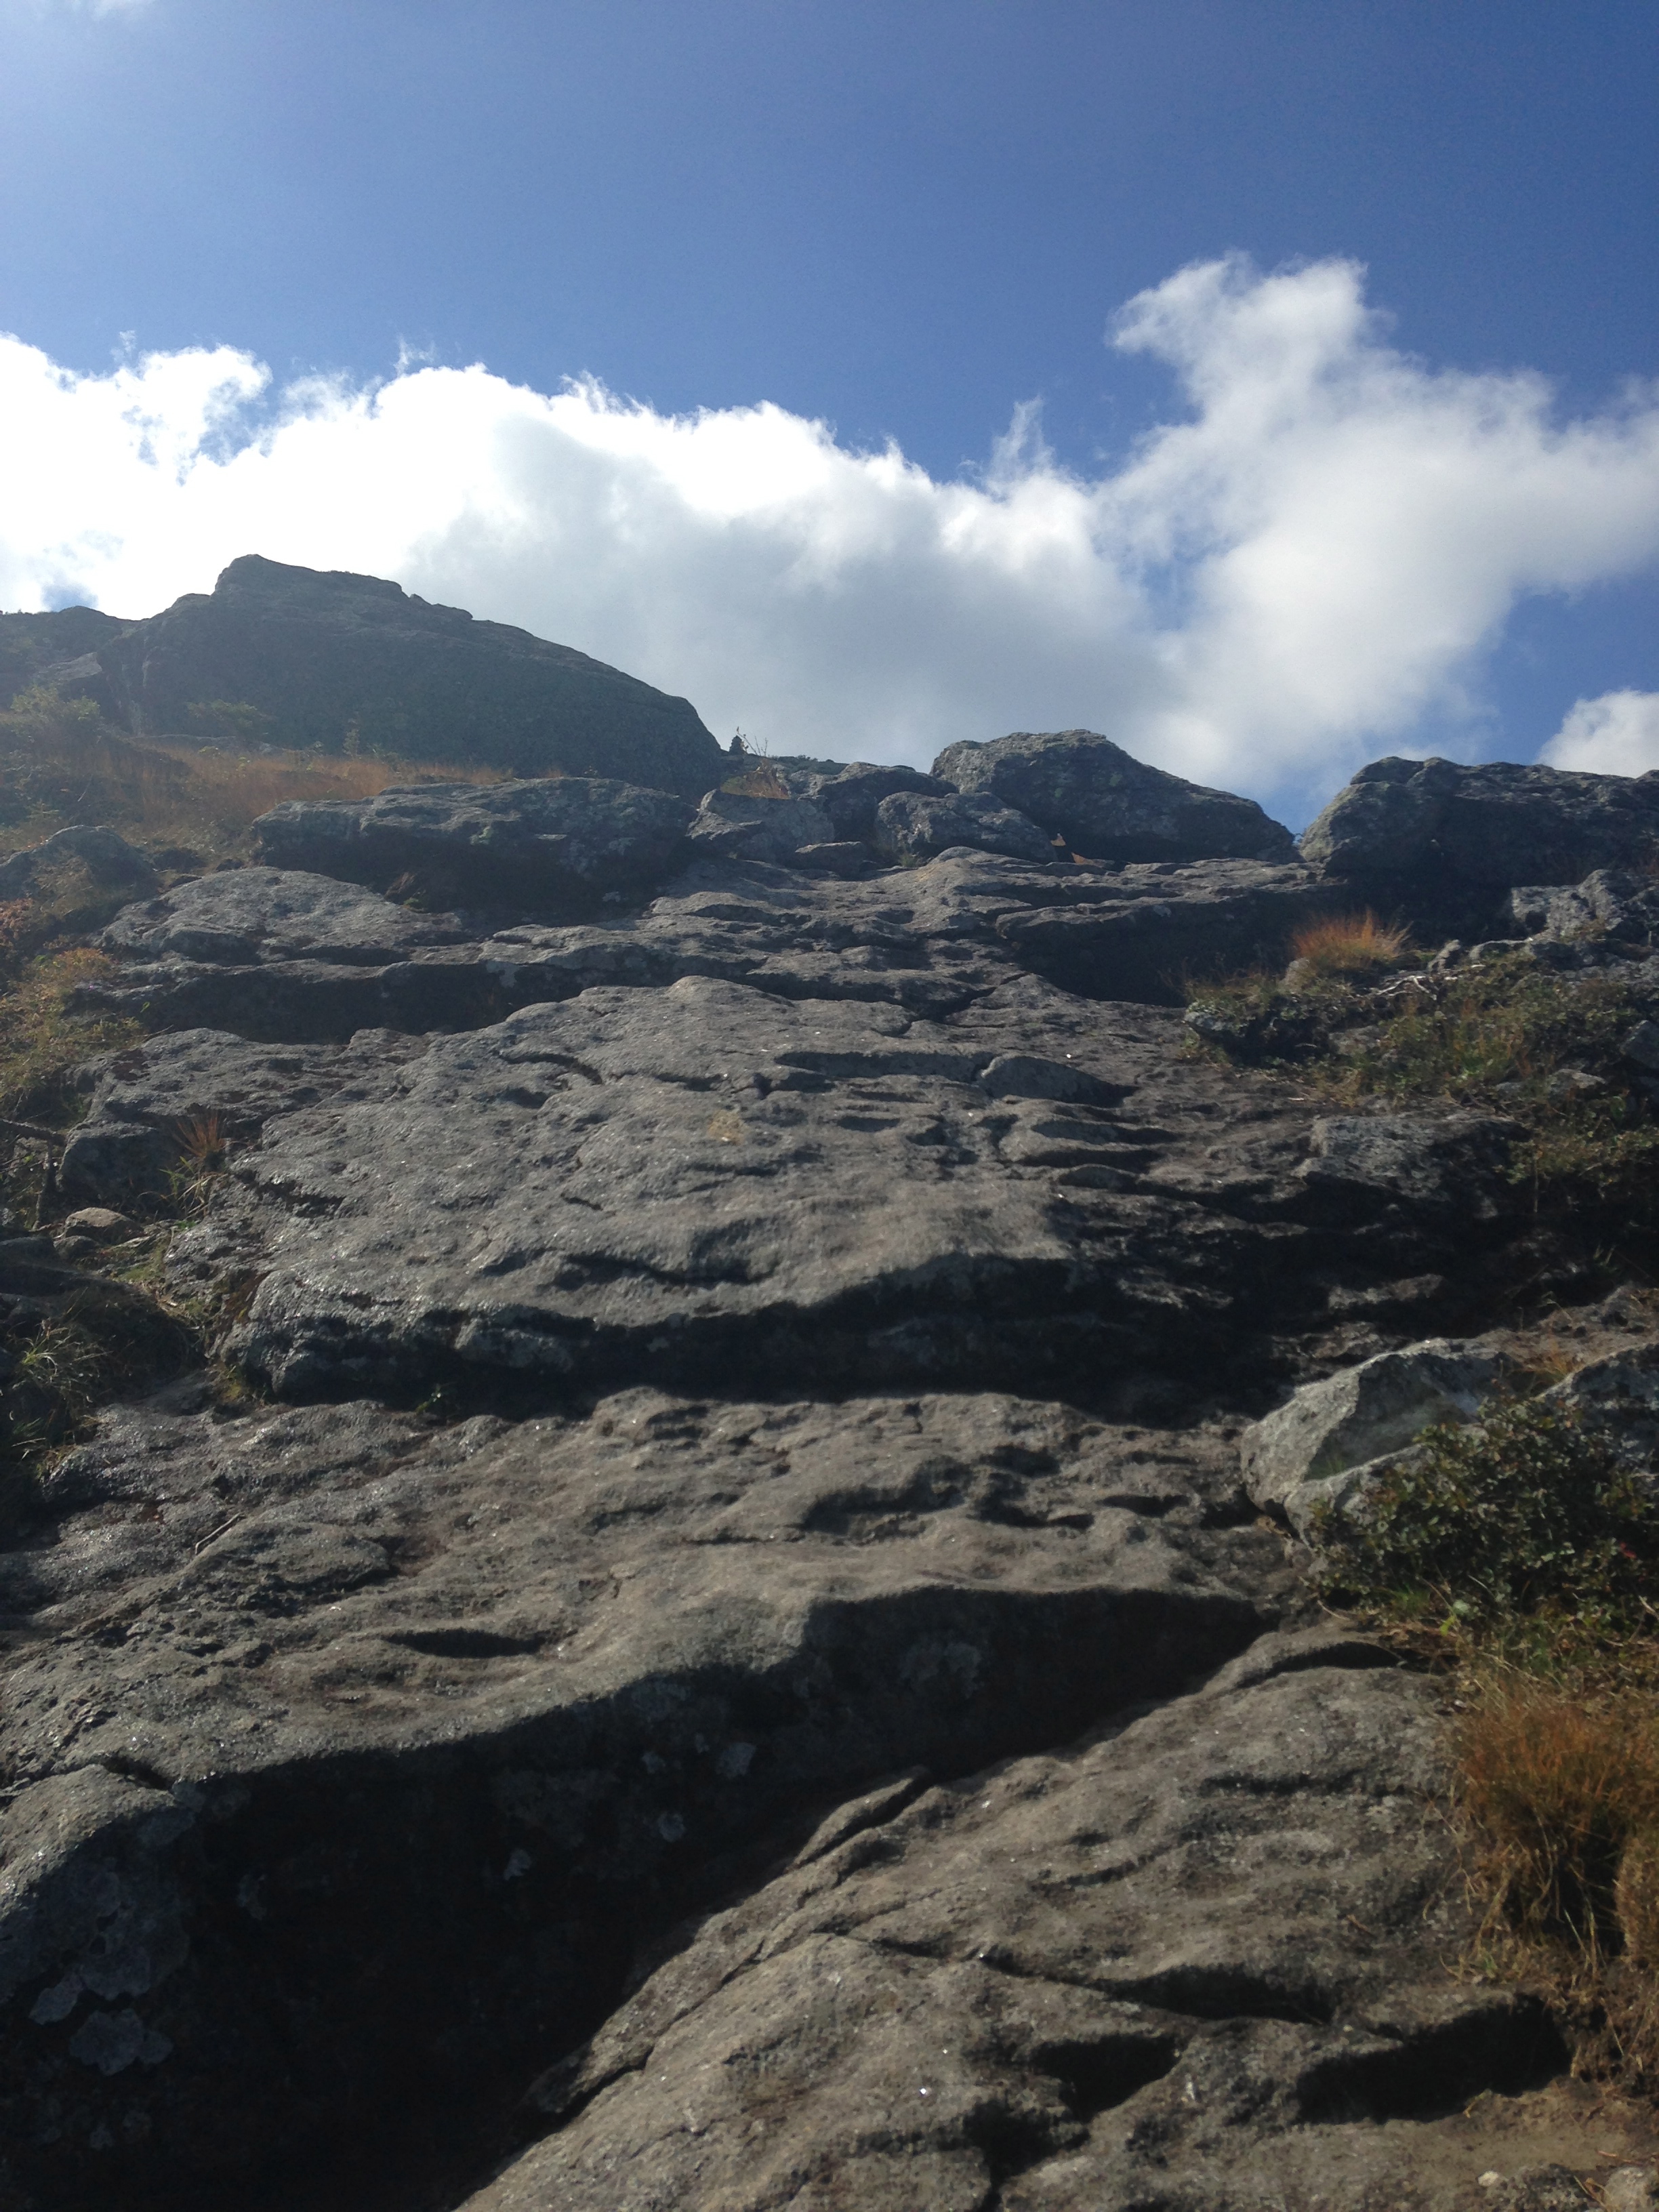
Last time I came this way, I turned left to ascend the trail up Wright Peak, but this time I took the path just to the right, heading up Algonquin. It’s a steep mile to Algonquin’s summit from here, including a slide steeper than any I’d climbed so far.

IMG_1780


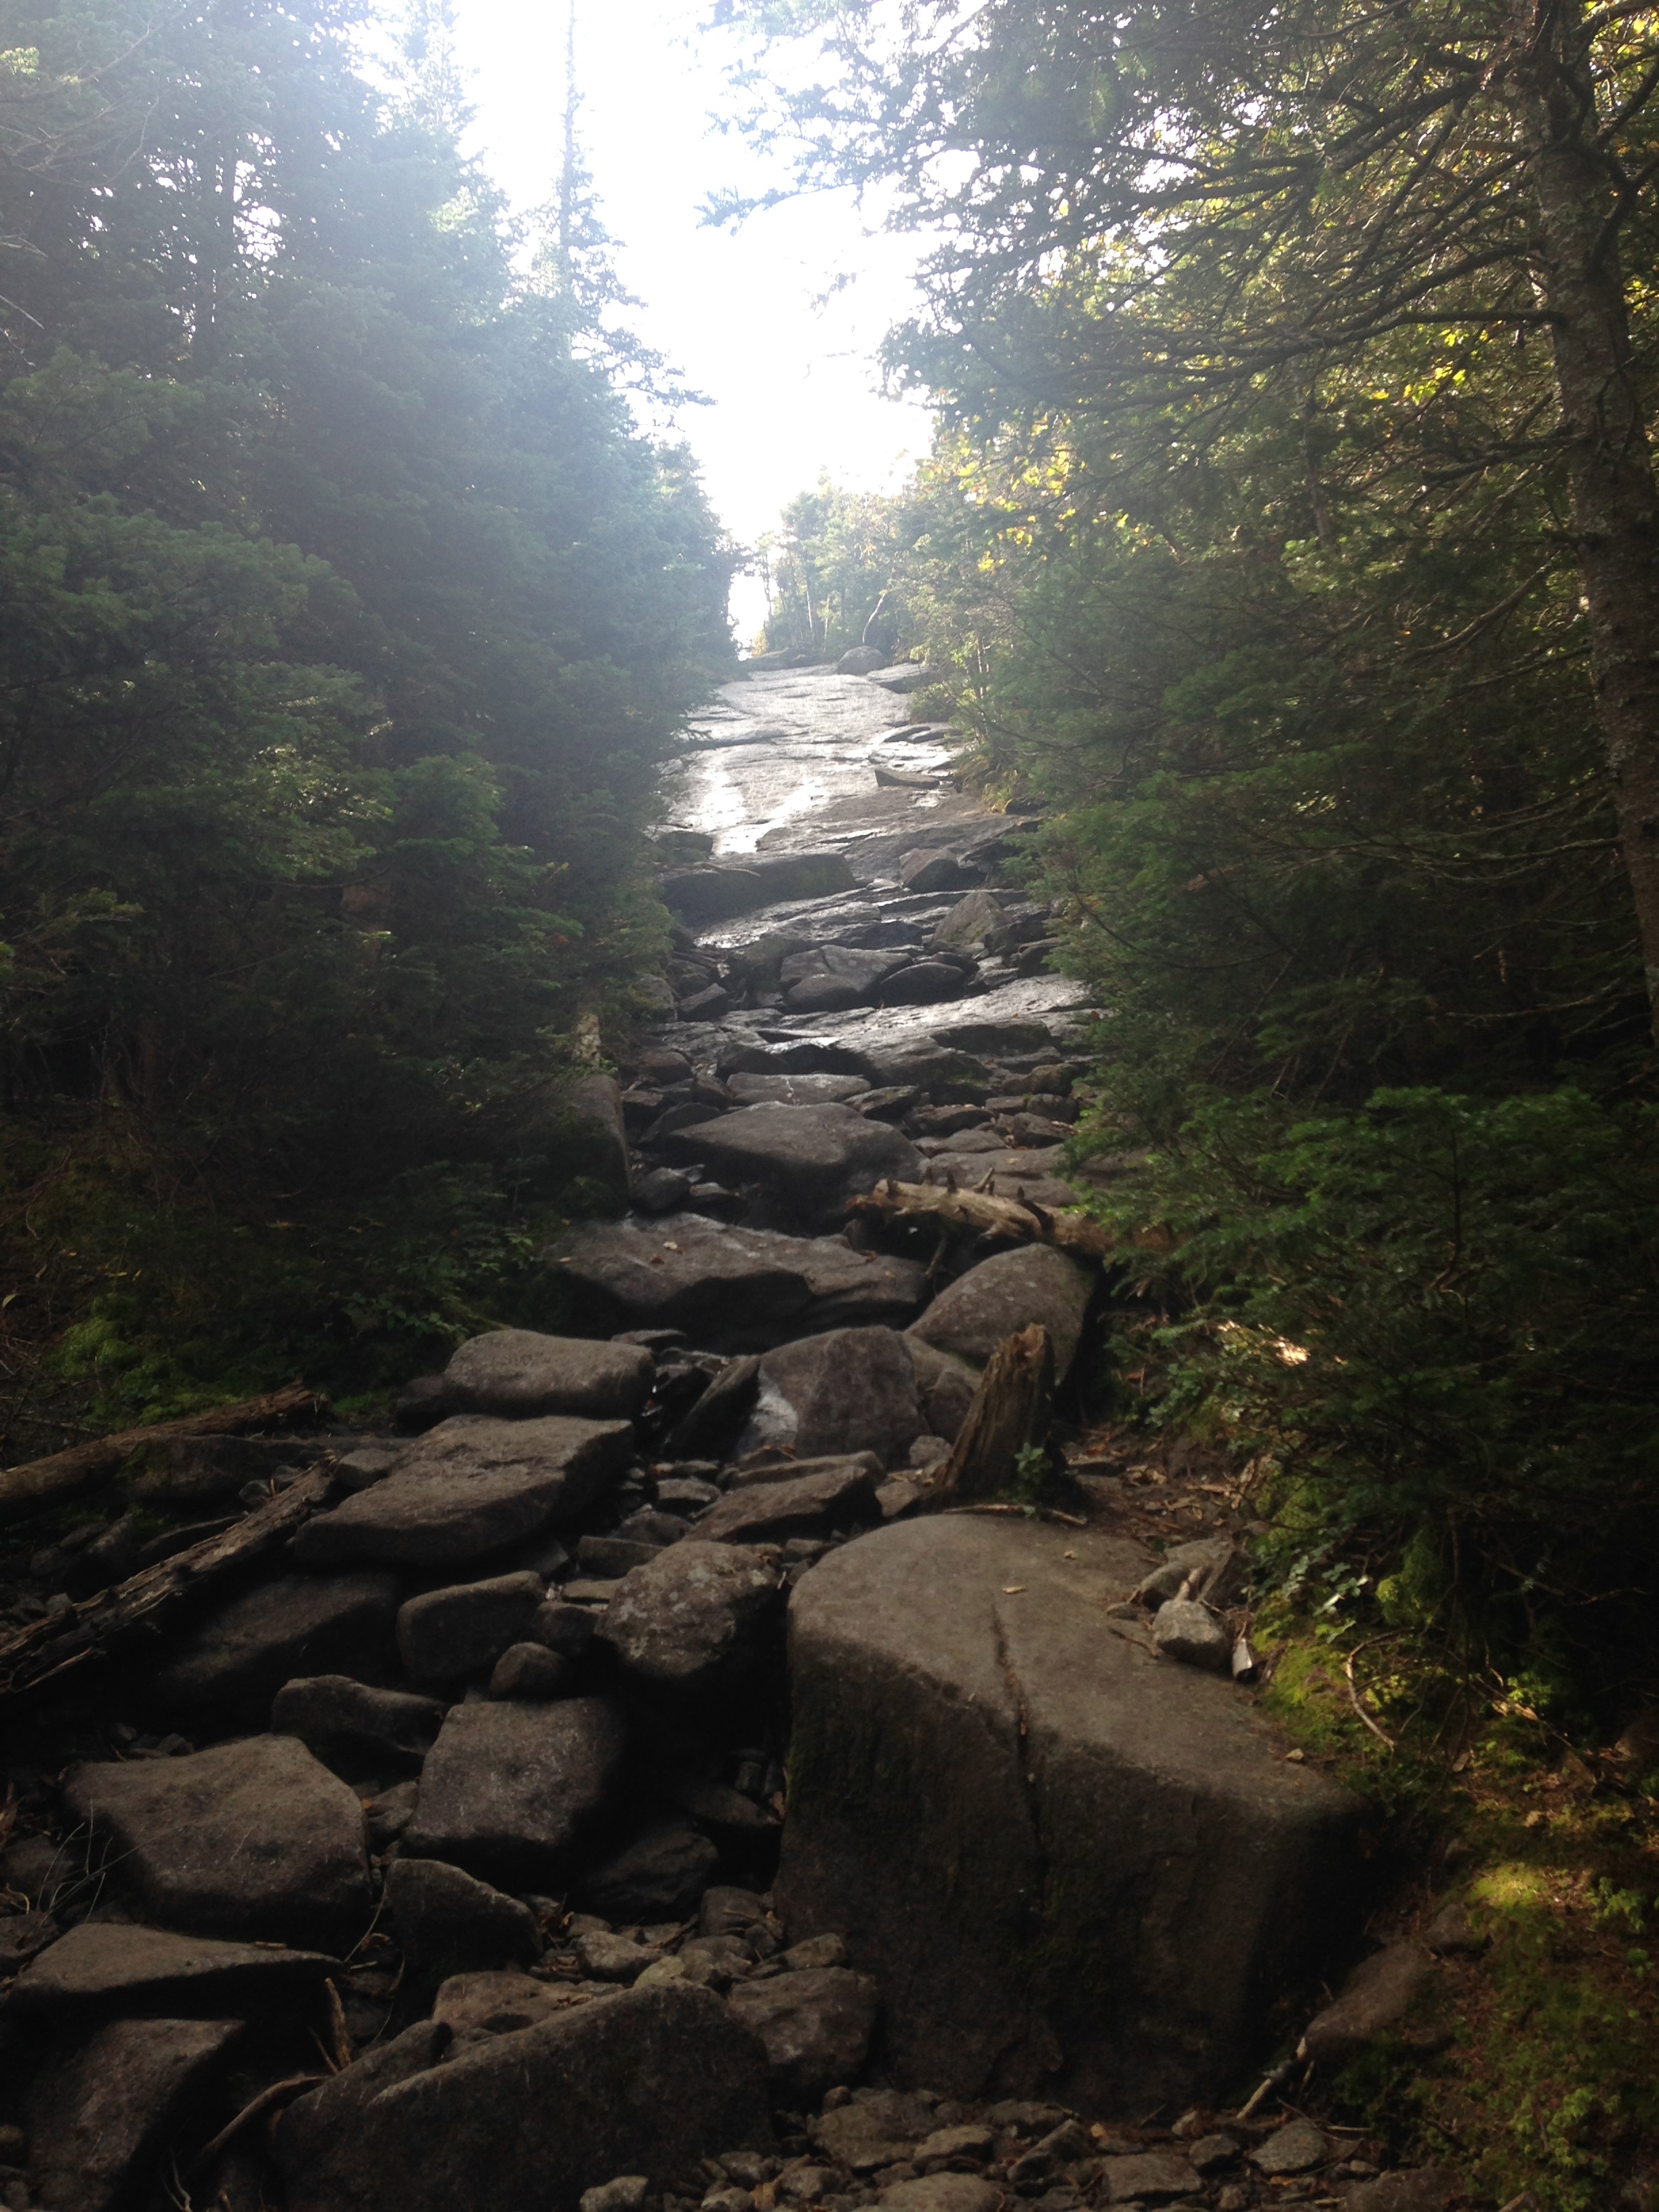
Here’s another shot looking up the slide. I was really hoping it would be nice and dry, since it hadn’t rained in days, but parts were still wet and a little slimy.

IMG_1875


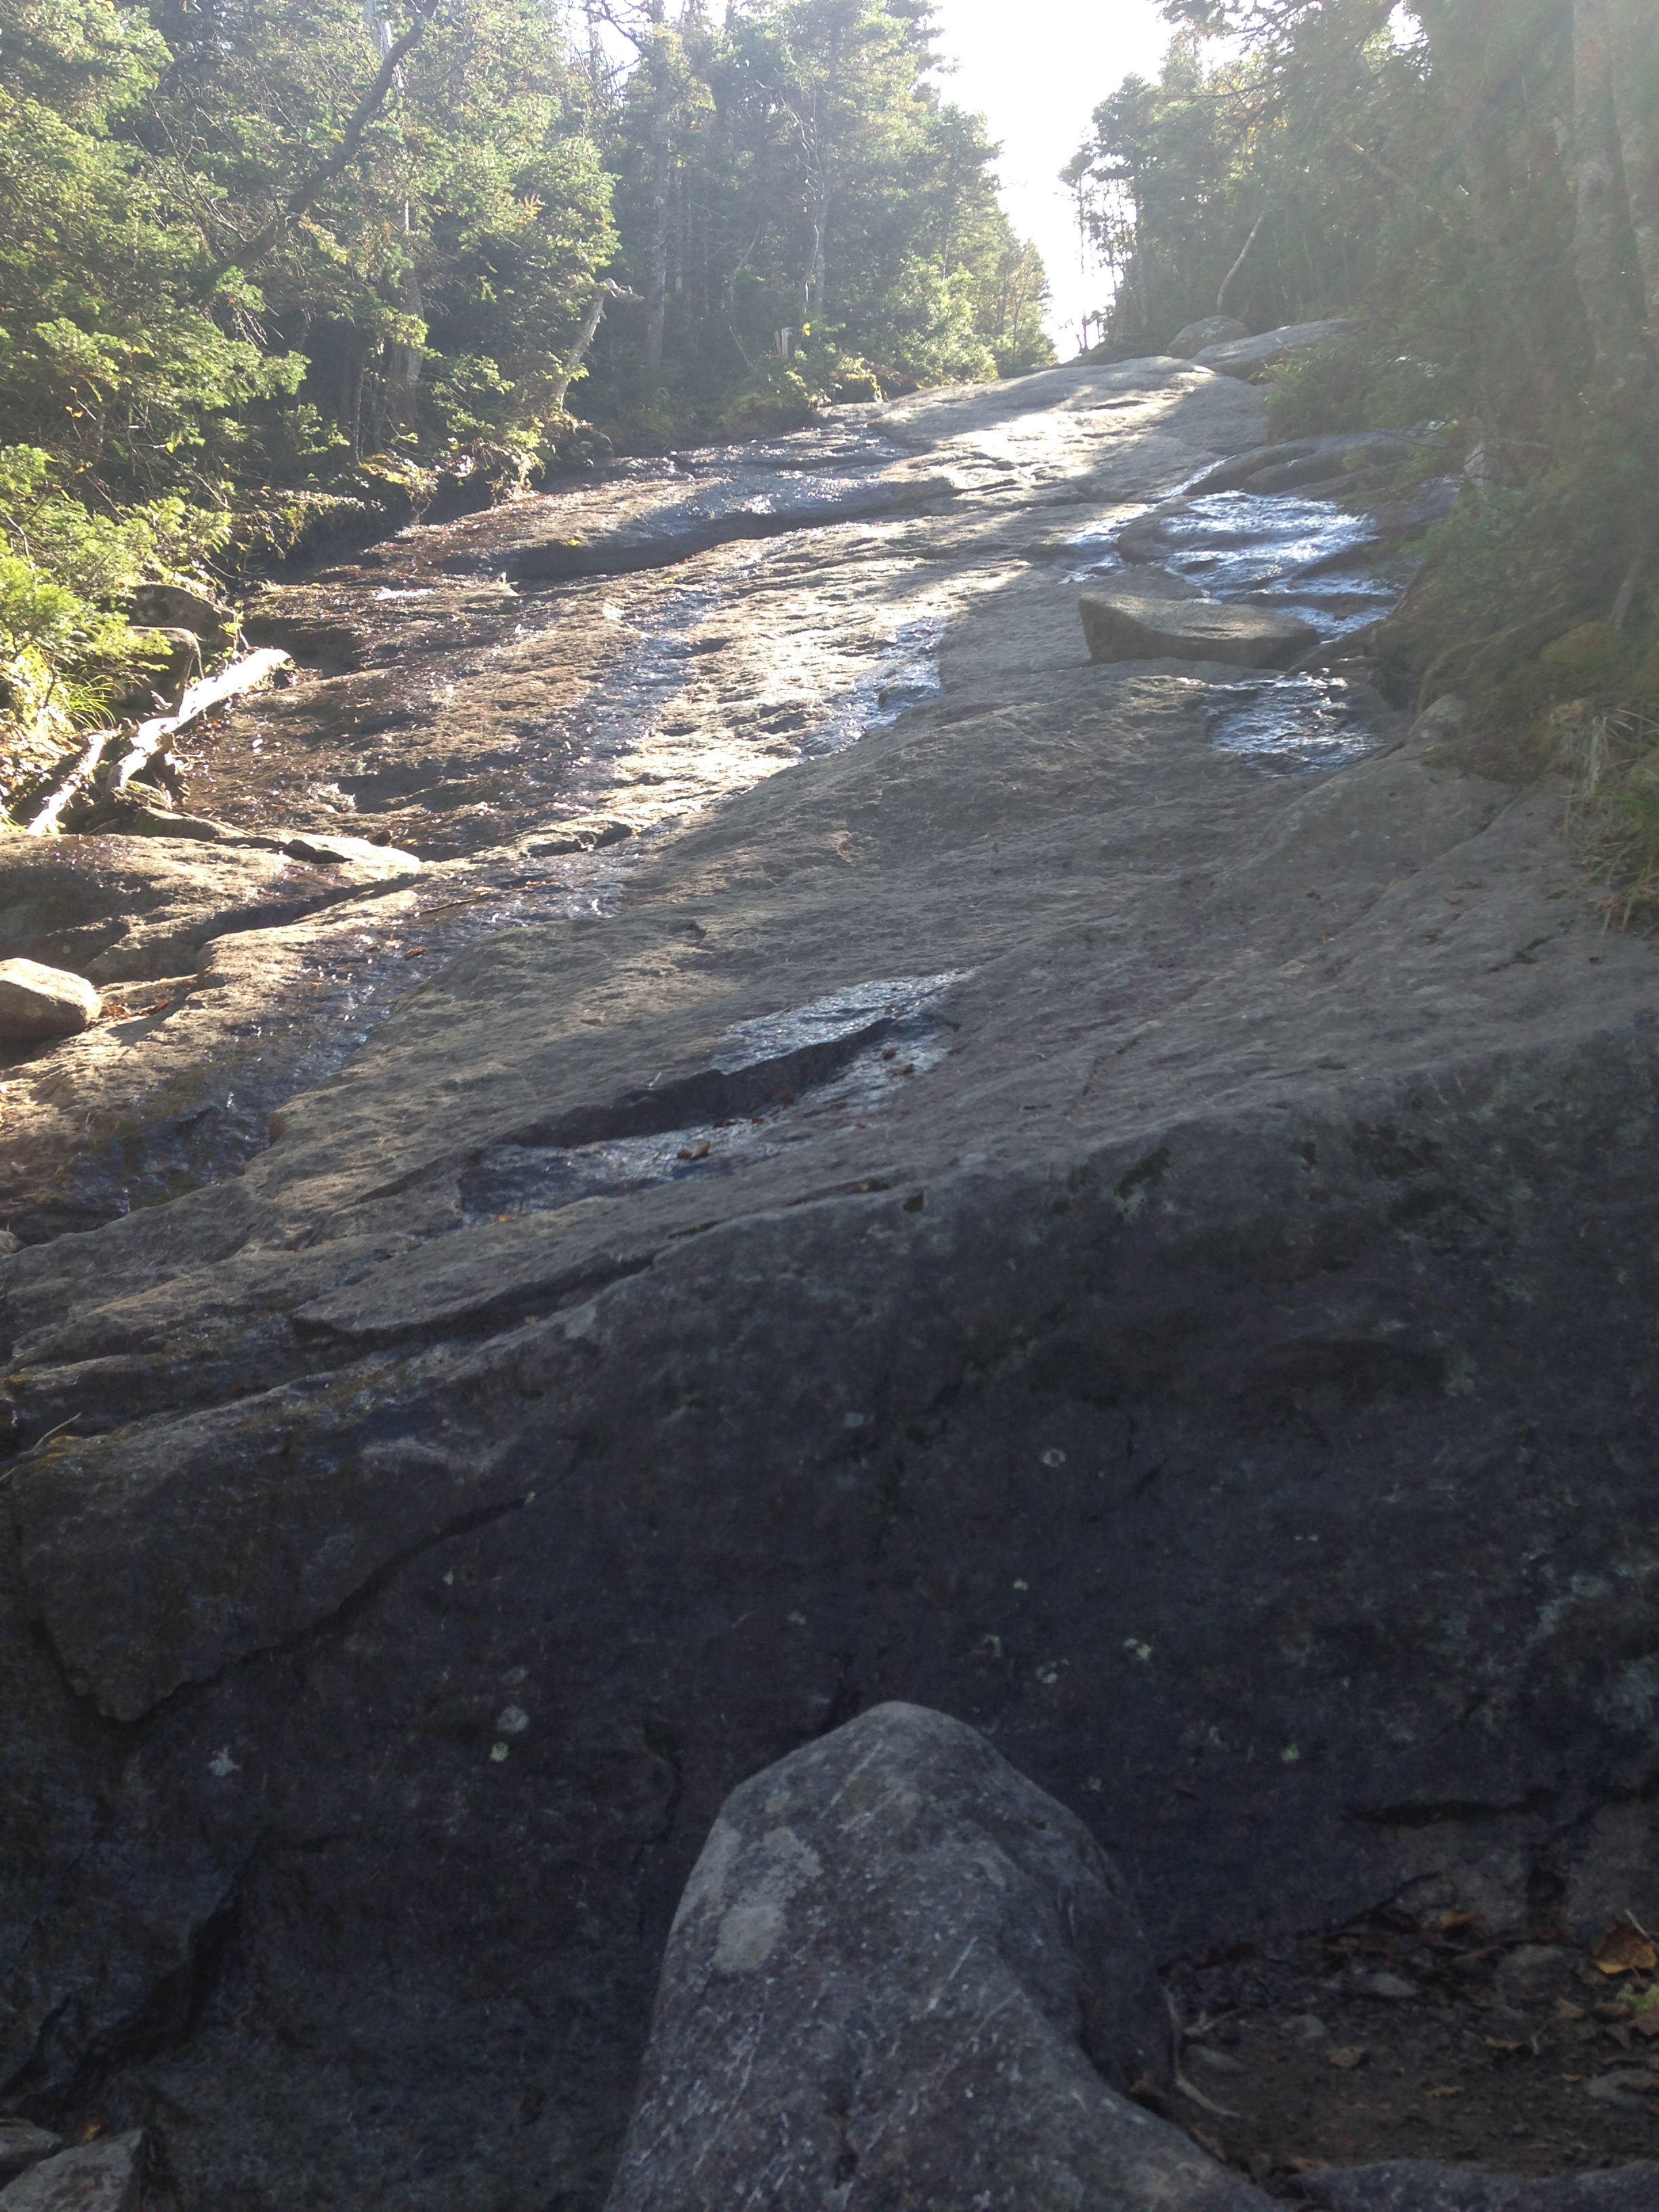
Here’s a view looking back from about halfway up the slide…

IMG_1782


IMG_1786


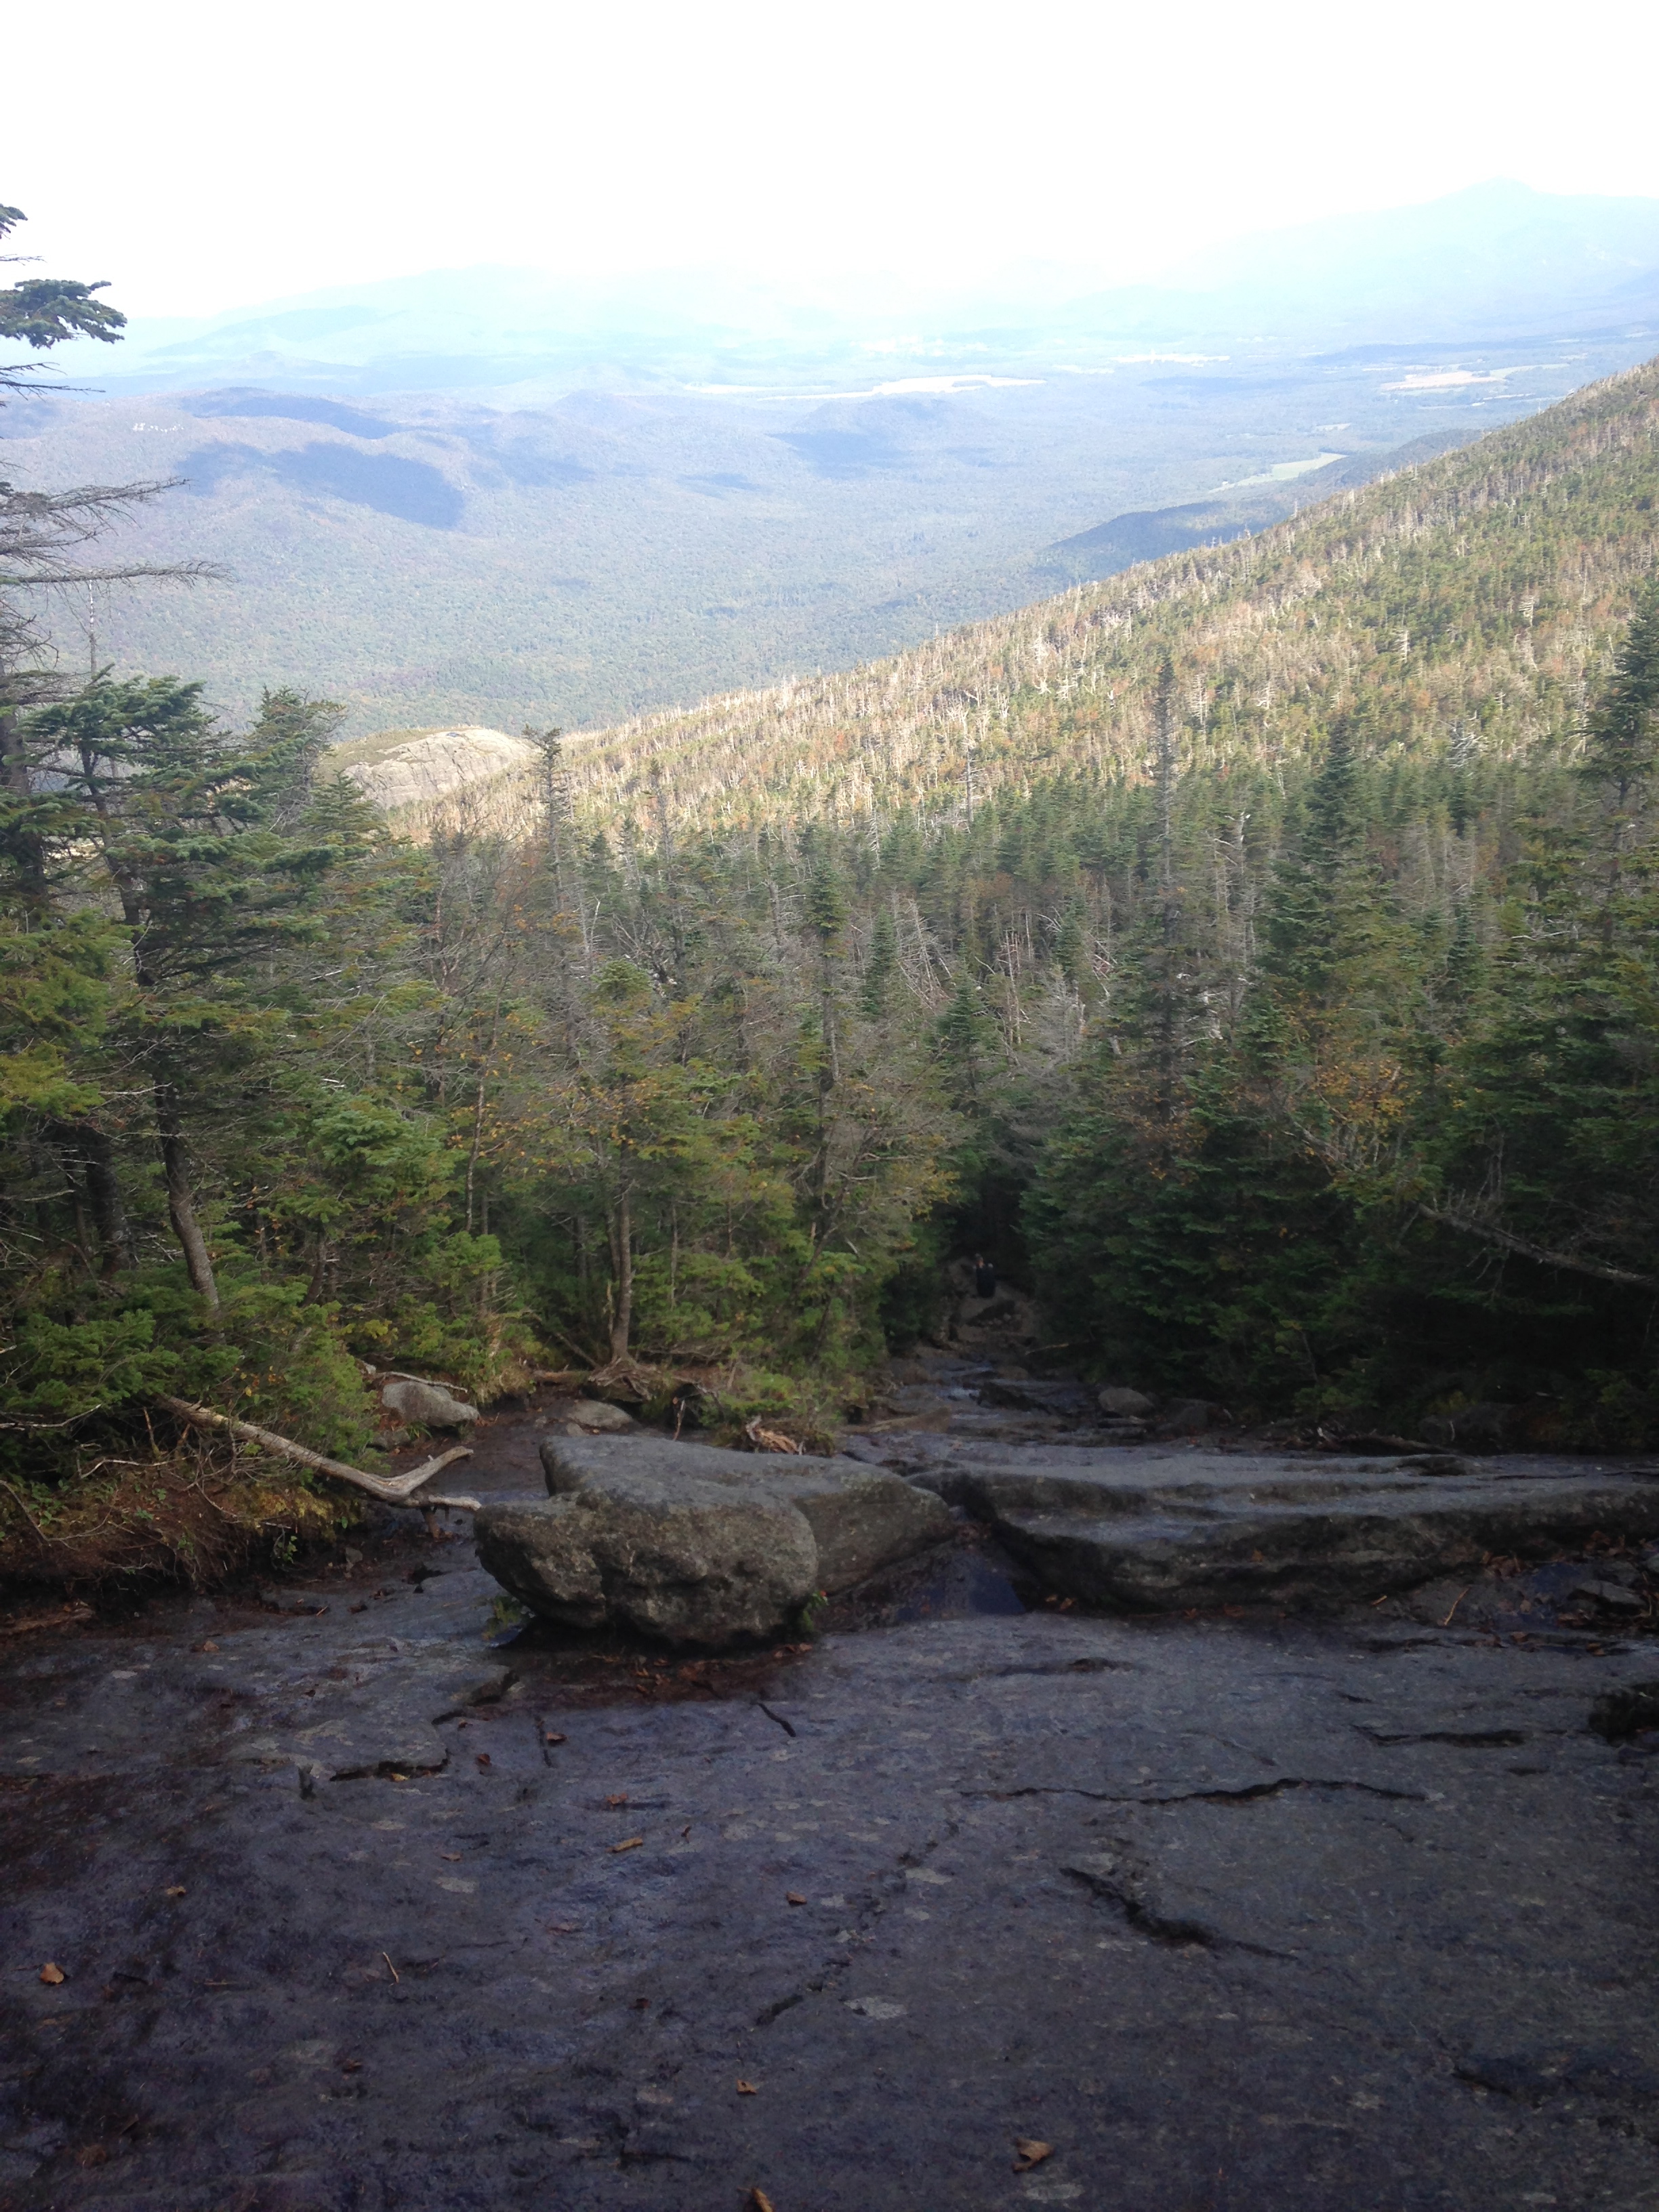
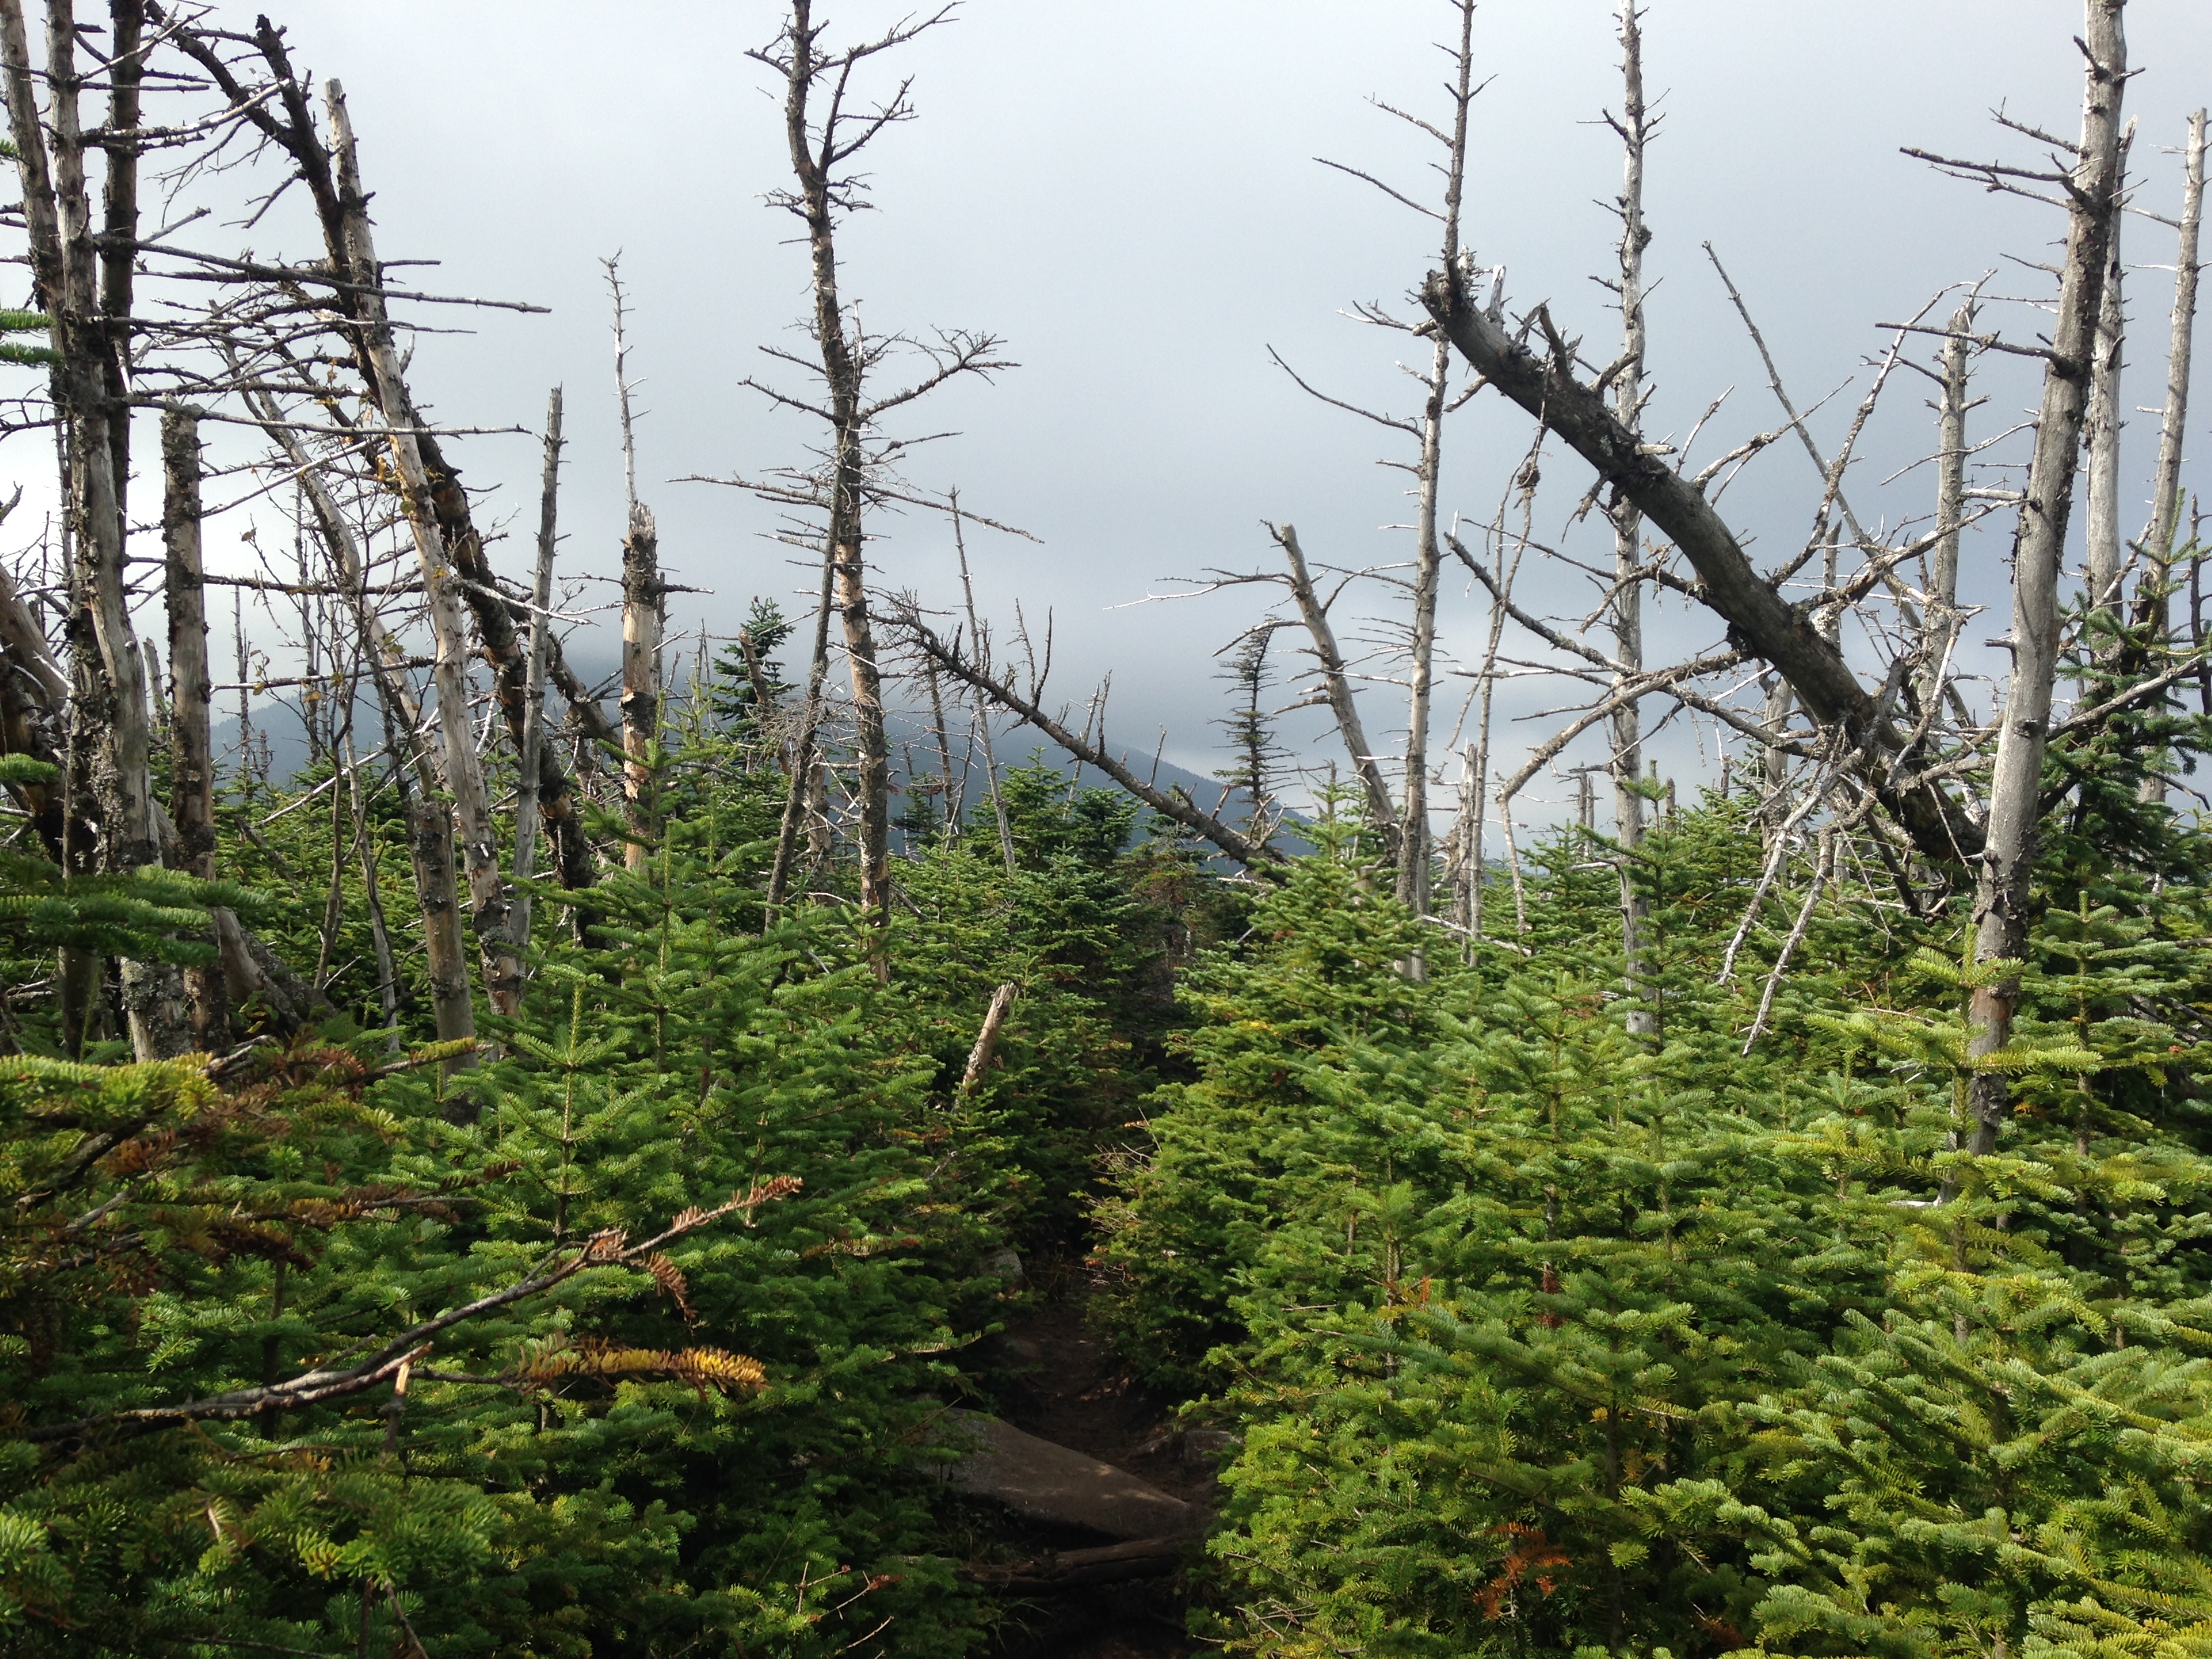
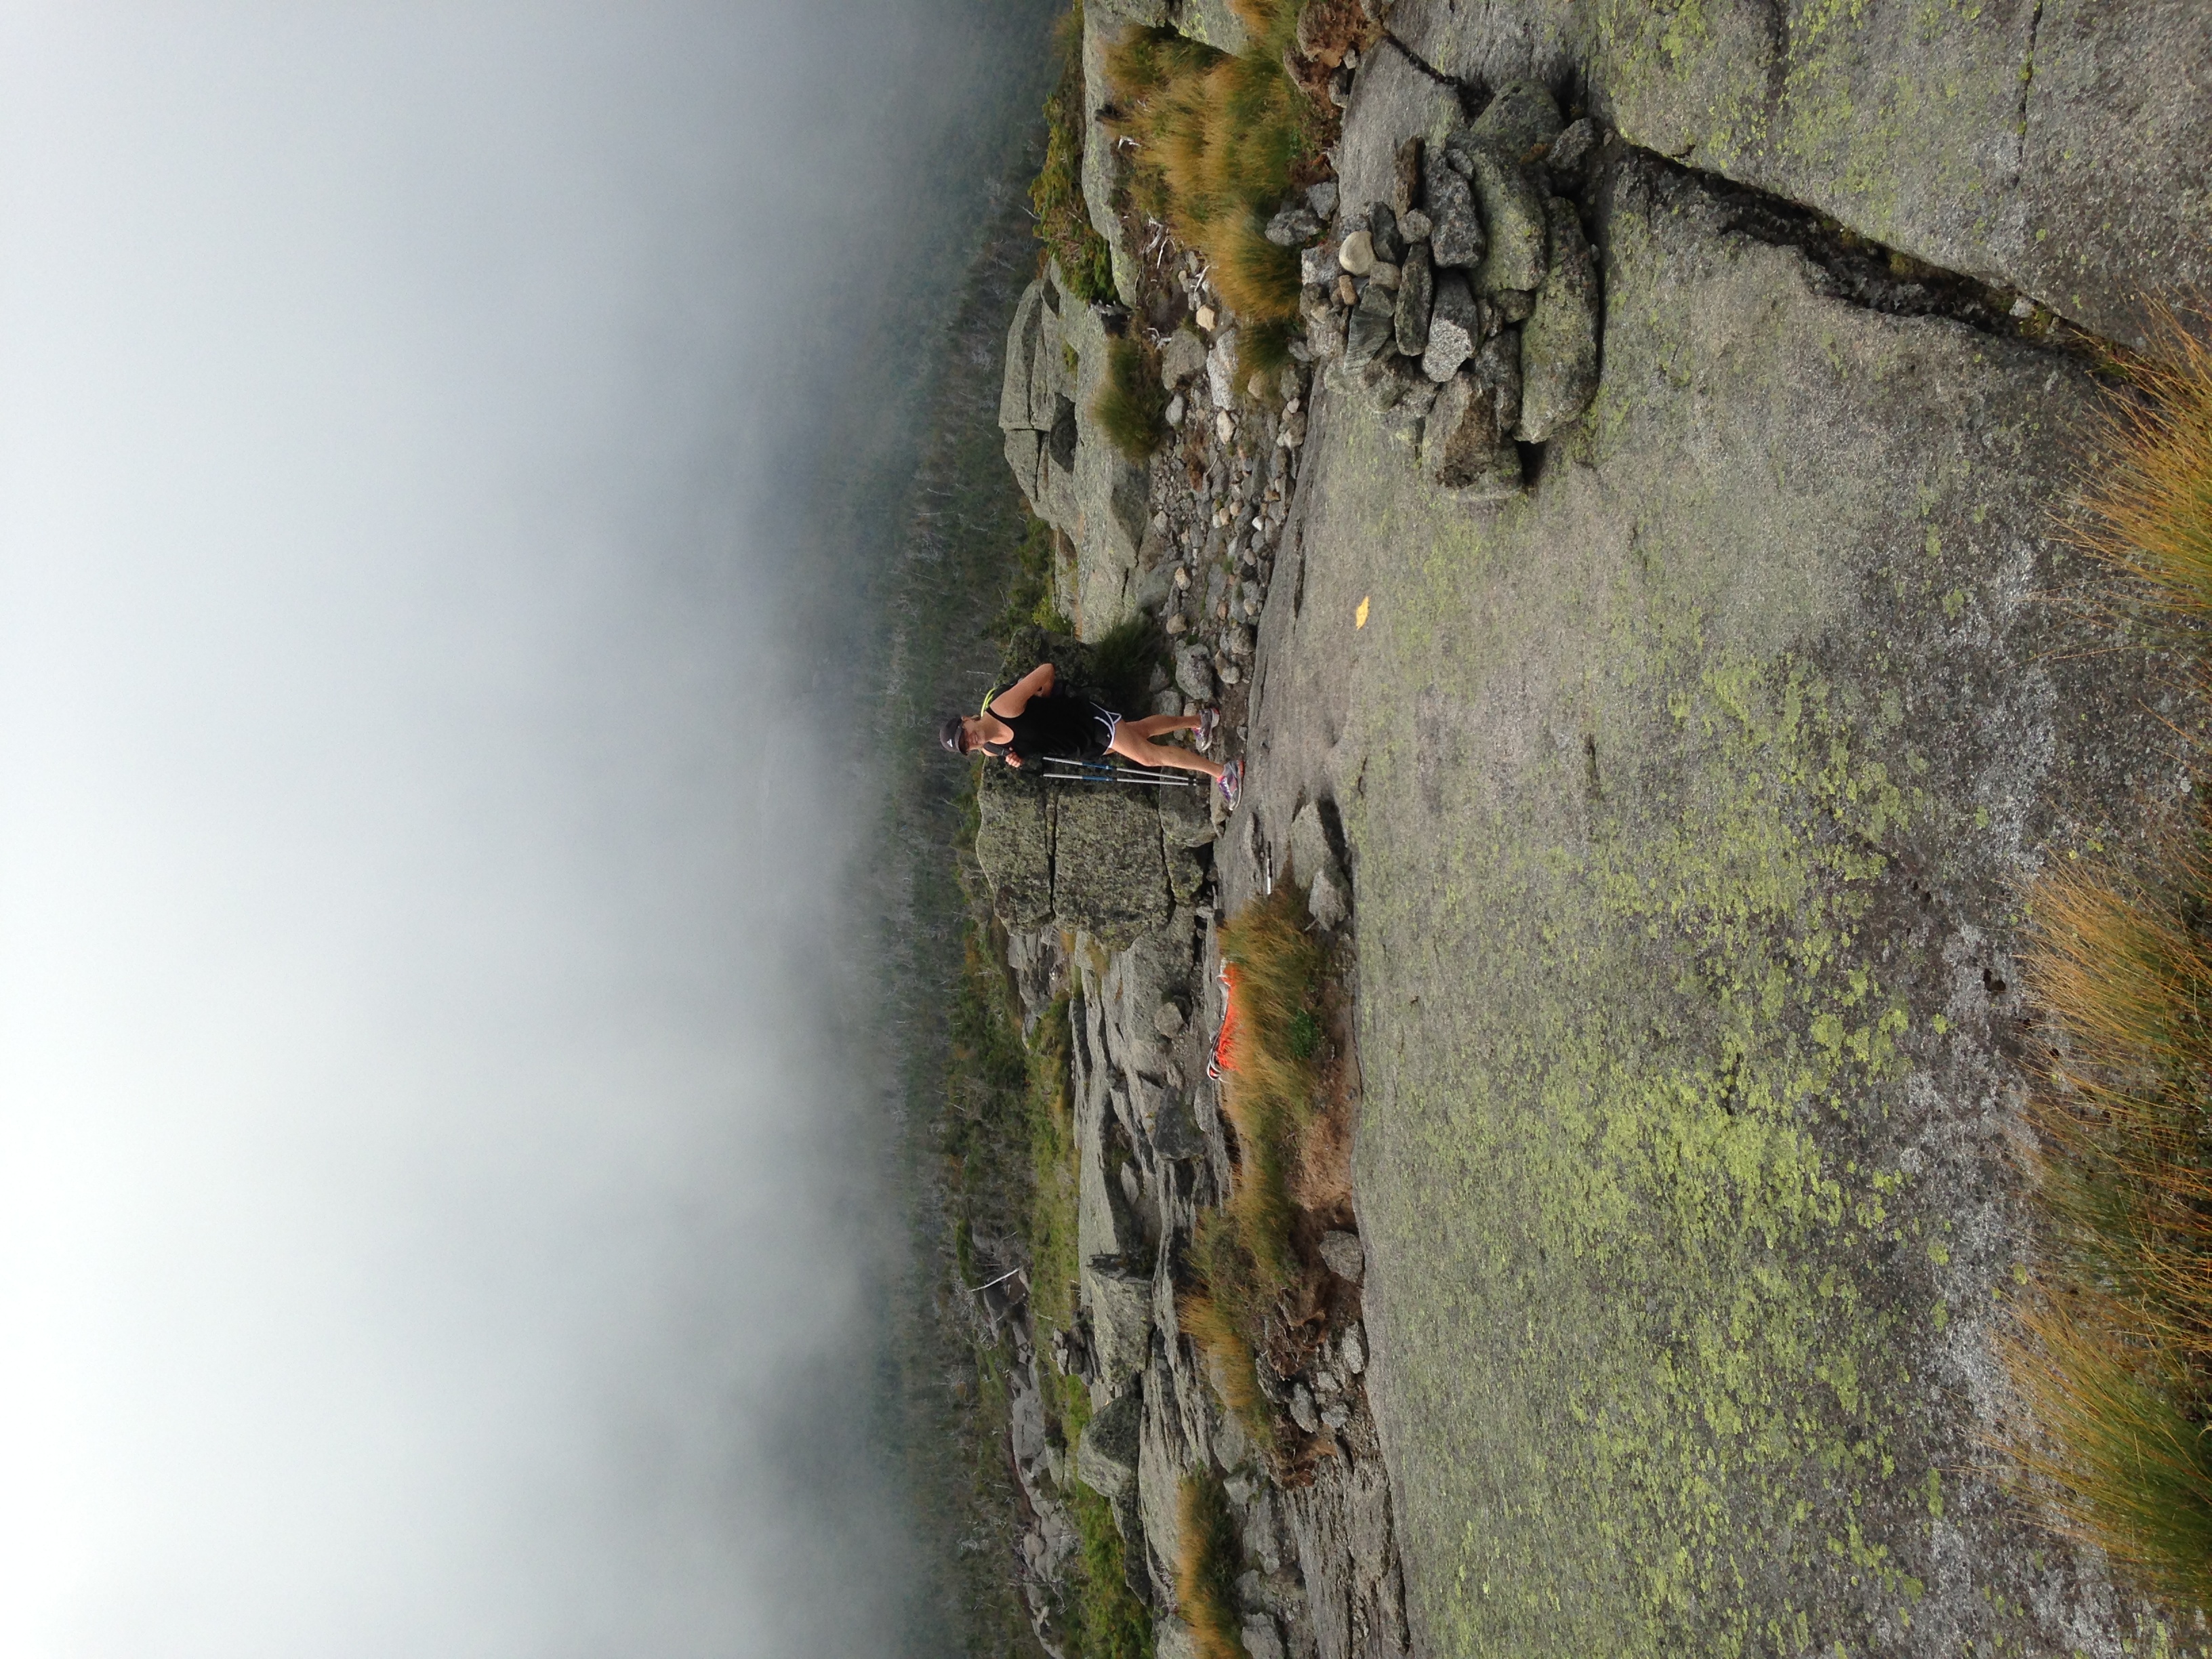
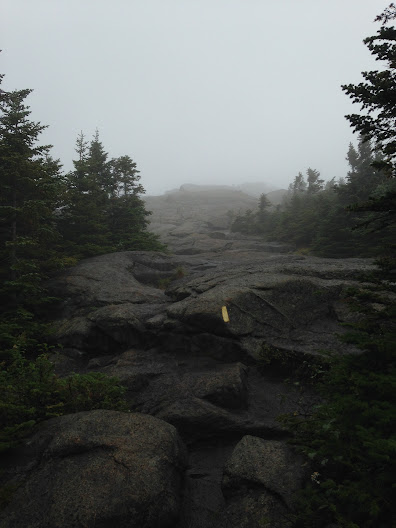
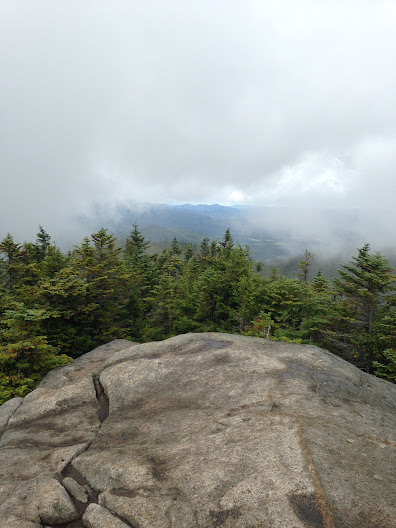
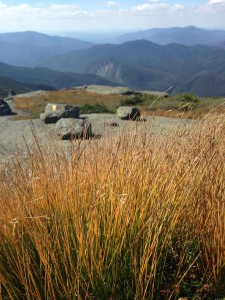
I went up a few more rock scrambles after the slide – these were more fun than scary – and then the trail leaves the trees and continues over a rocky alpine zone.

IMG_1787


IMG_1792


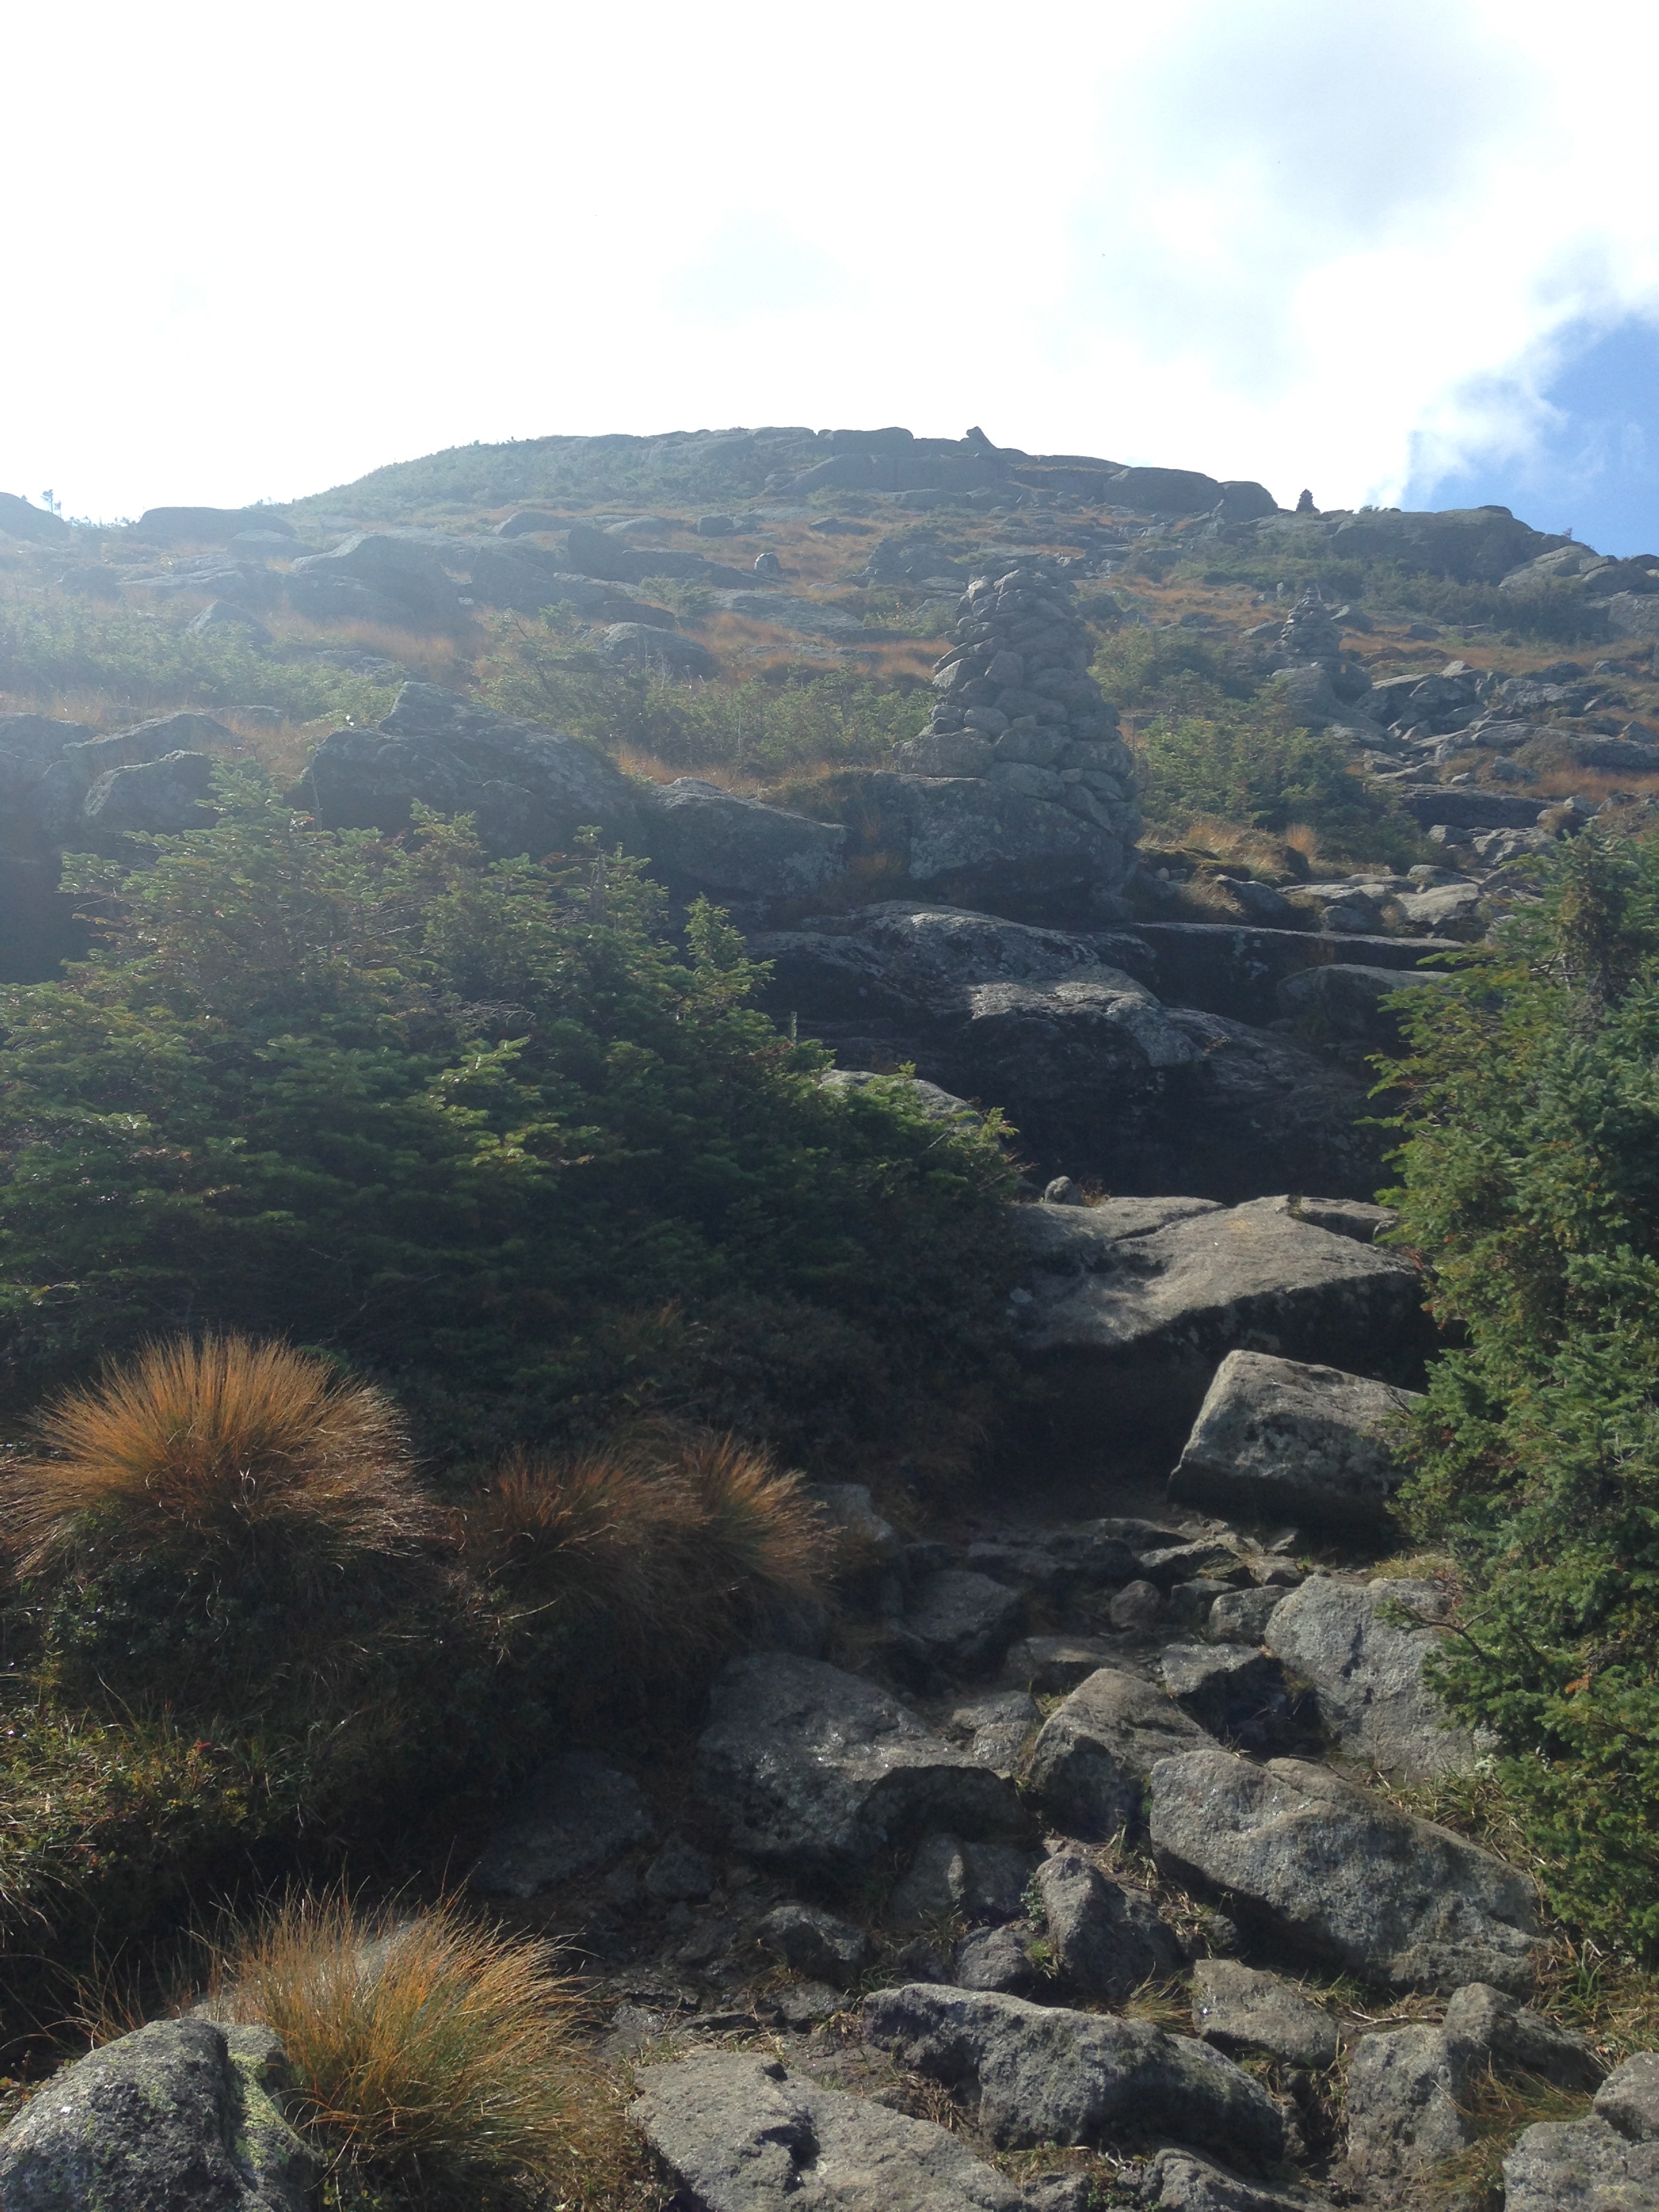
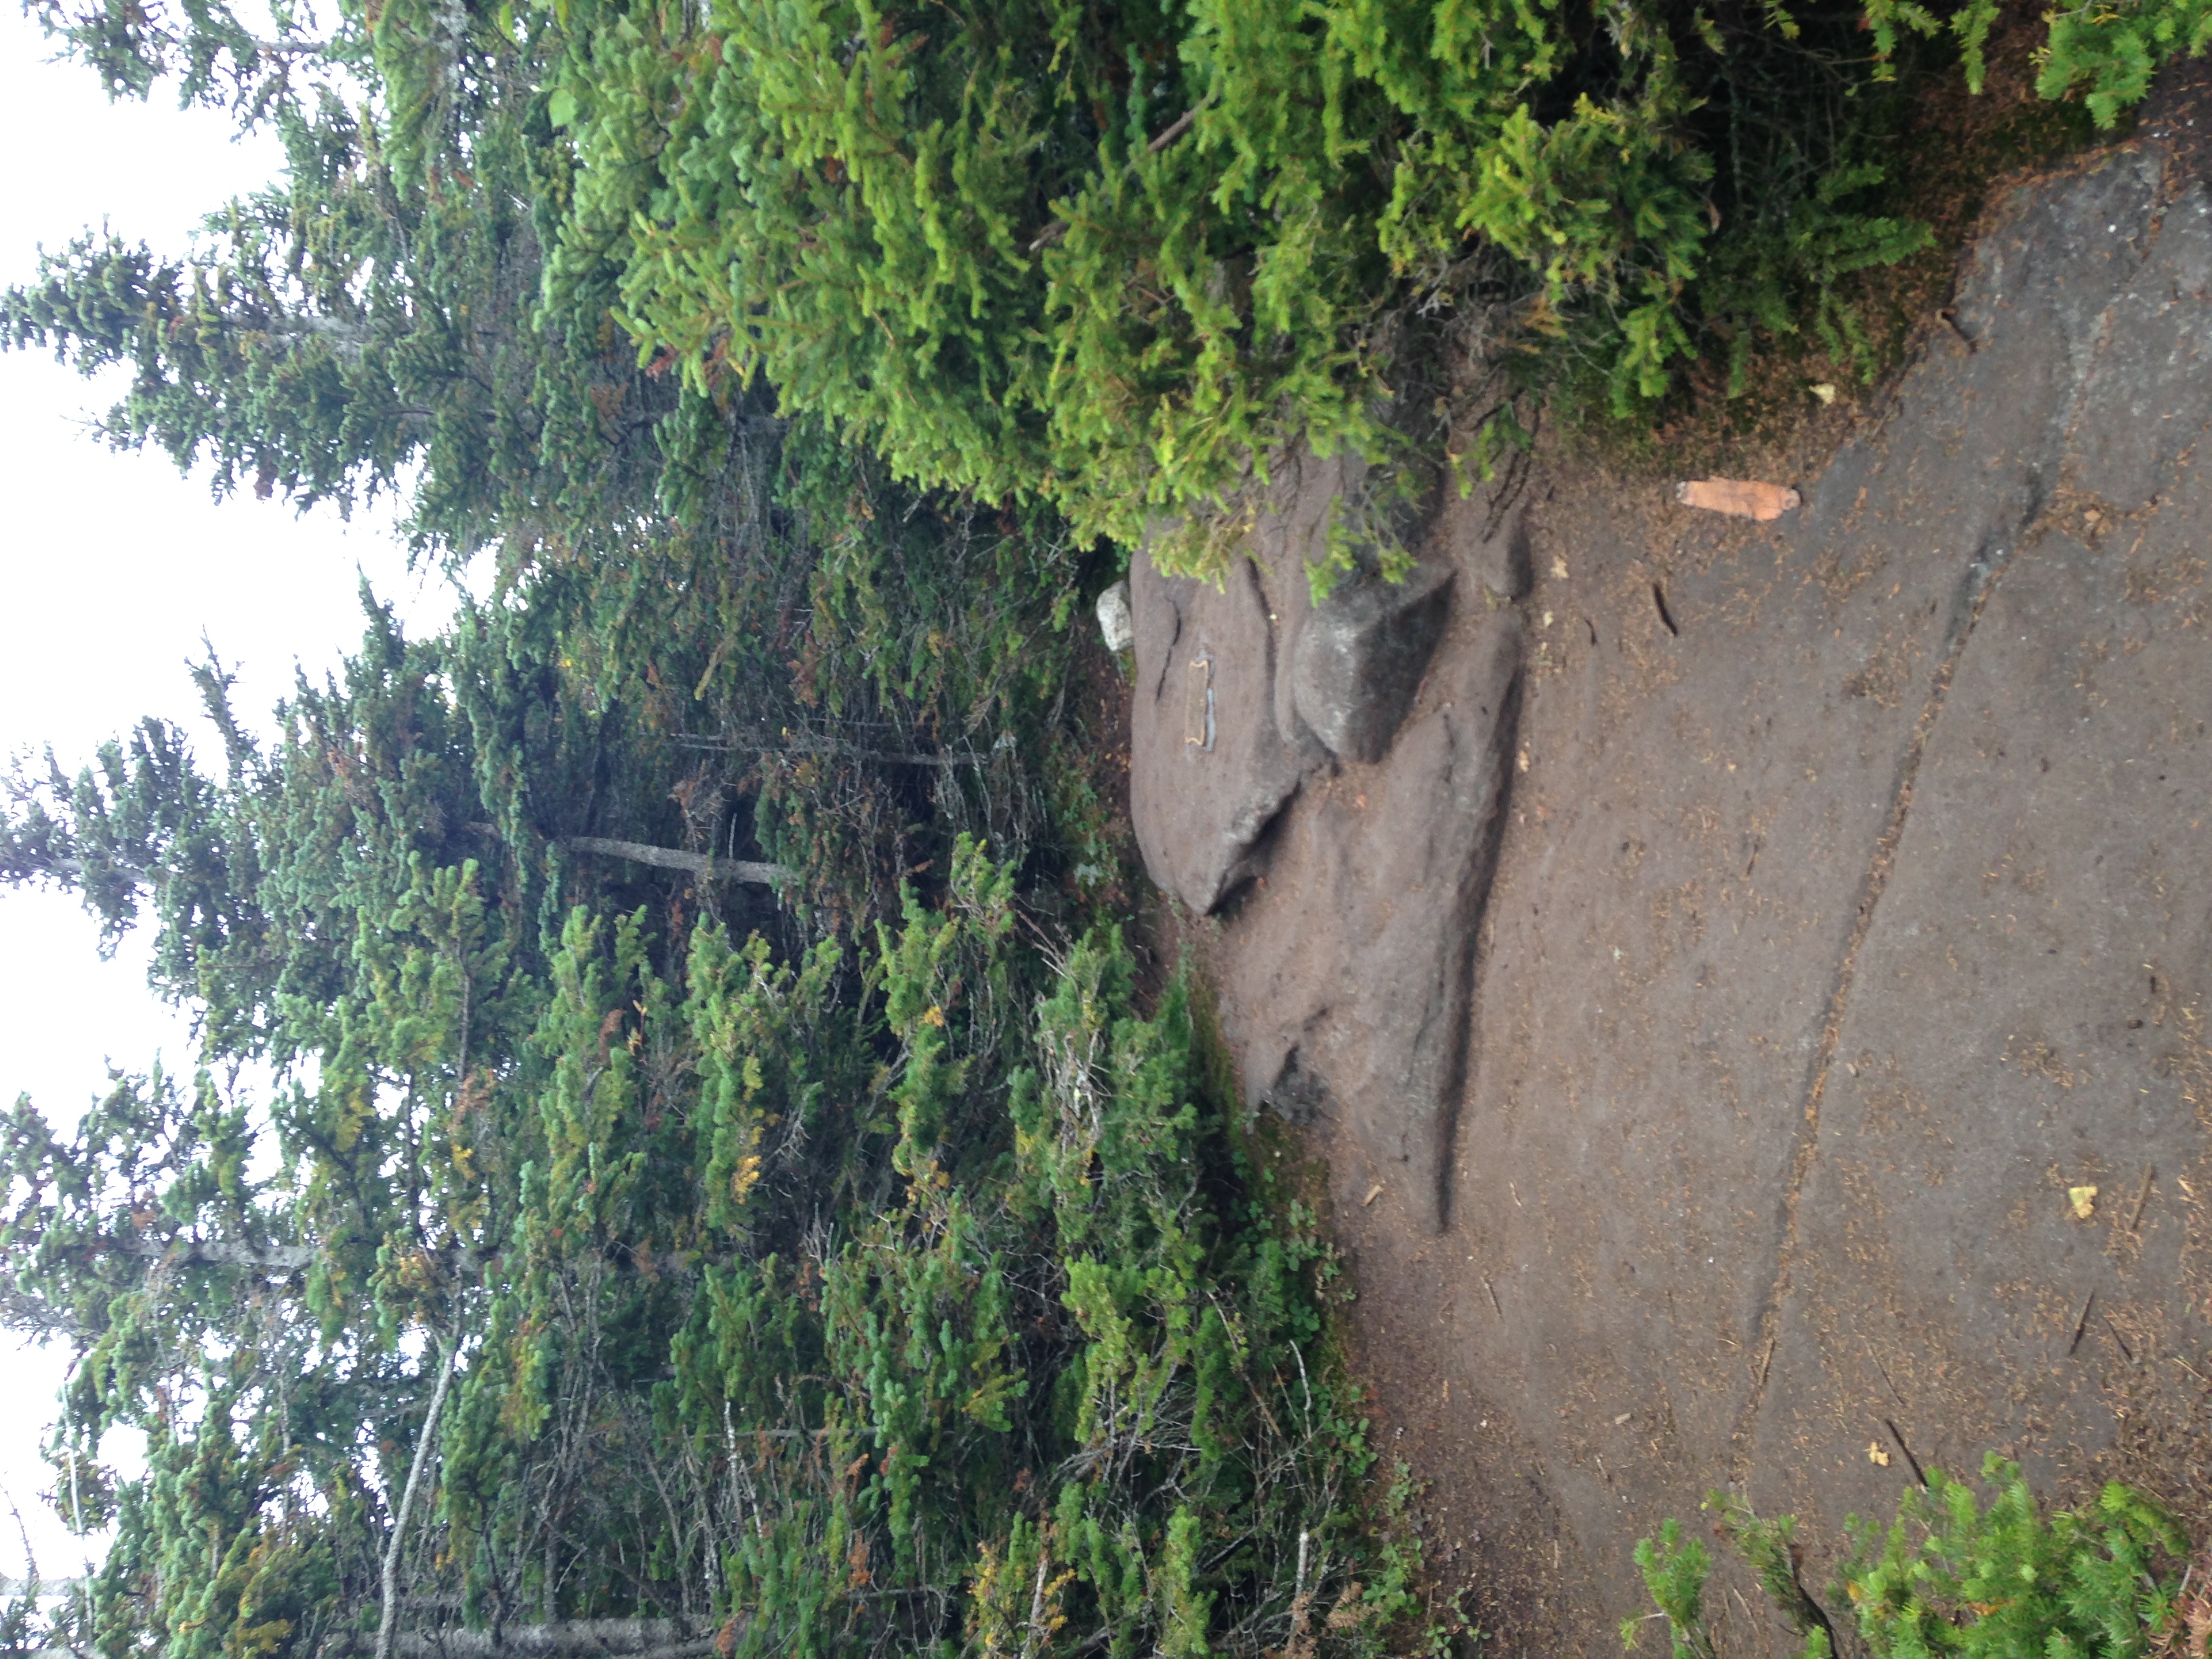
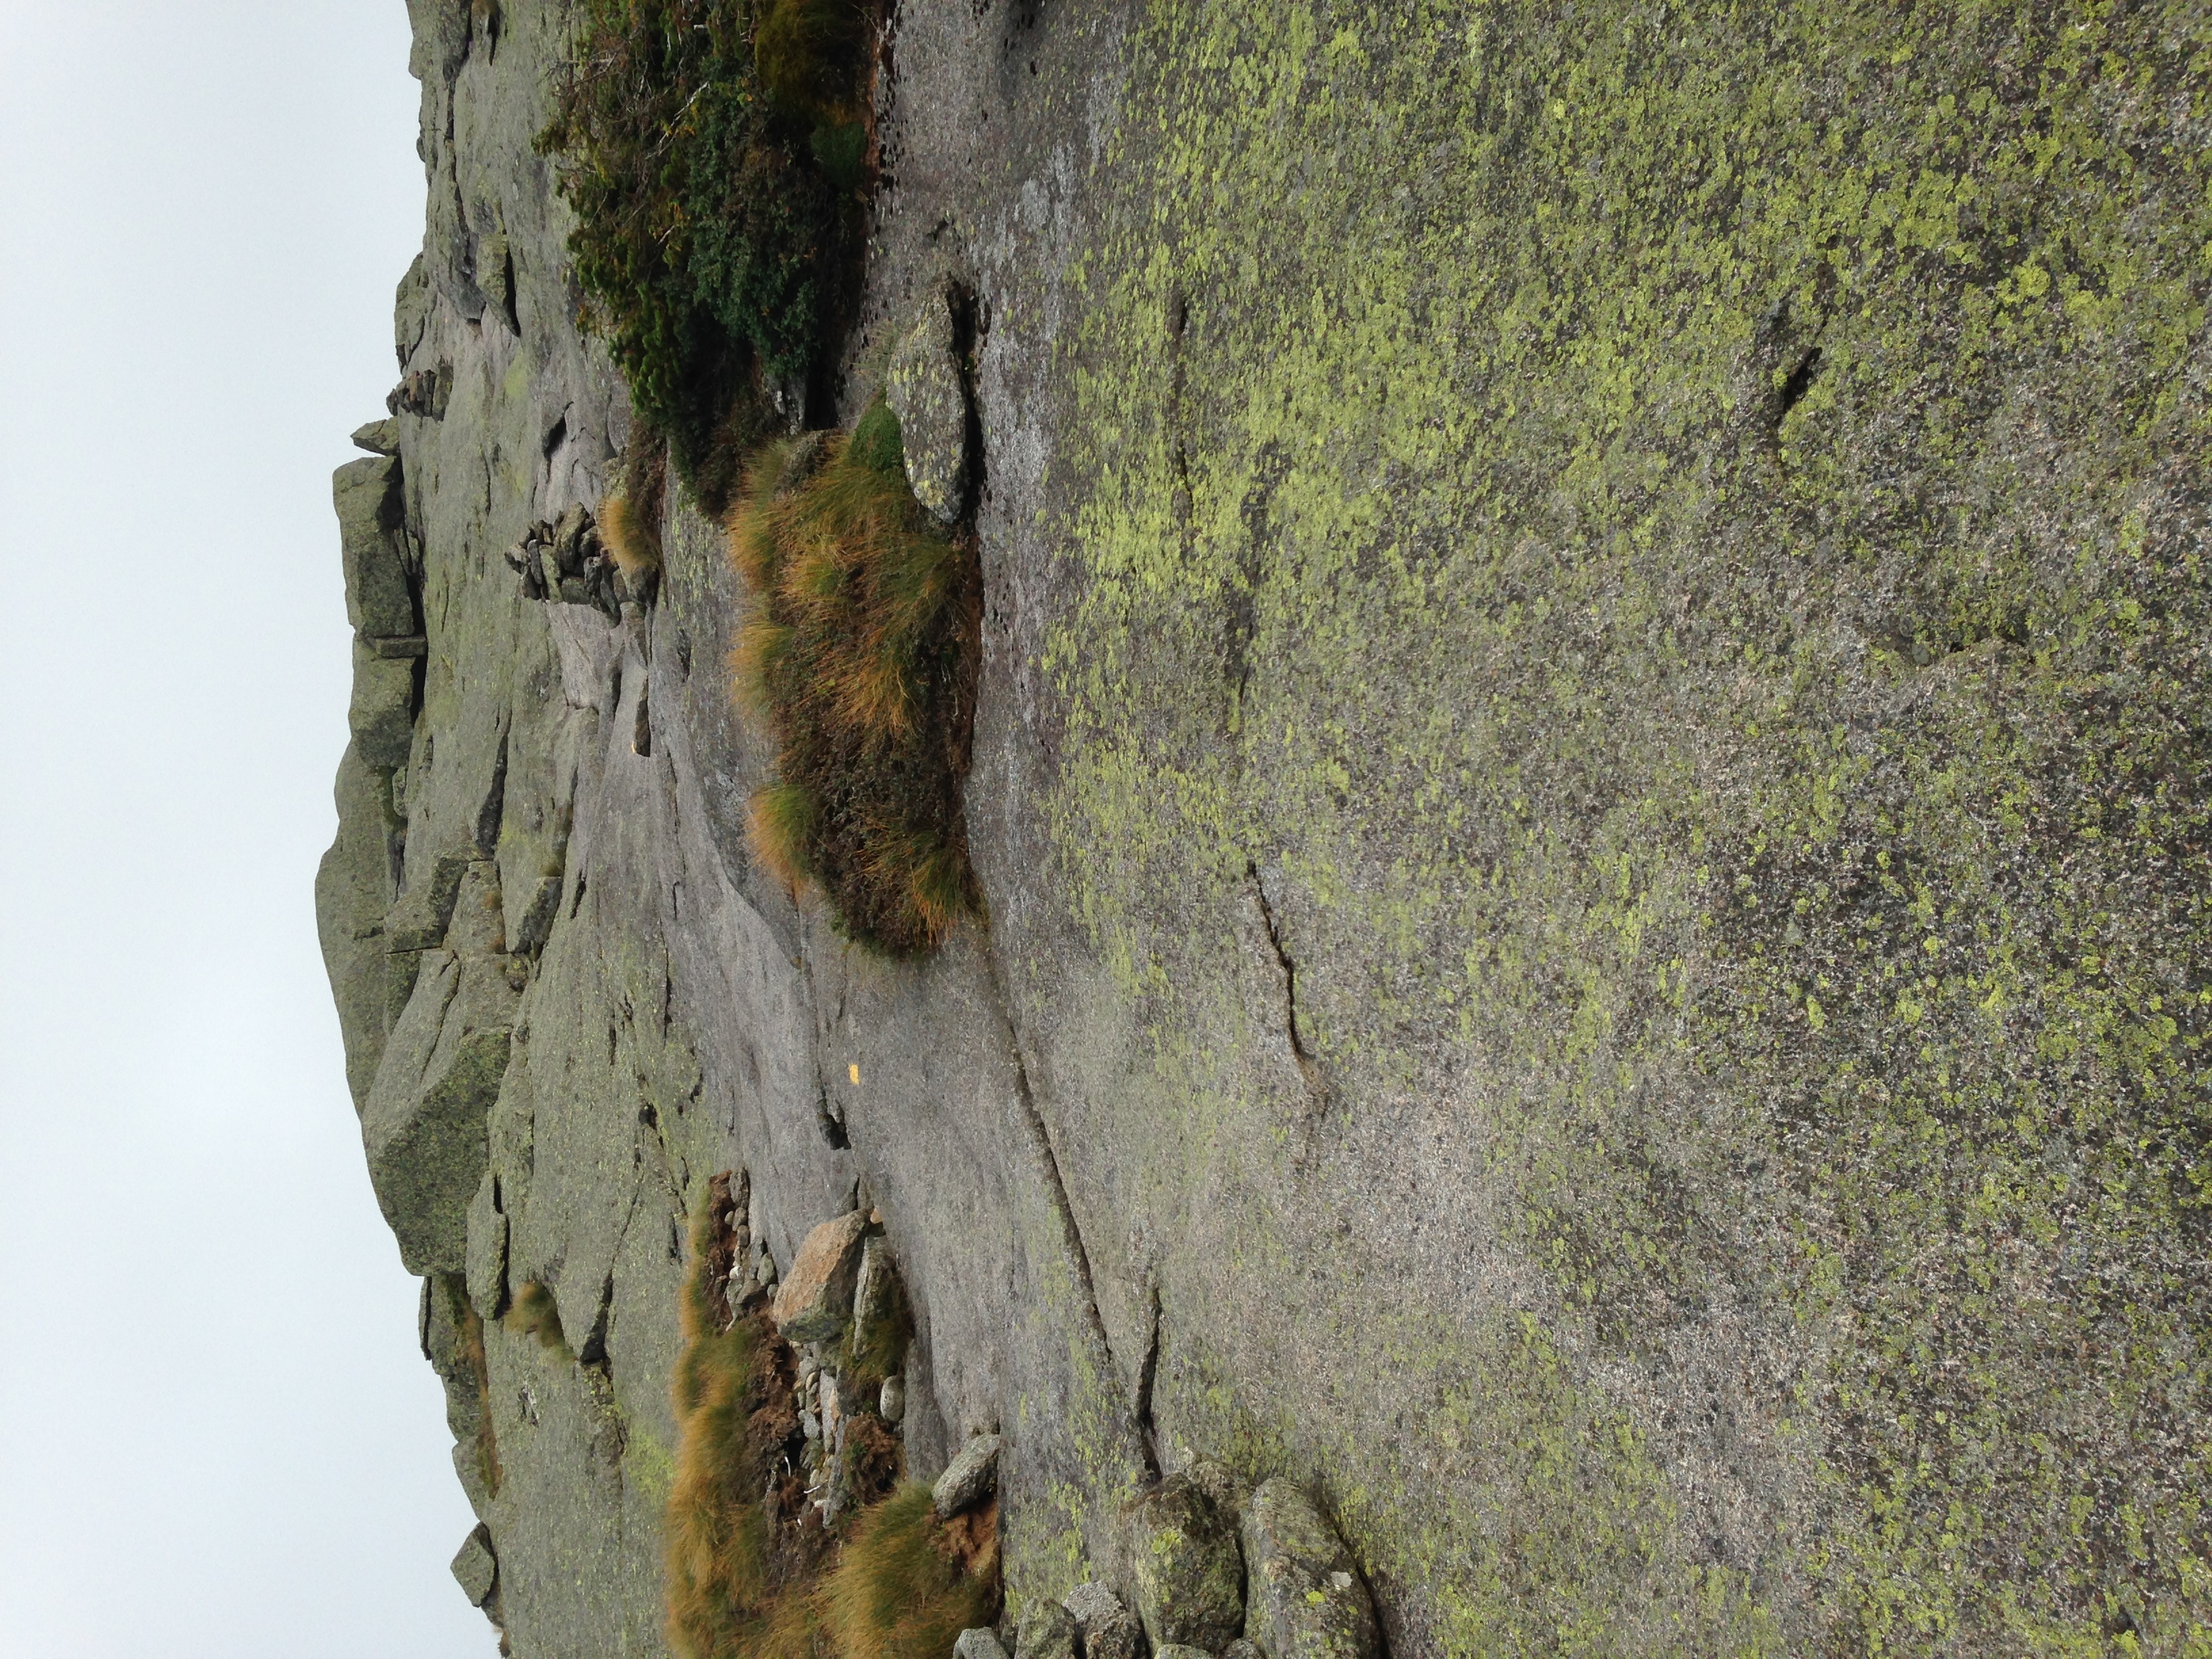
From here, I followed the rock cairns over a wandering path to the summit.

IMG_1791

IMG_1814


IMG_1806


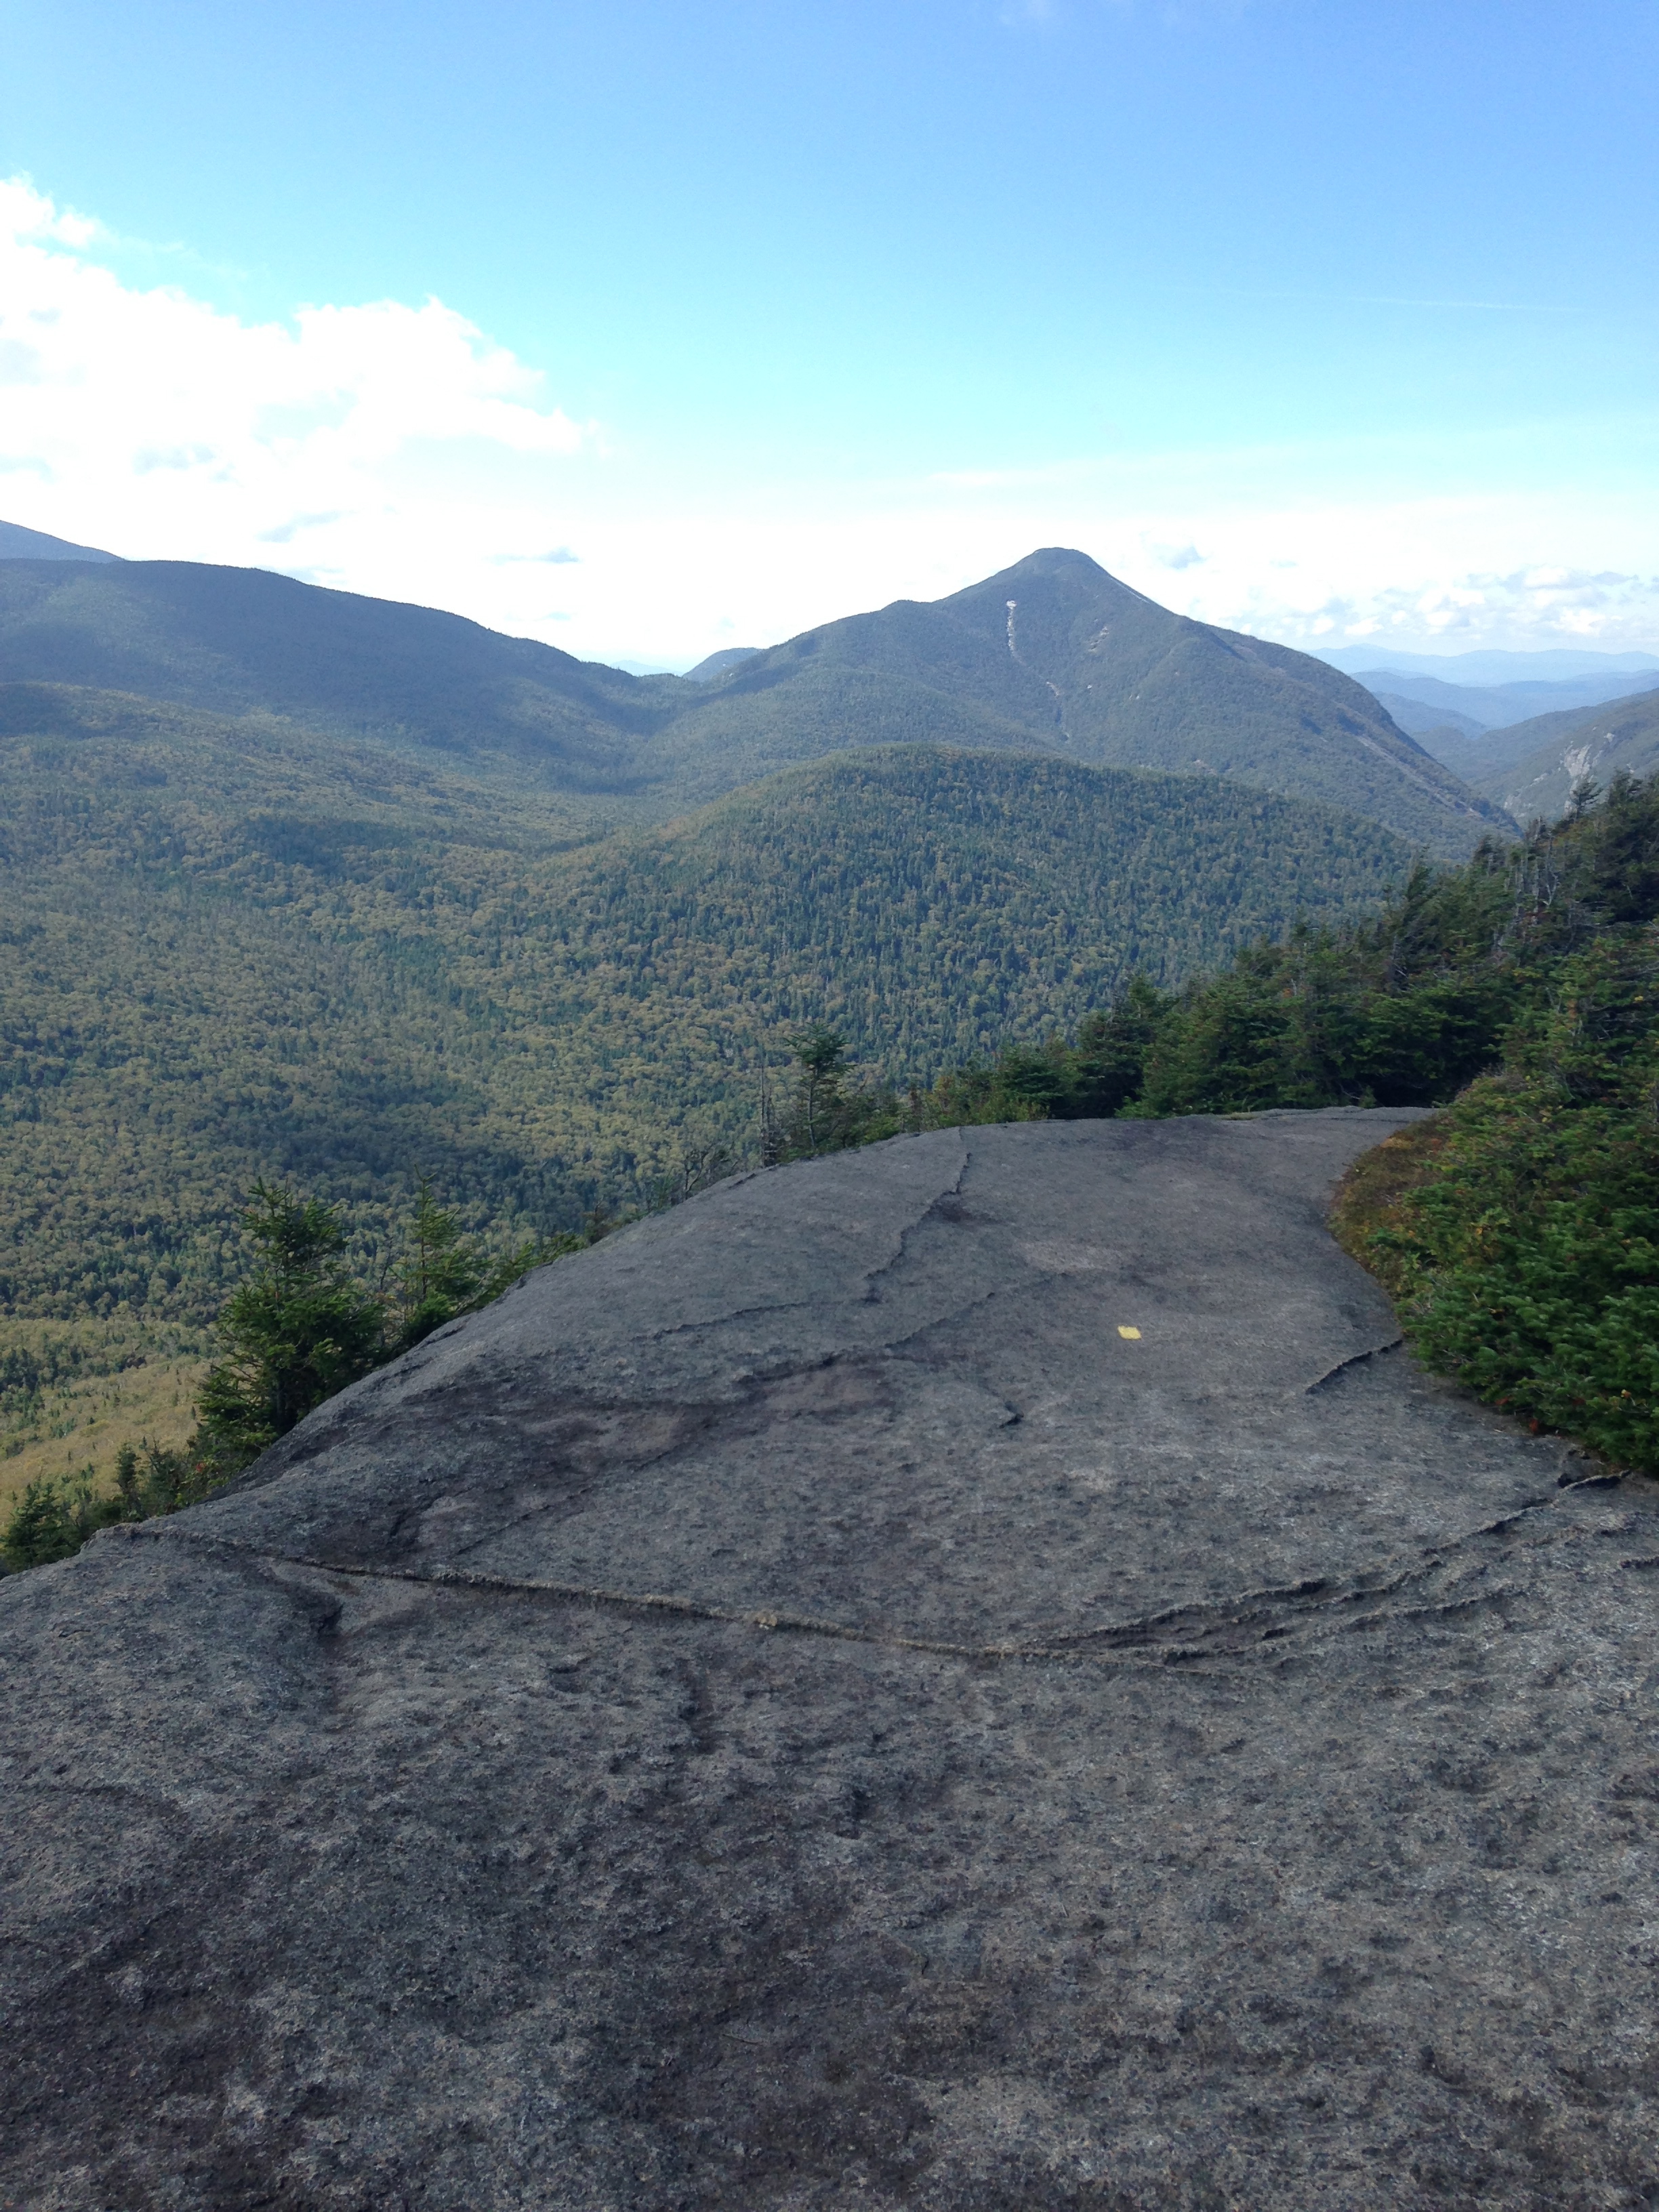
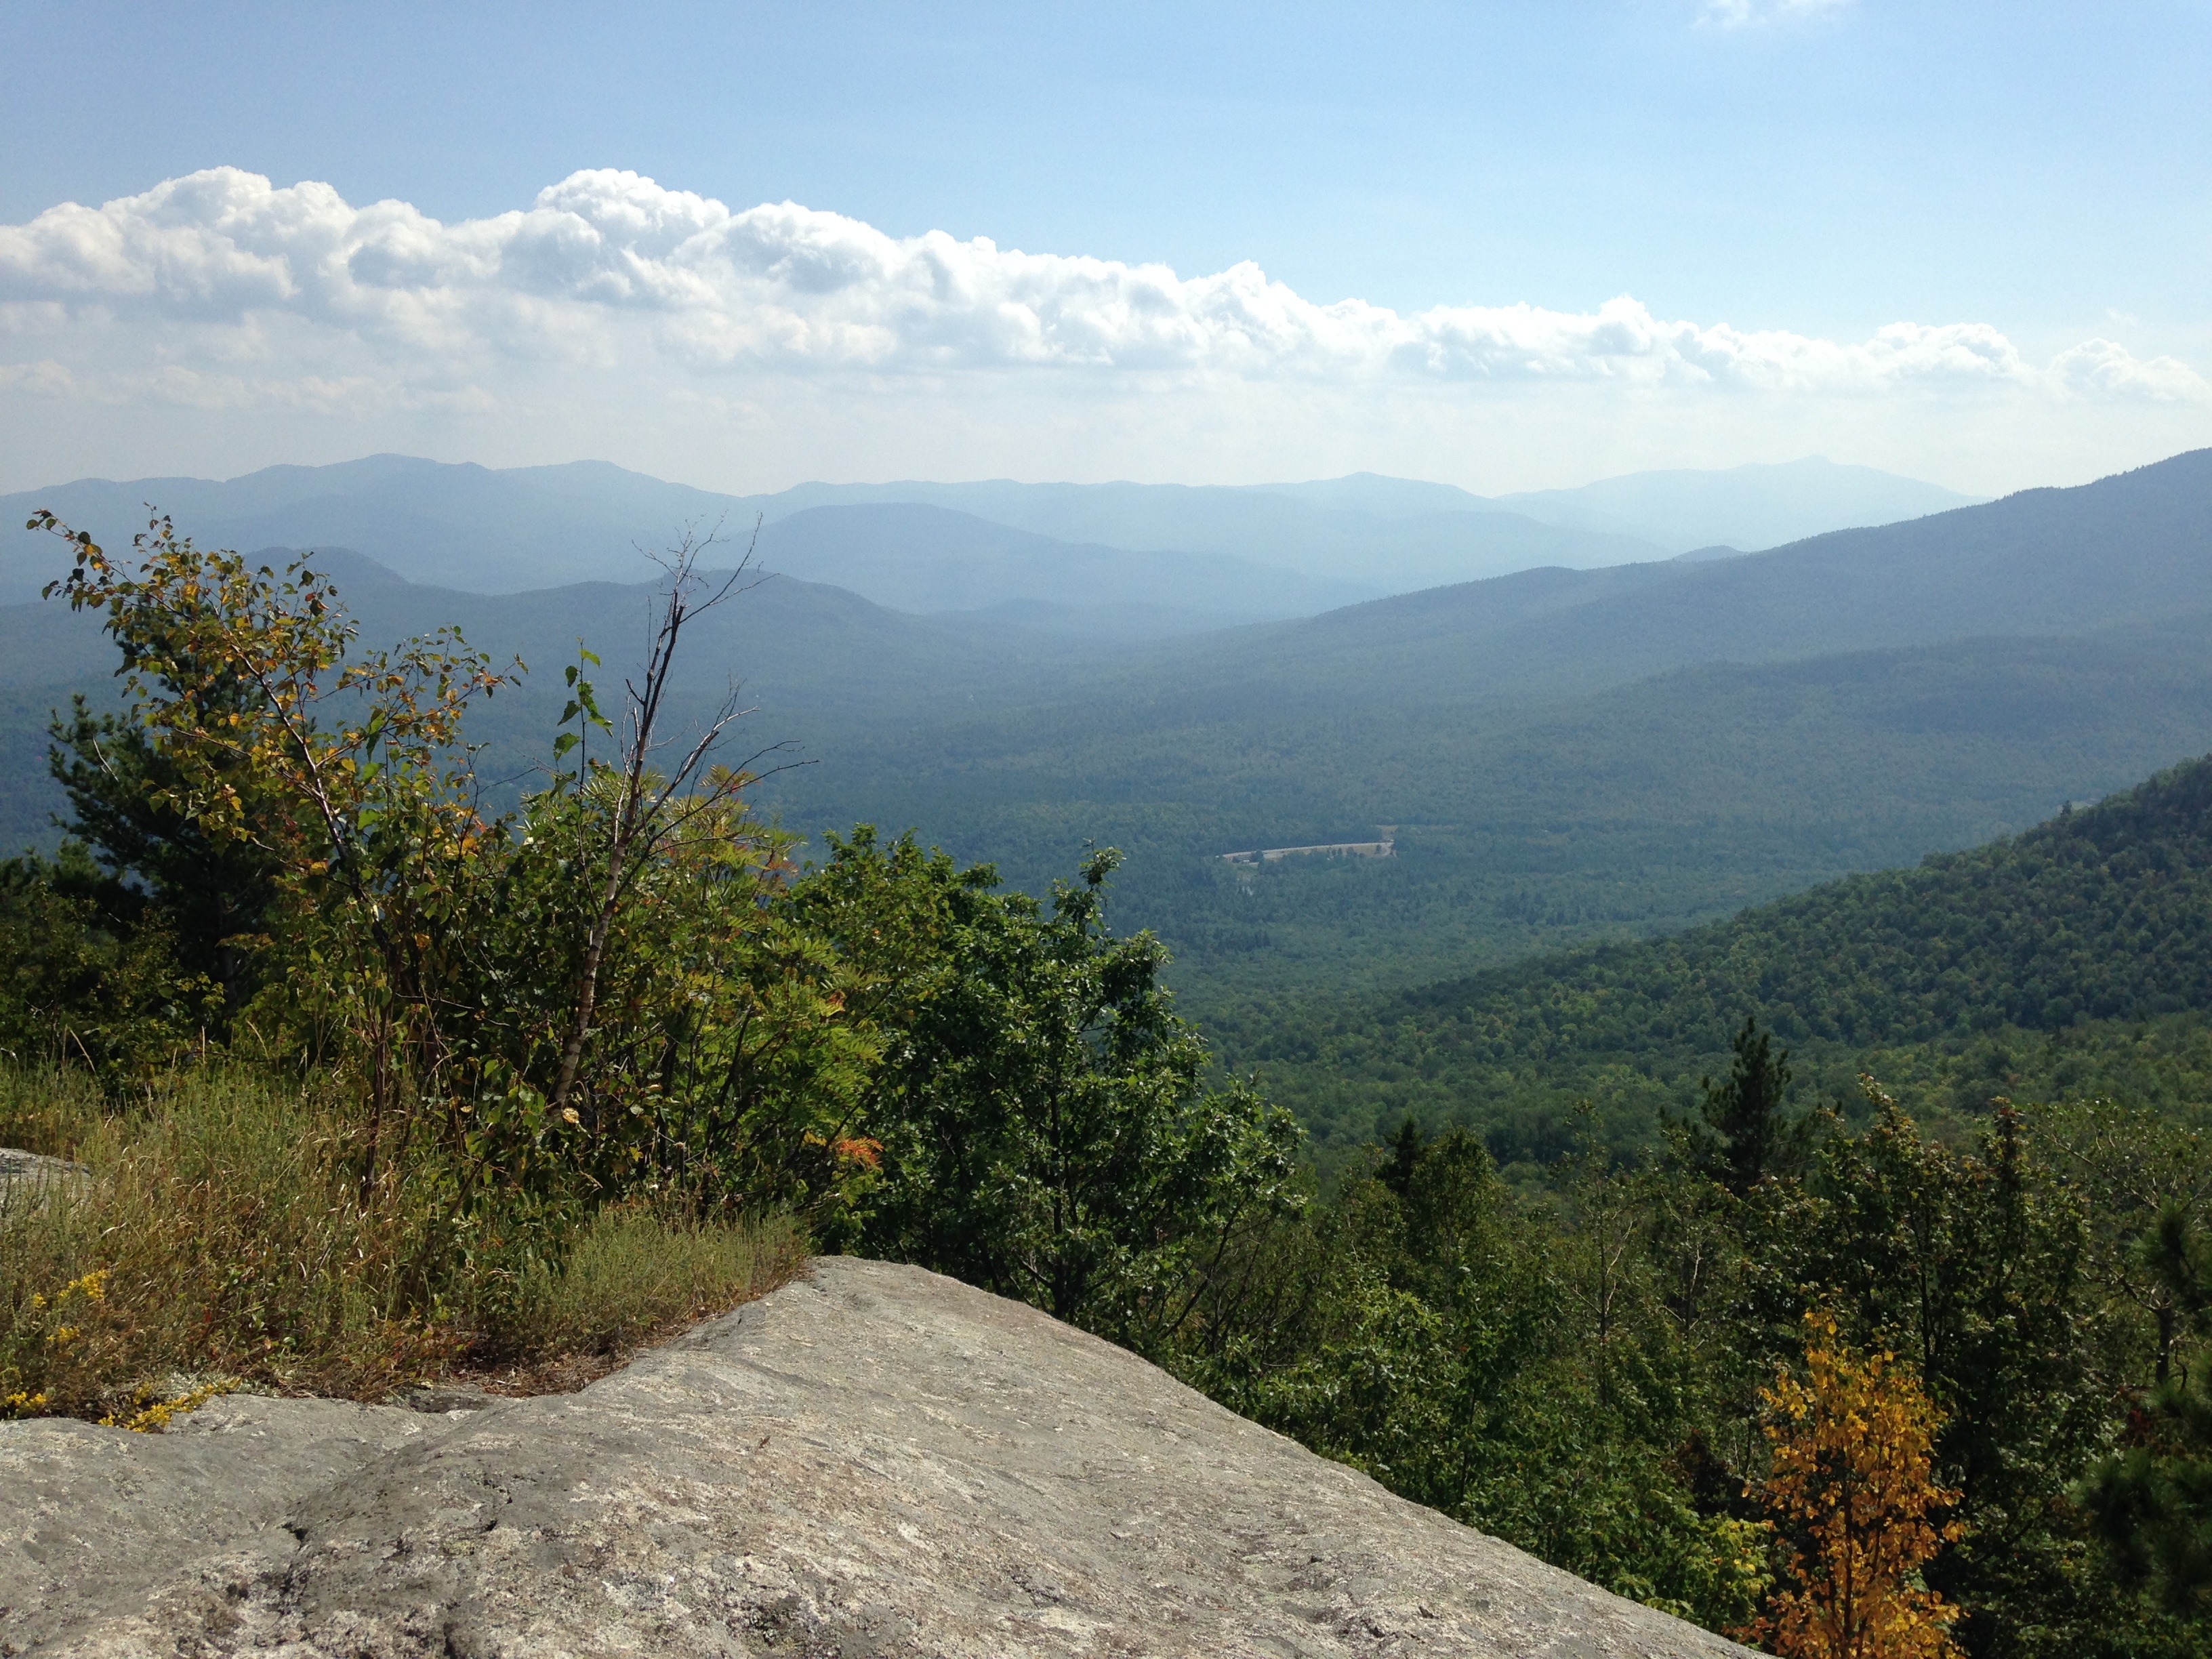
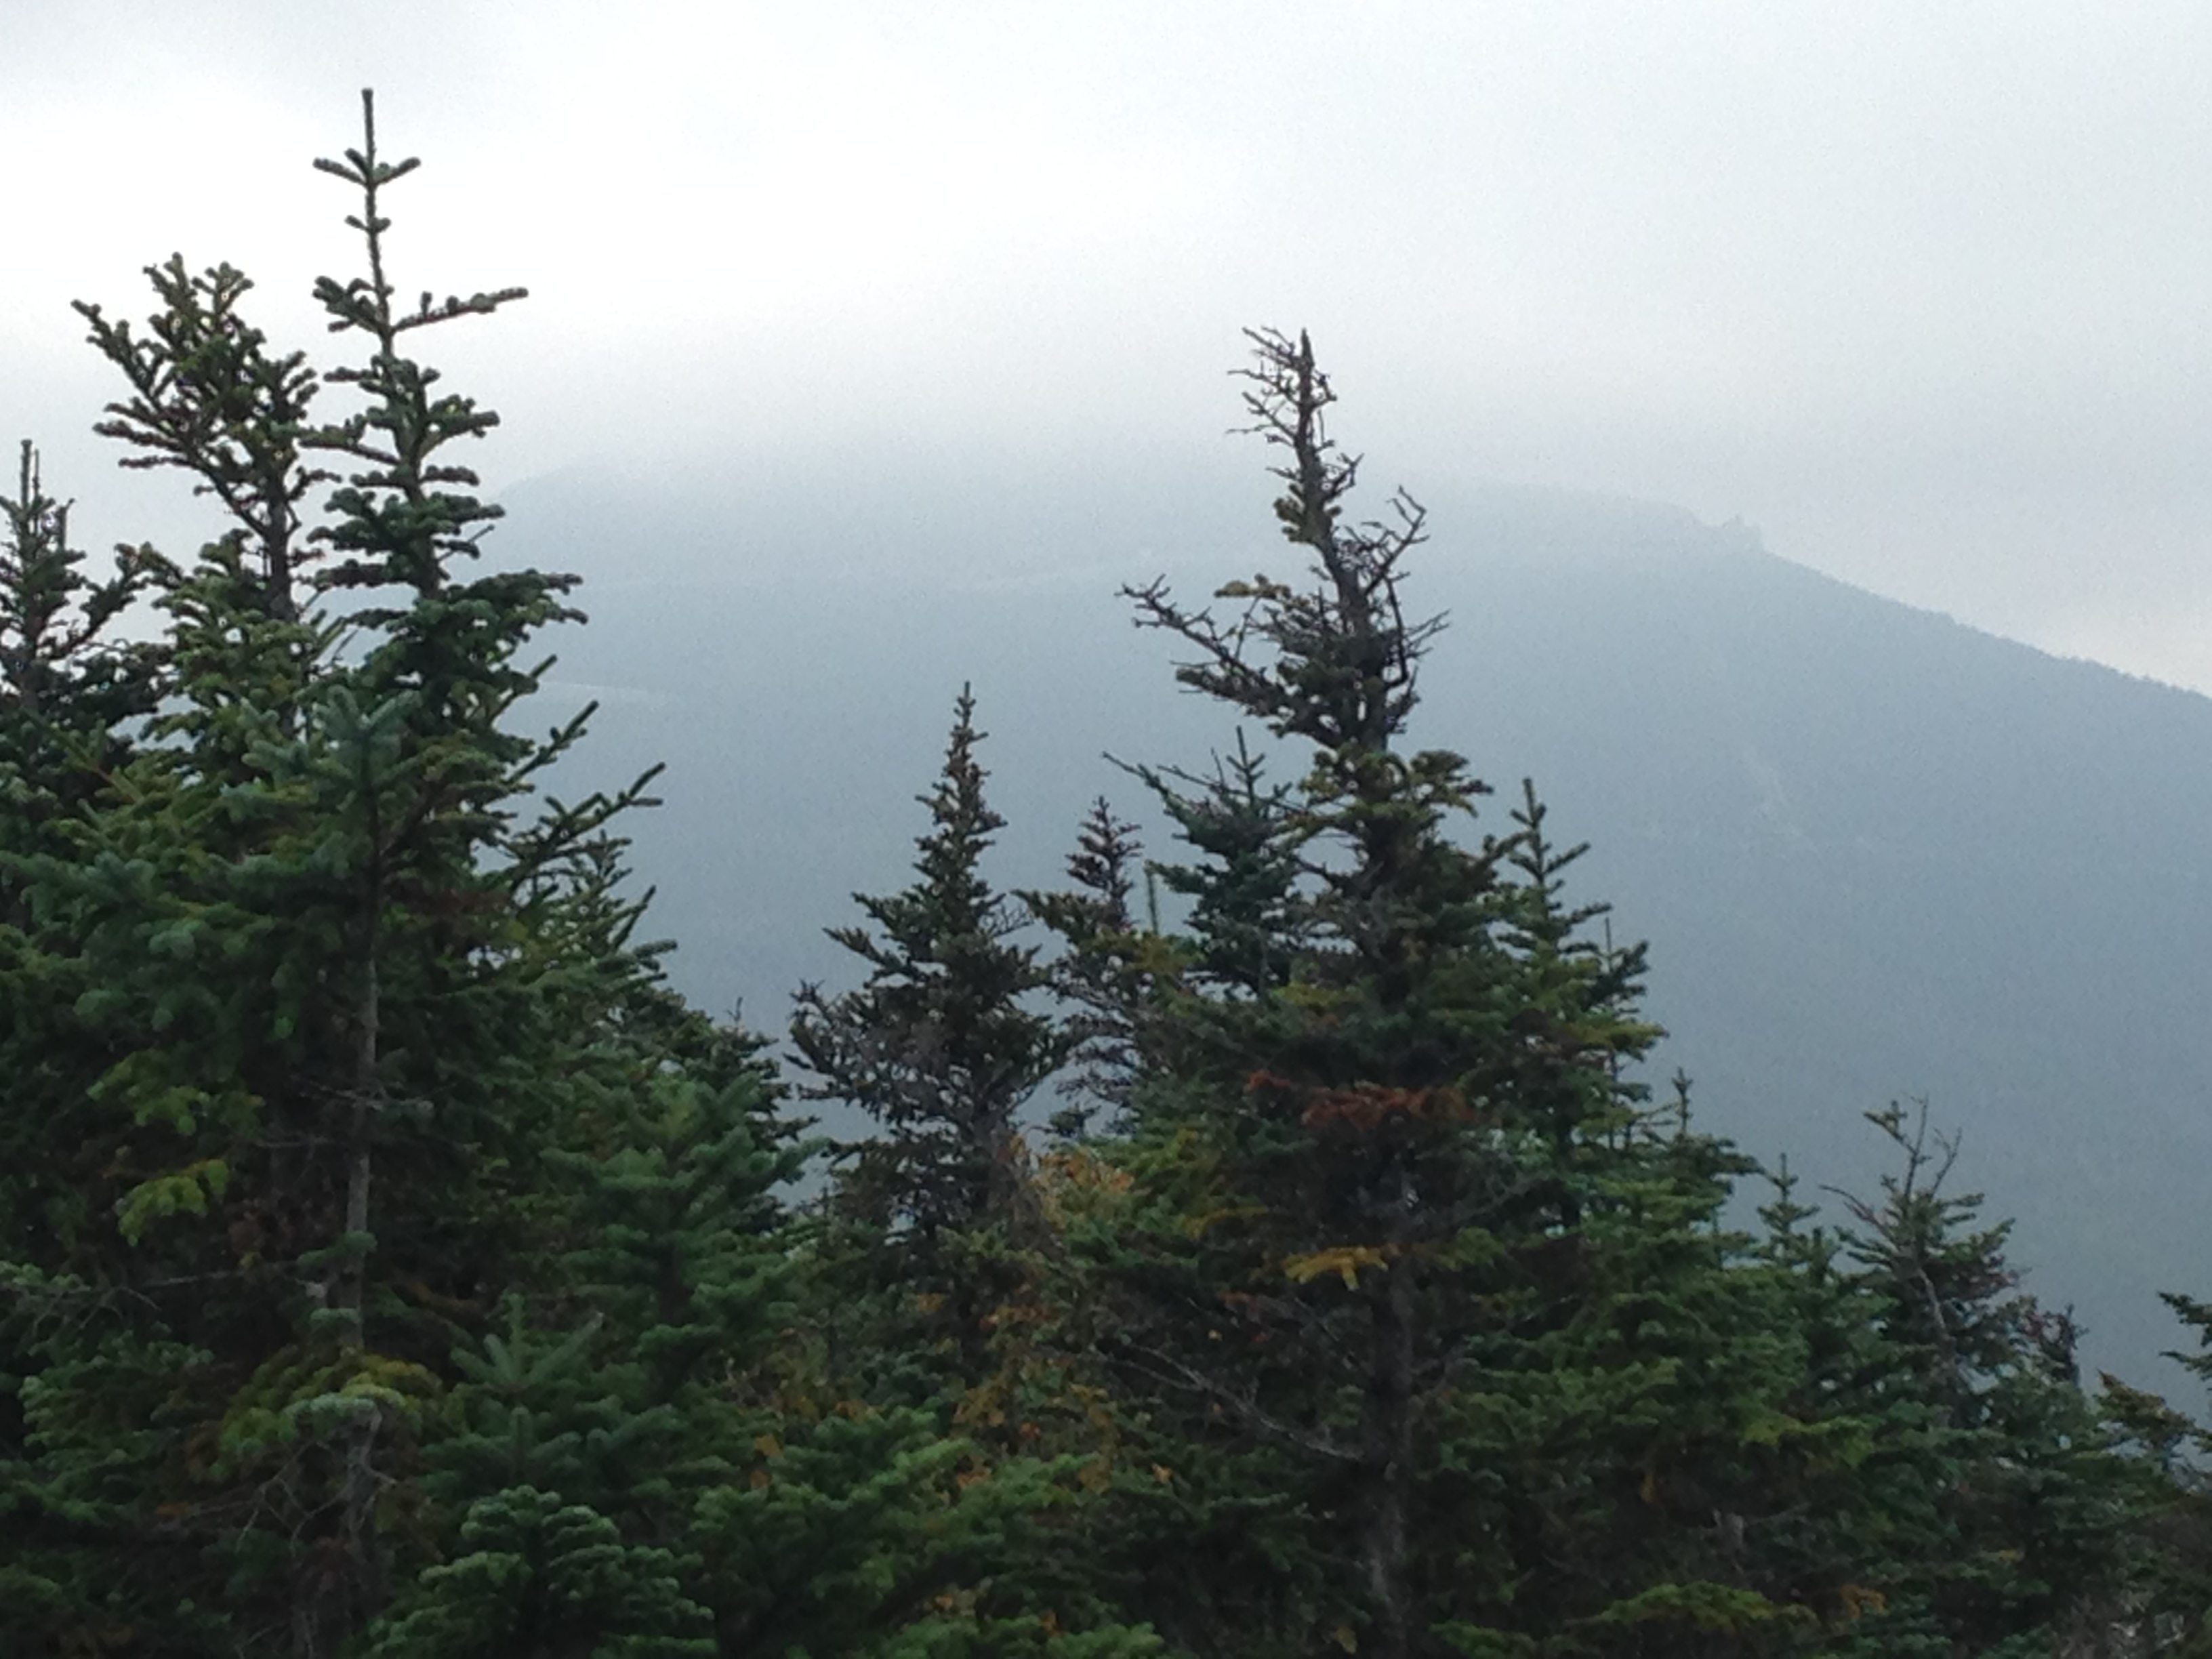
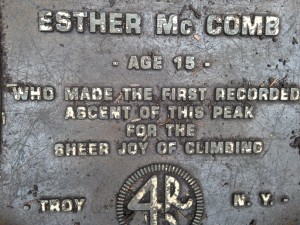
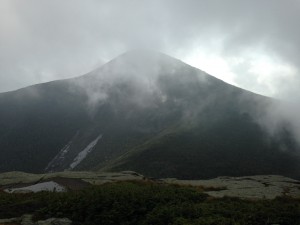
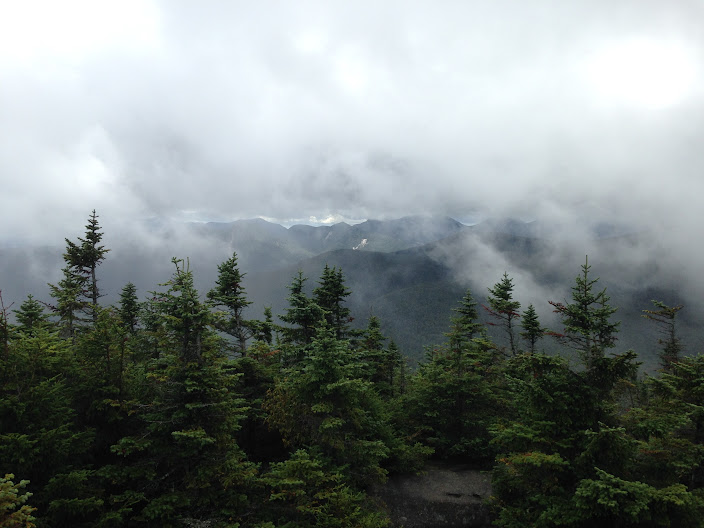
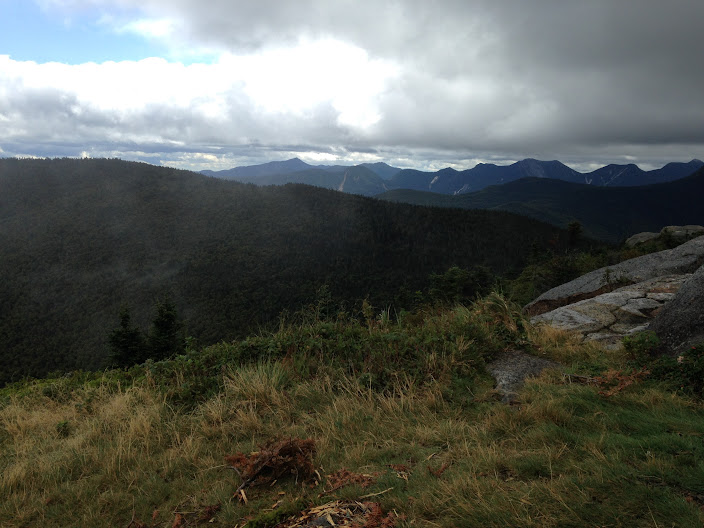
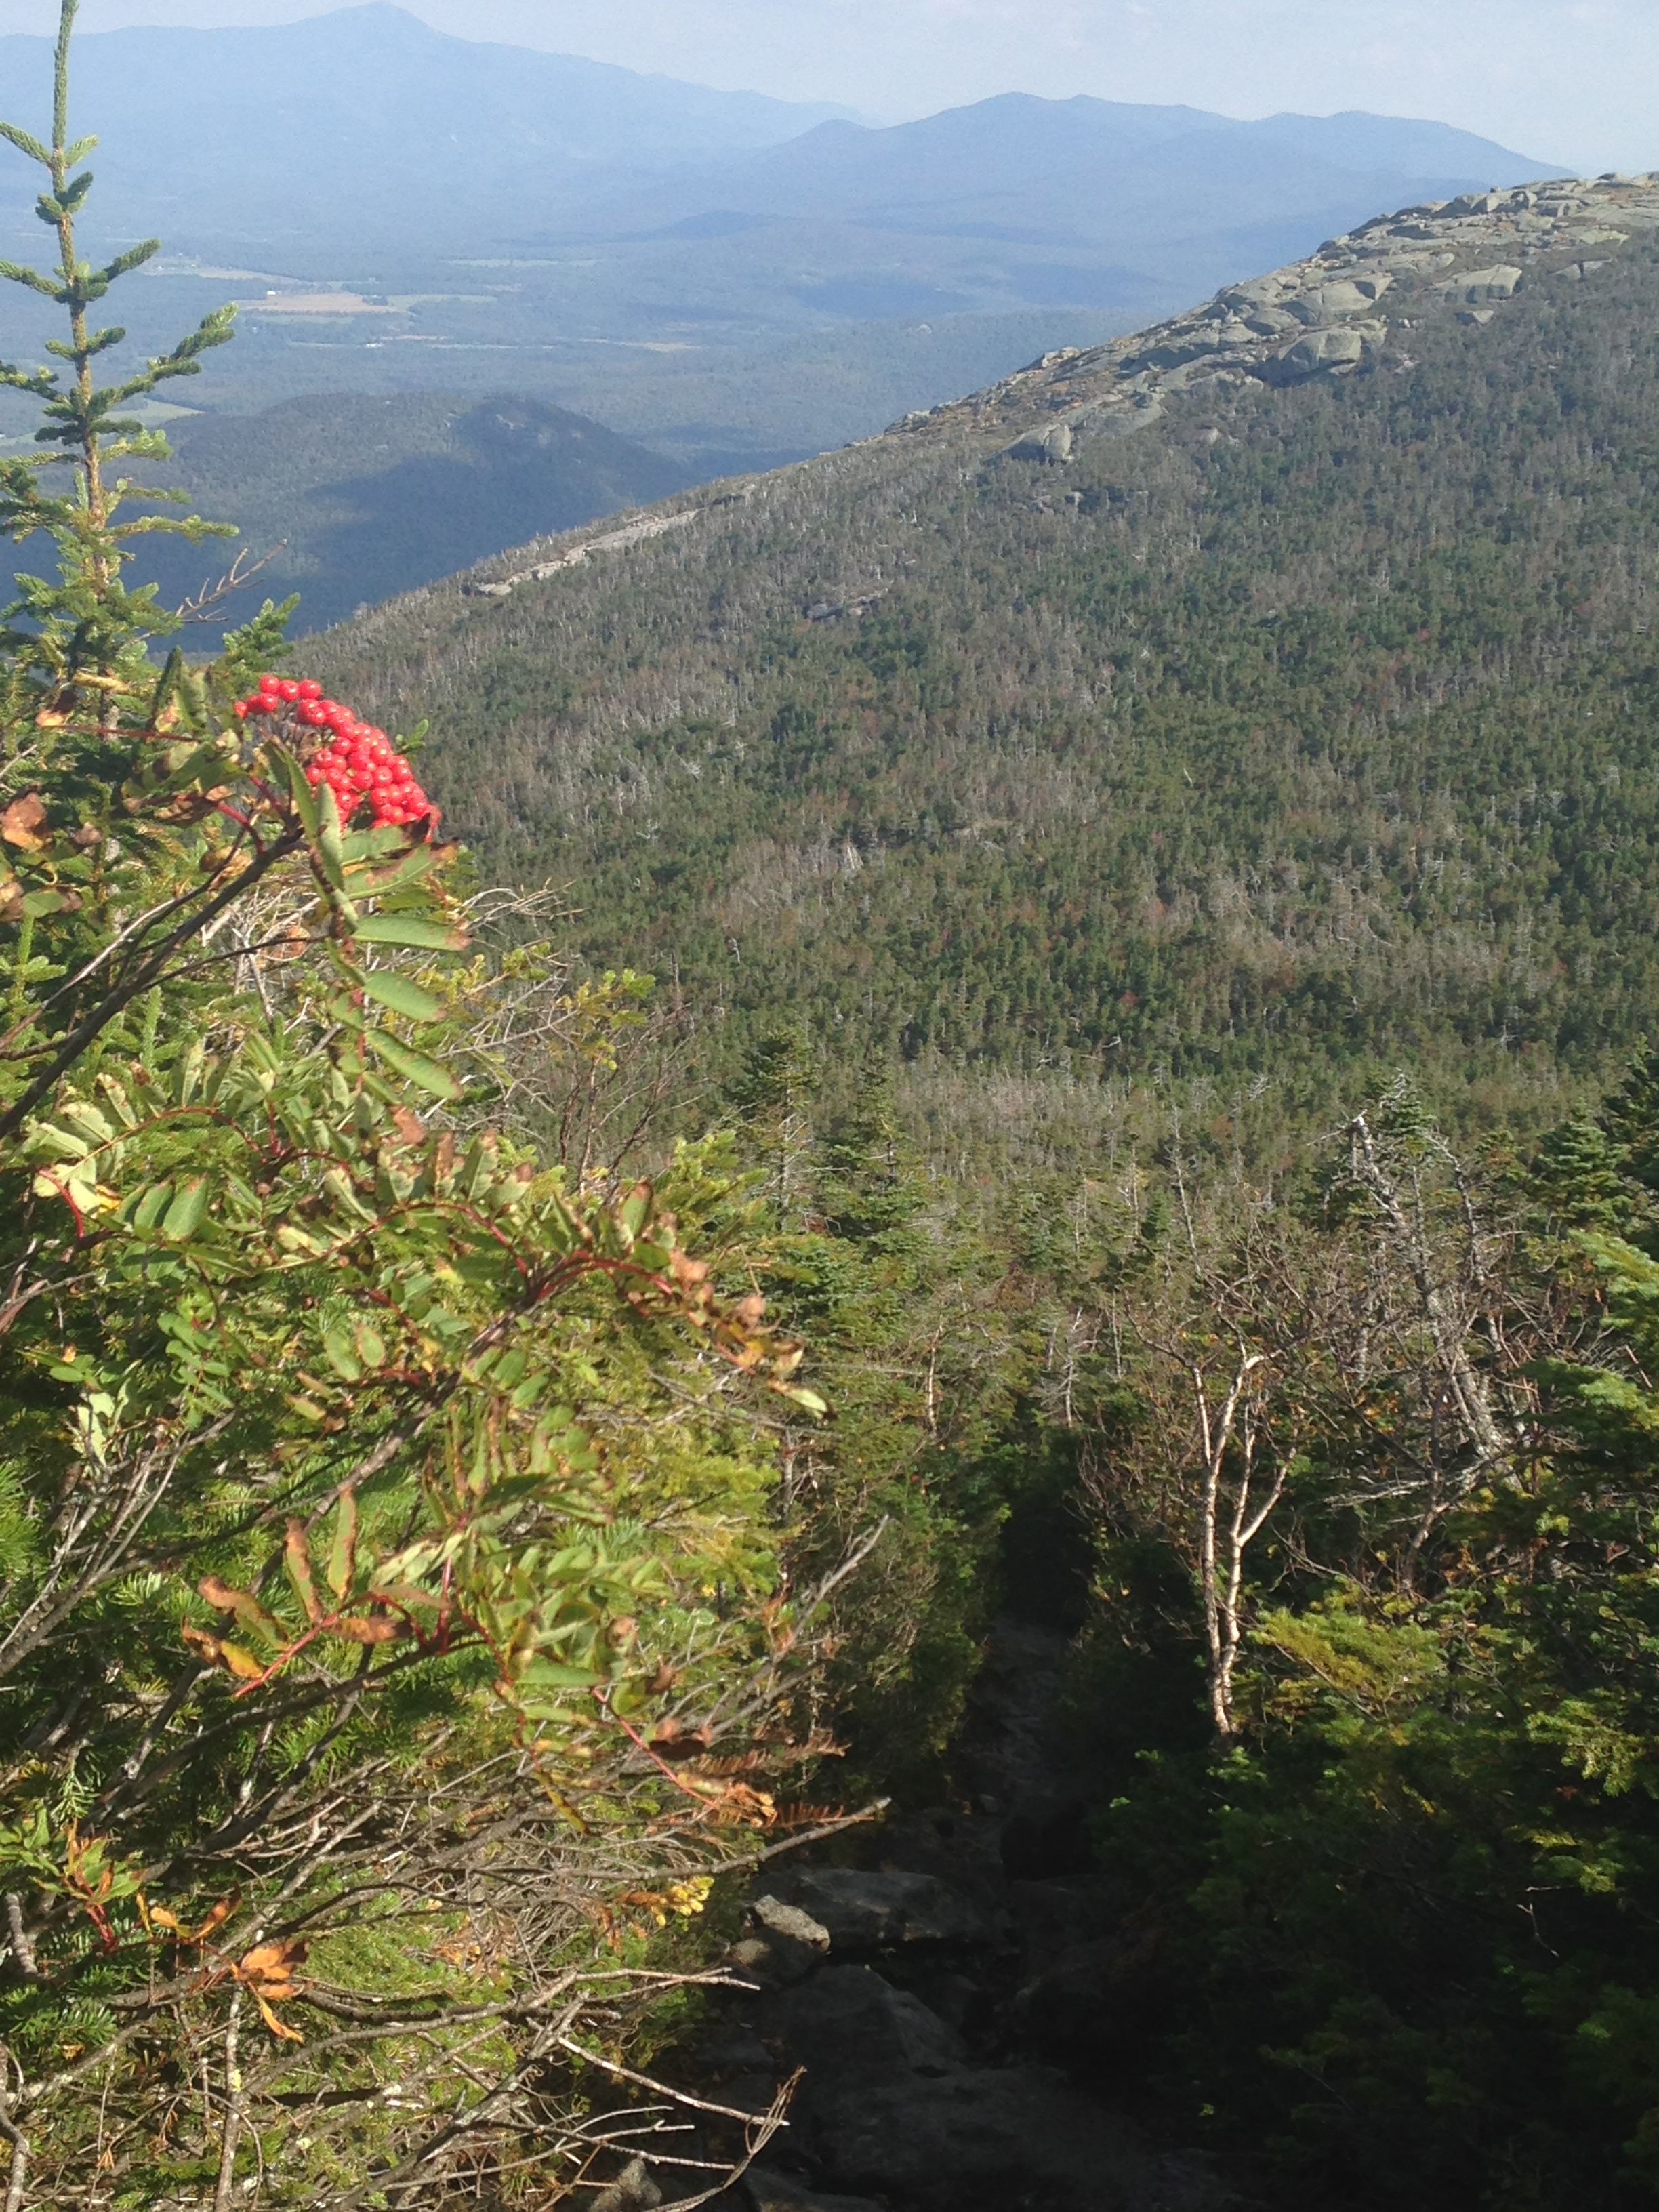
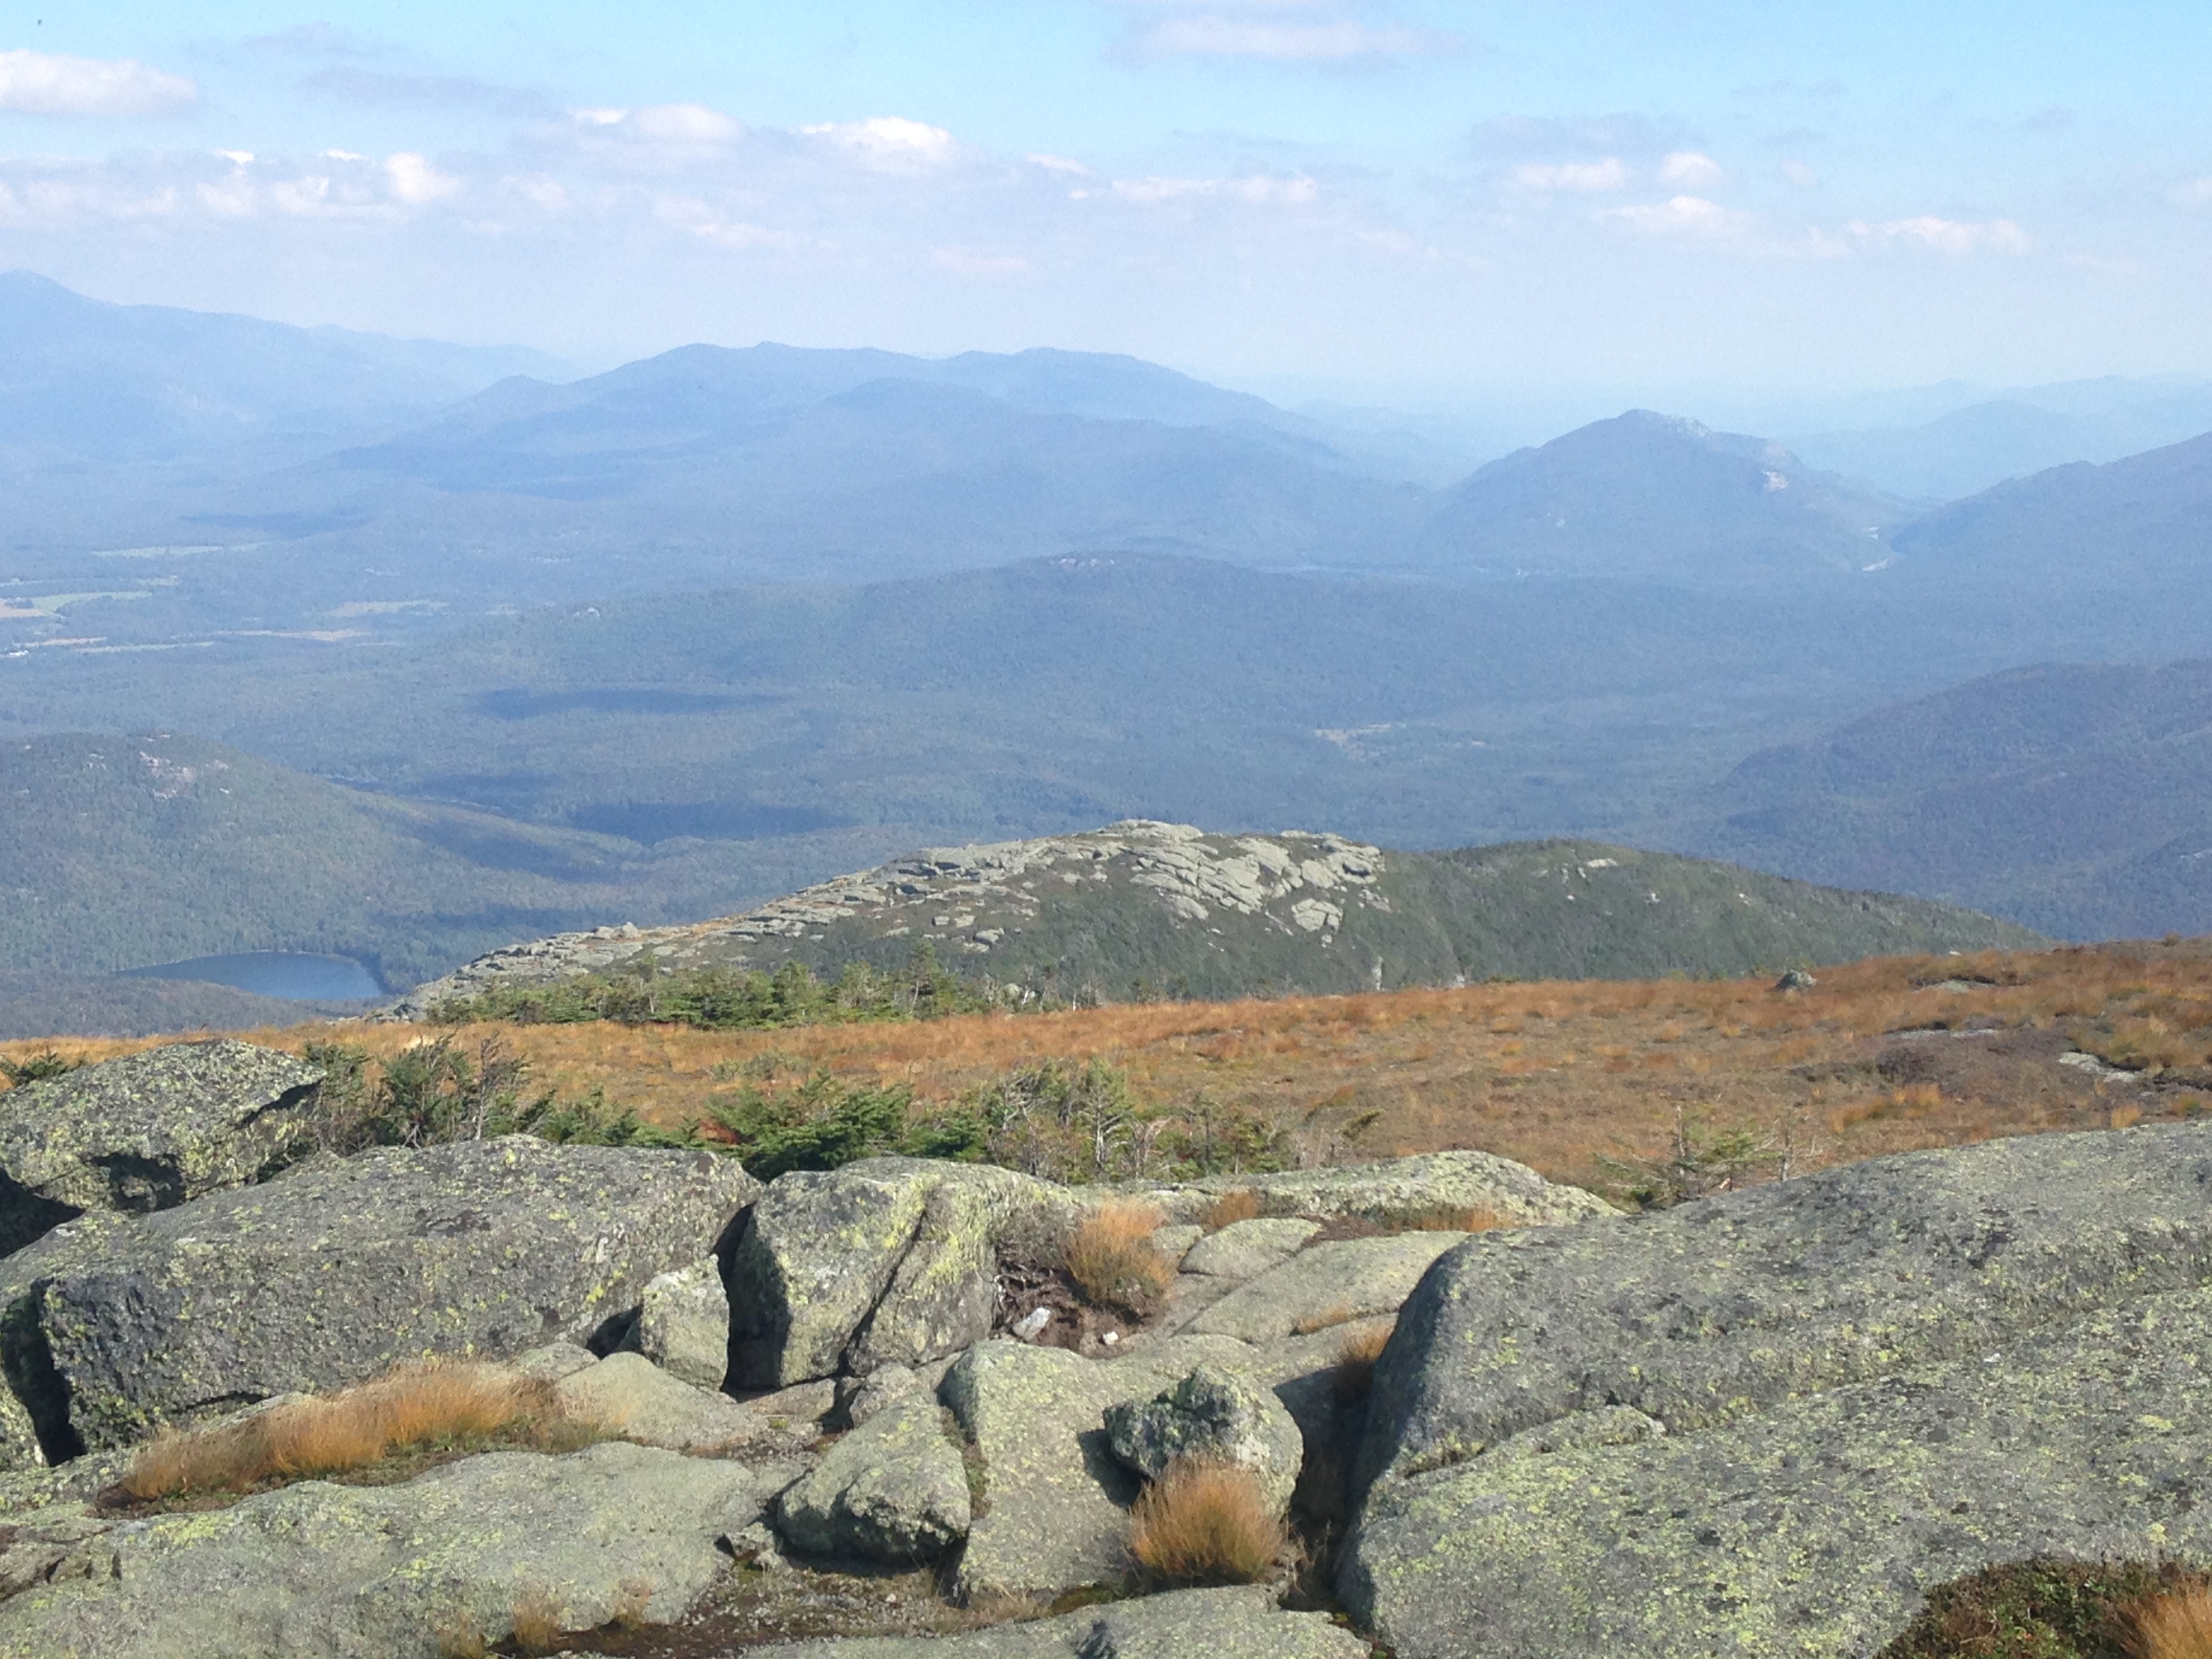
Algonquin’s summit is stunning, with views in every direction, including over the two Boundary Peaks toward Iroquois, where I was headed next.

IMG_1817


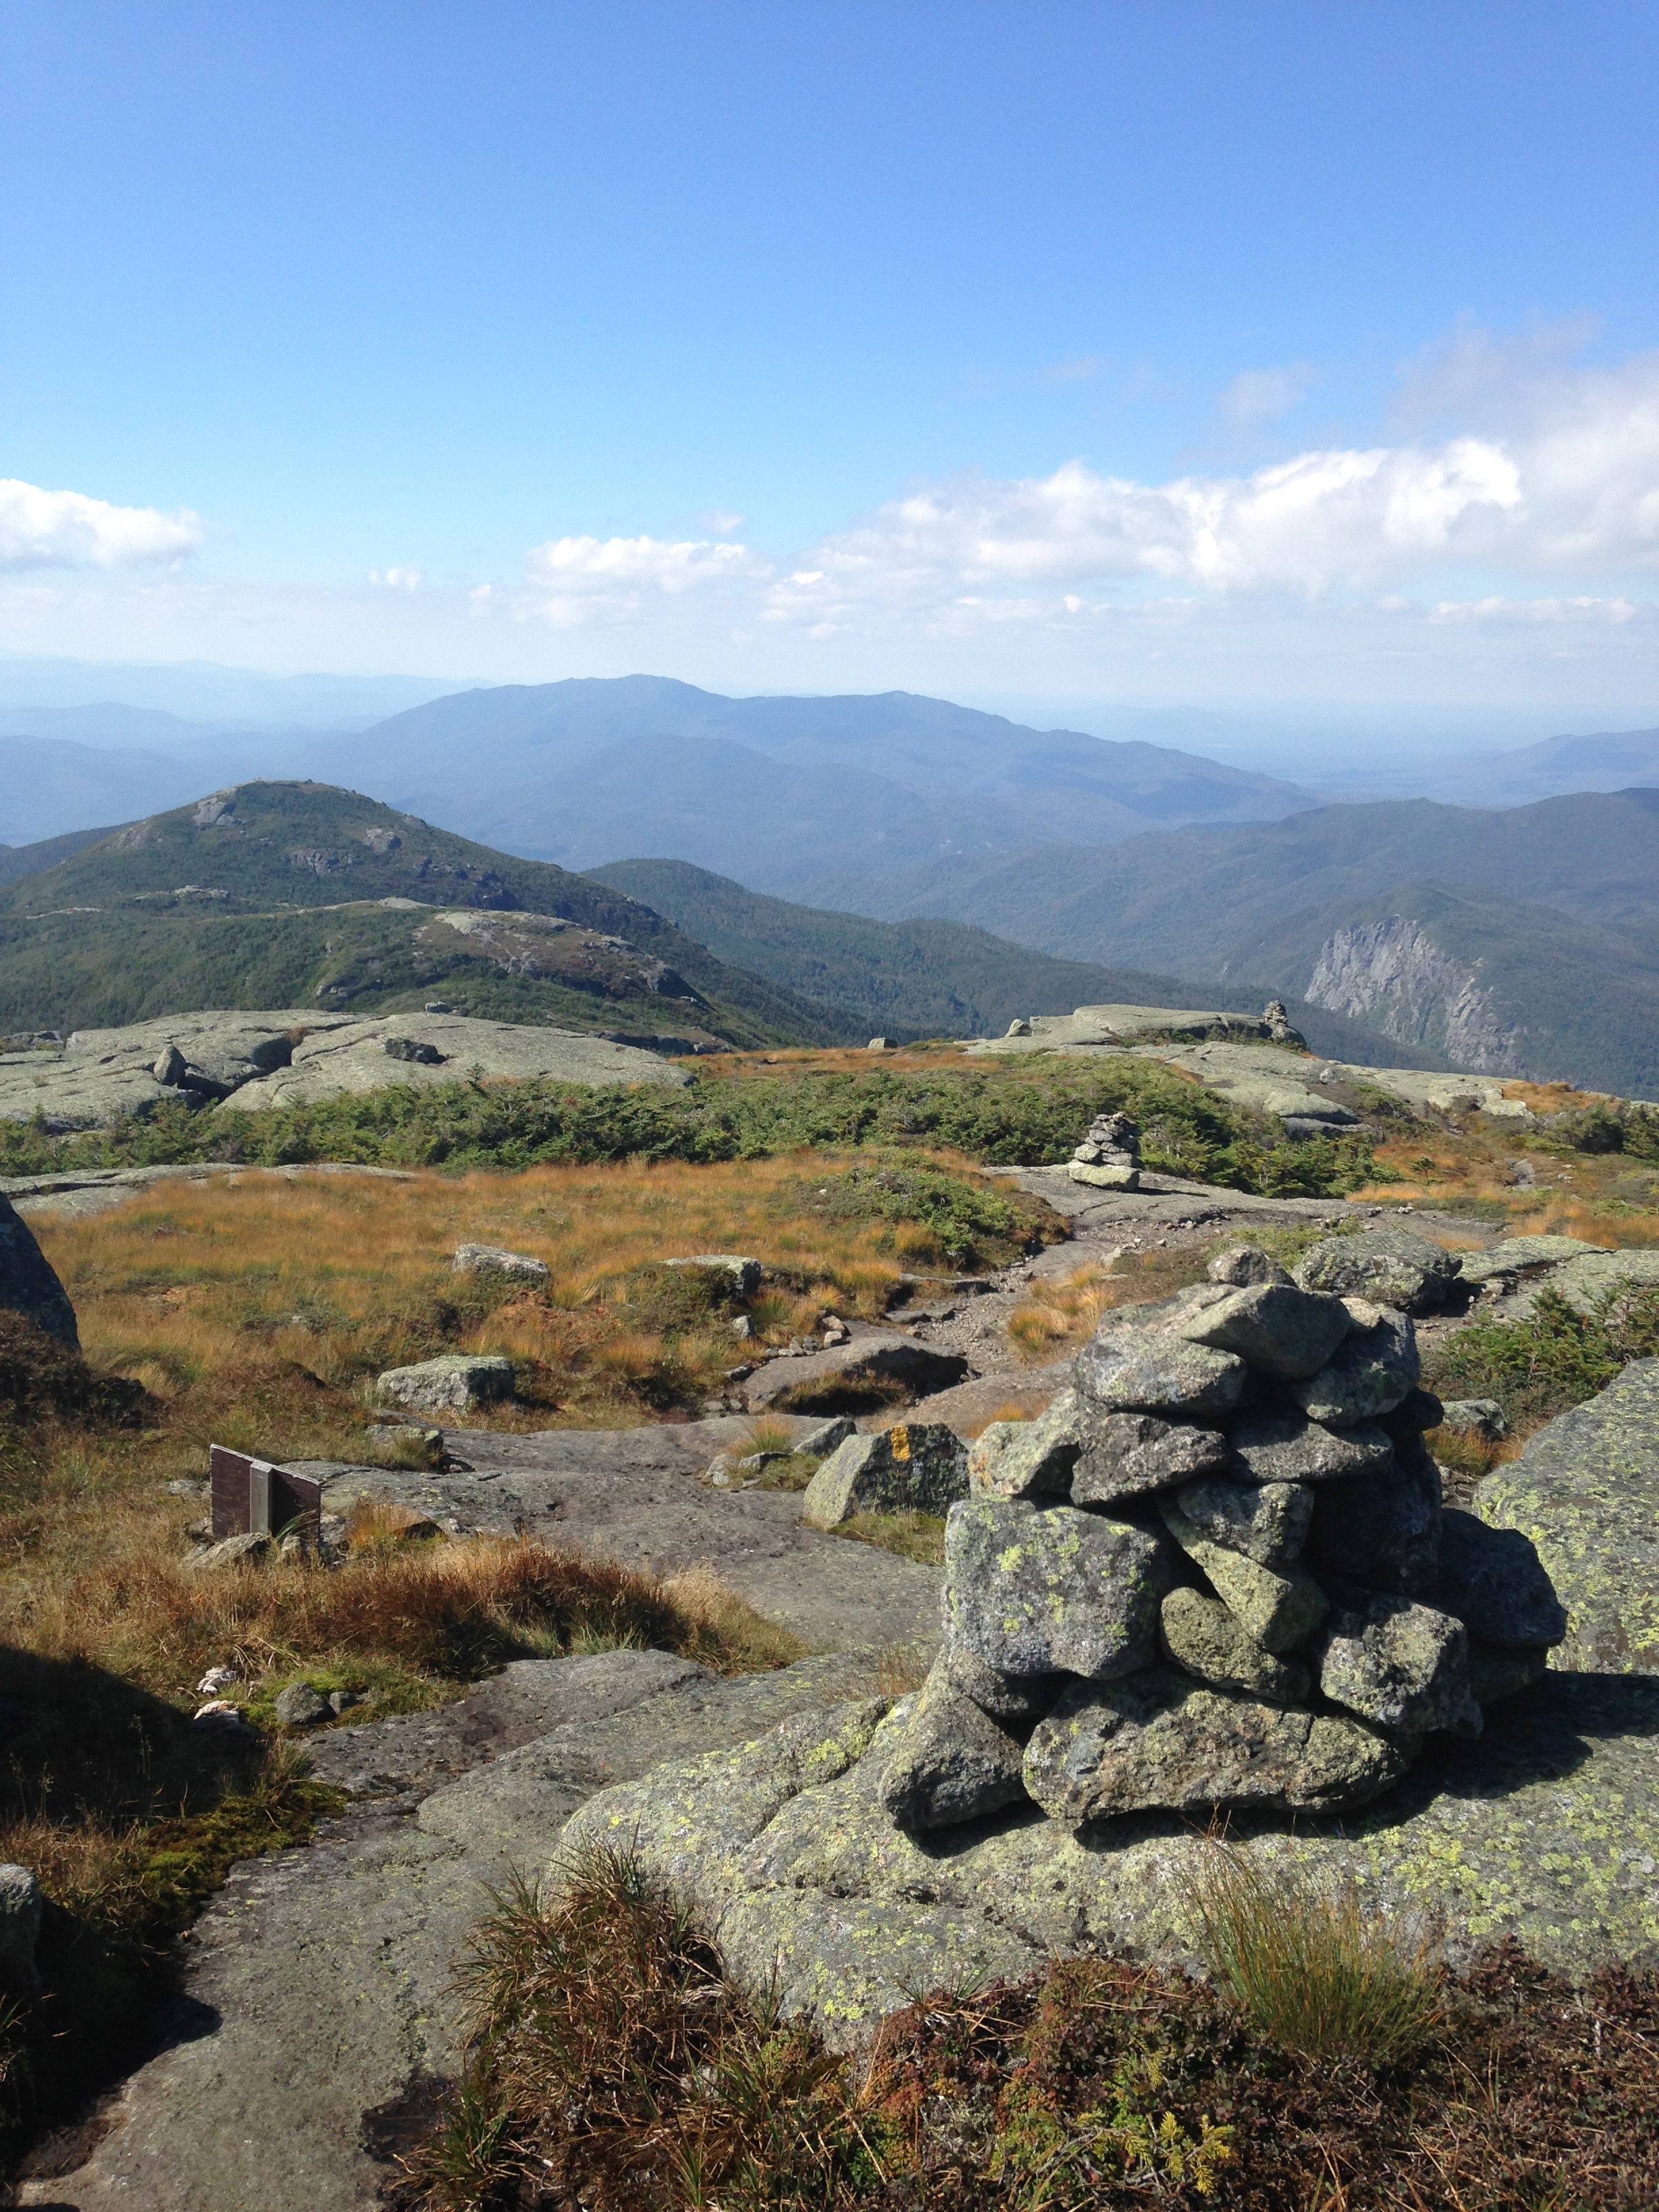
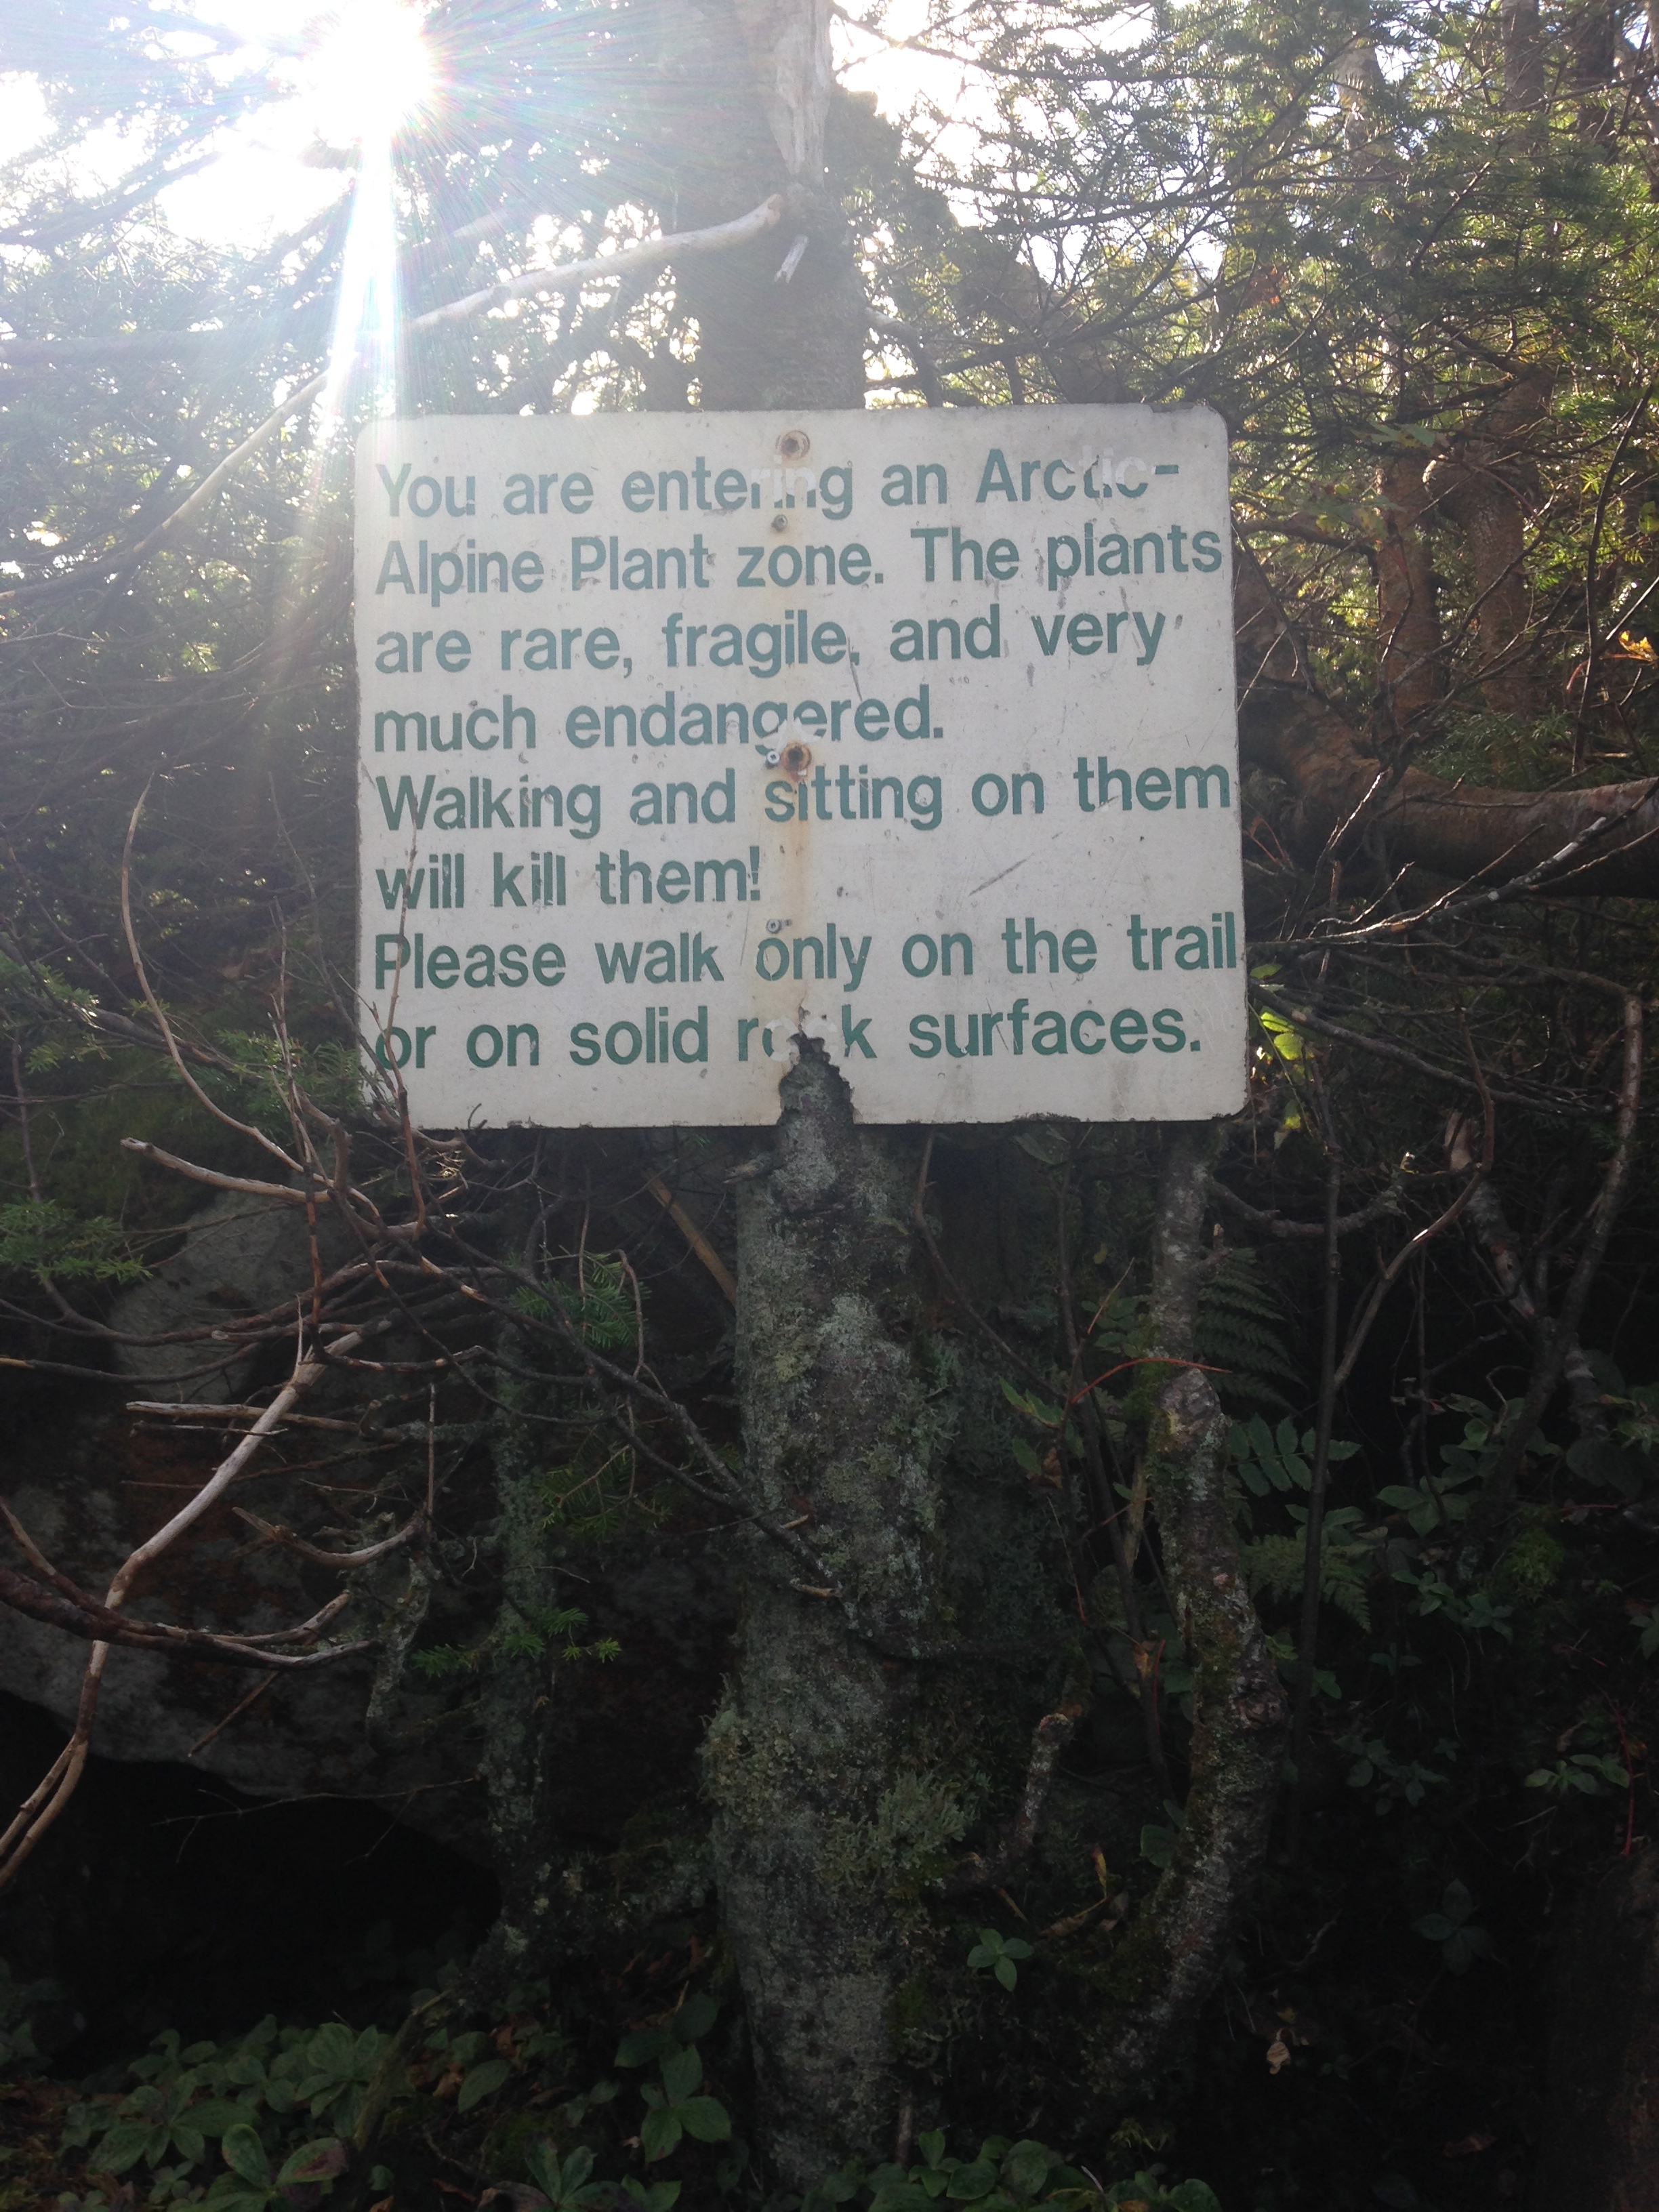
The trail to Iroquois follows the rock cairns and yellow hash marks down Algonquin to keep hikers off the fragile alpine plants. It’s pretty special to be able to hike in a place like this.


IMG_1862

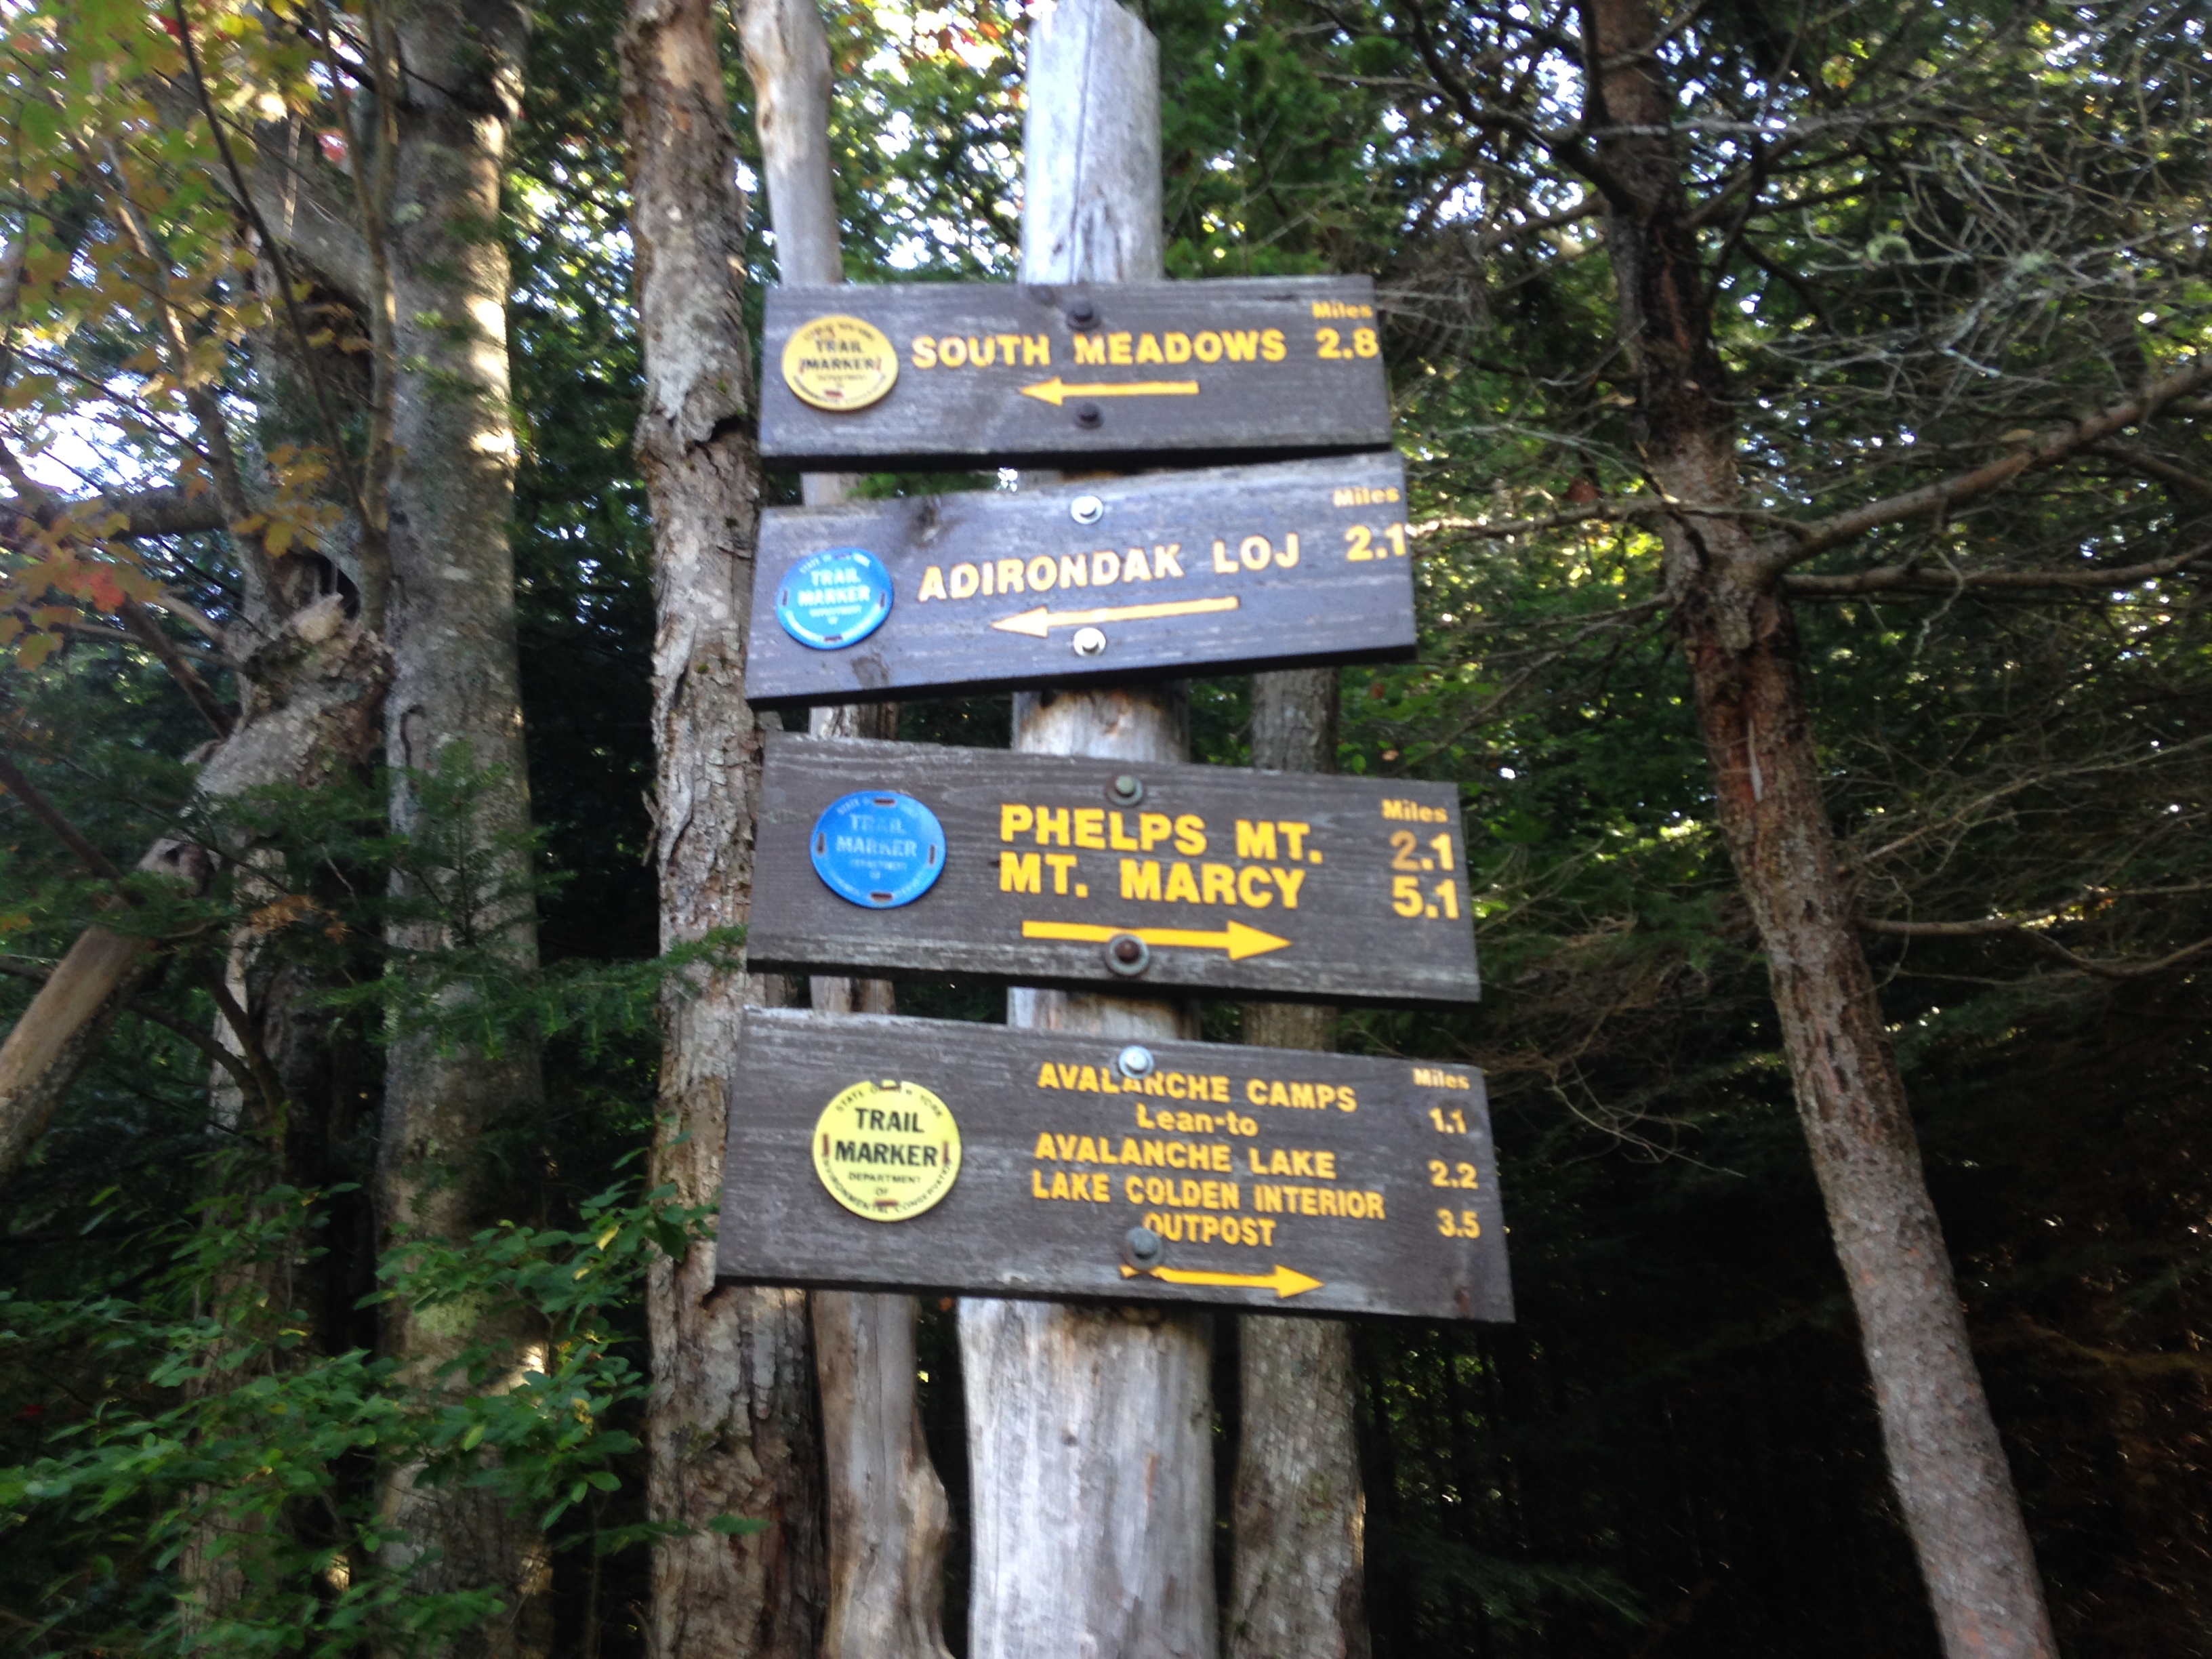
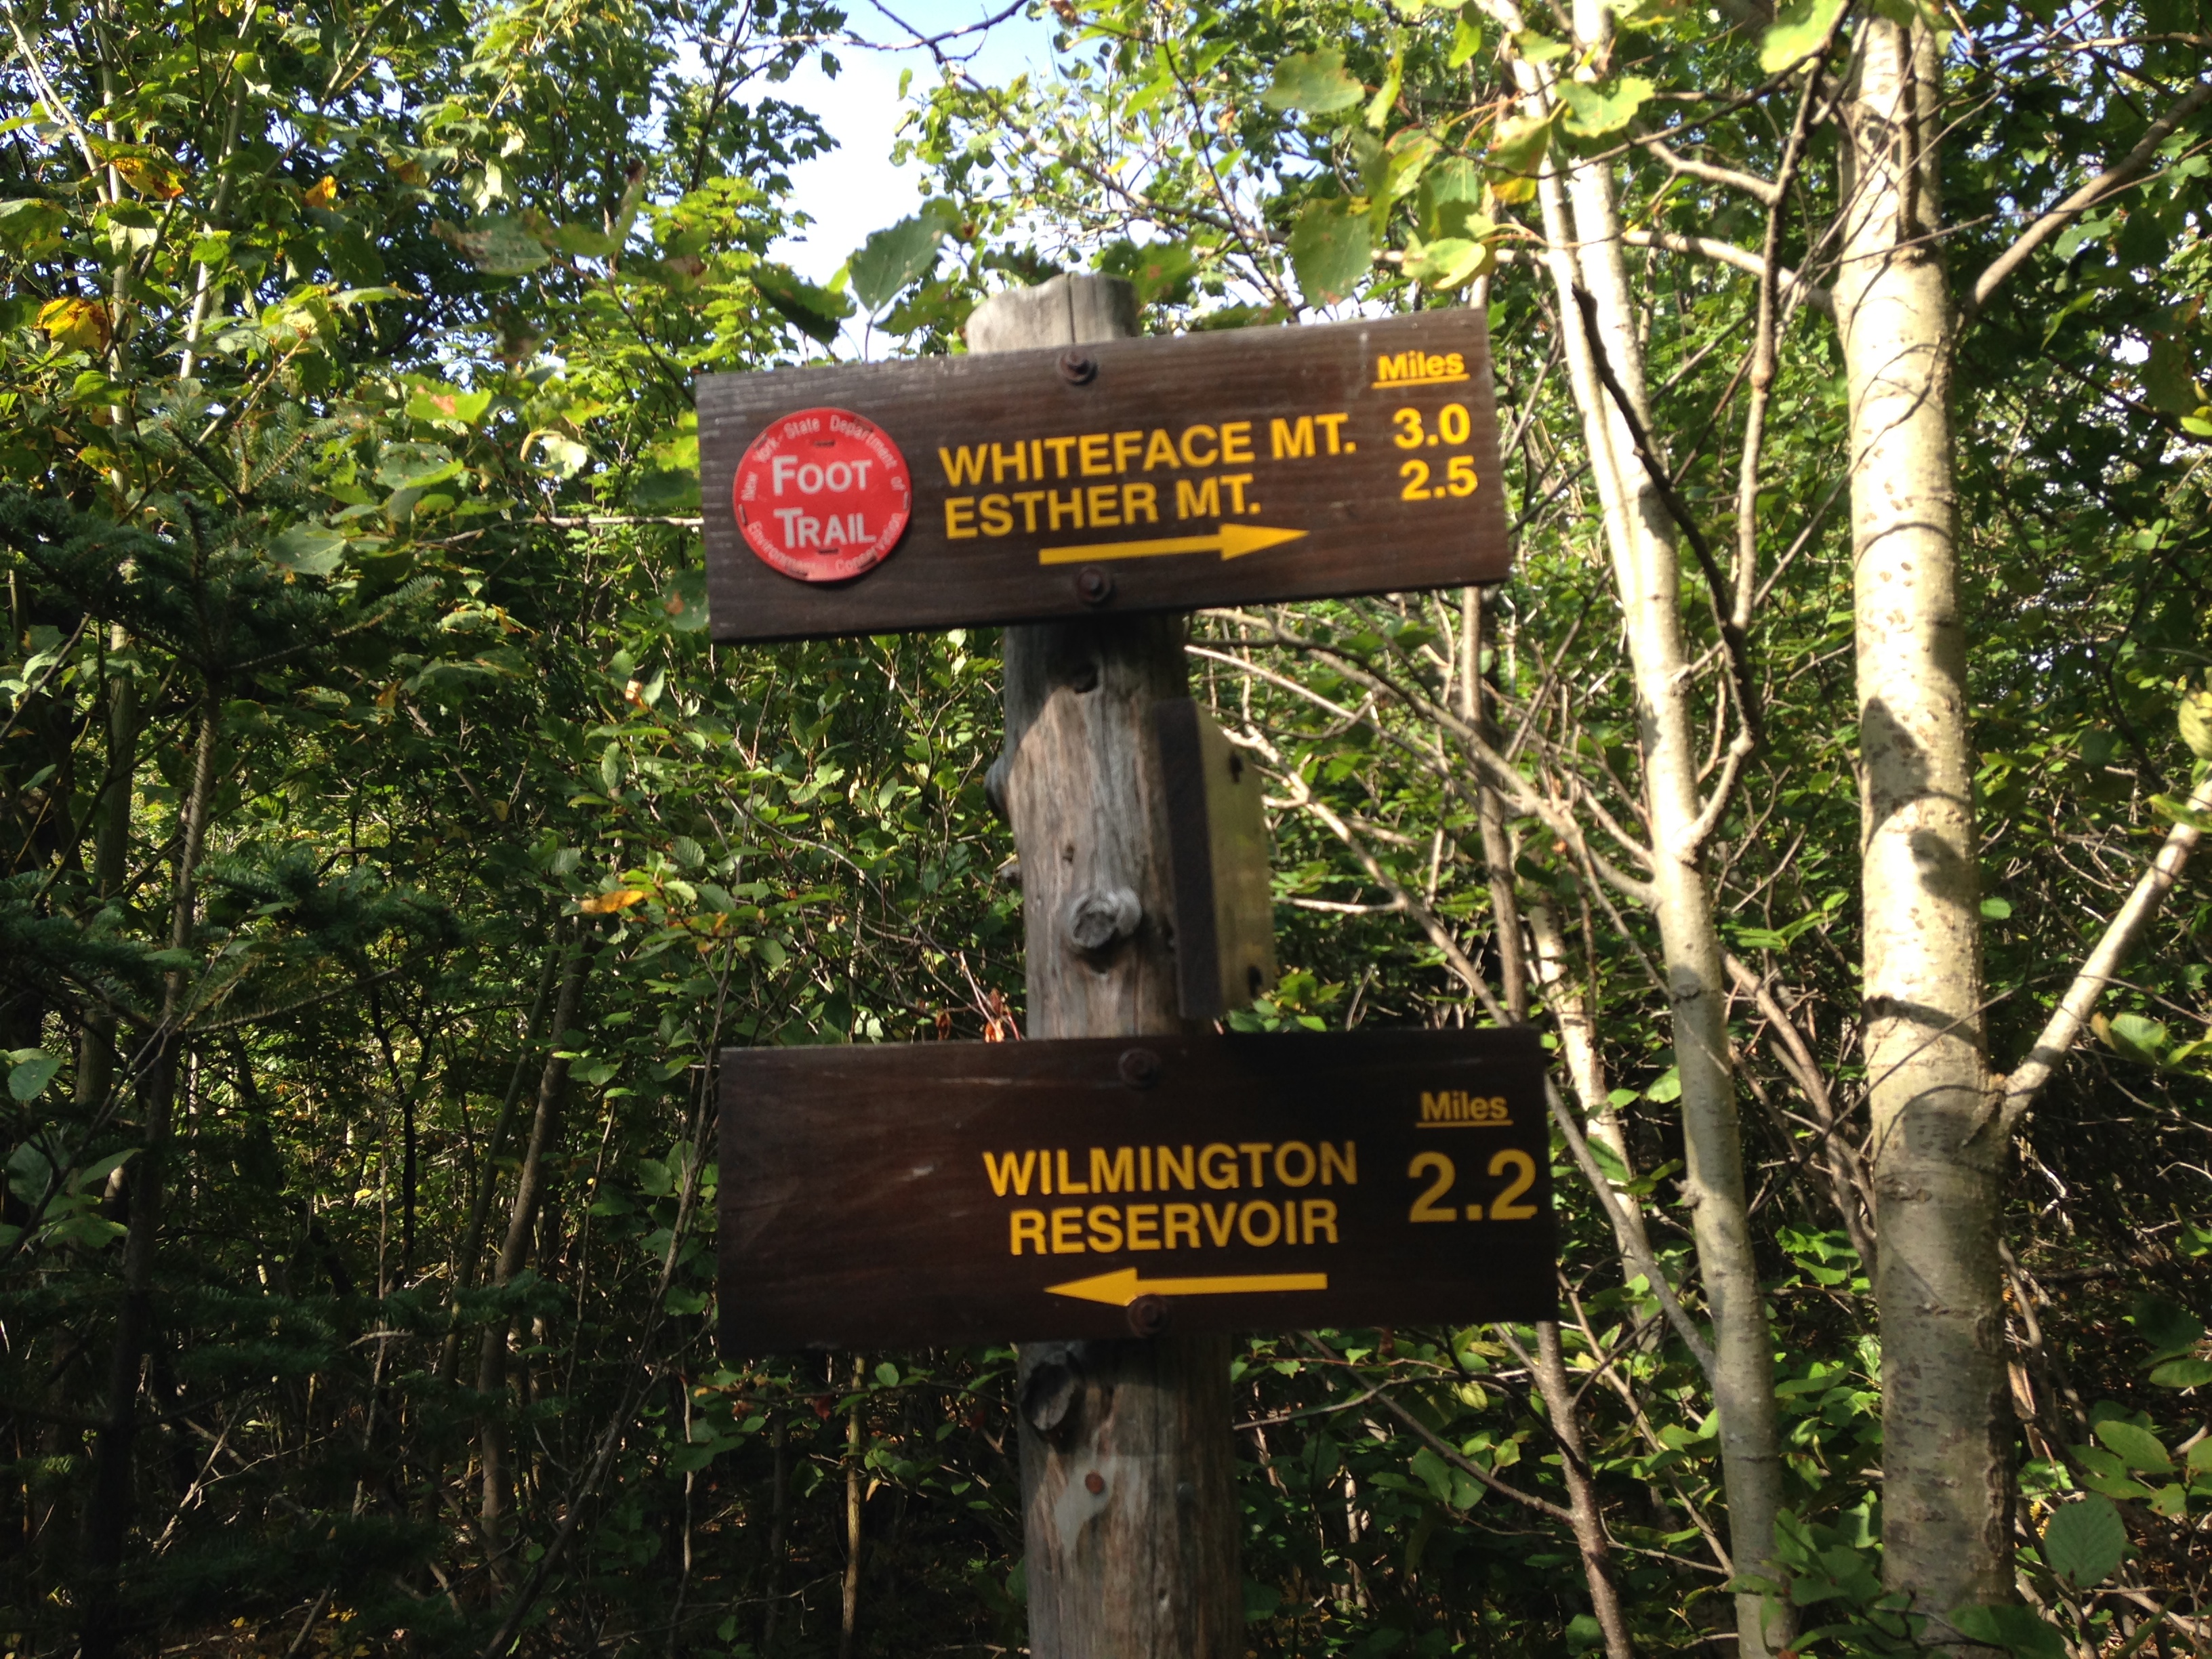
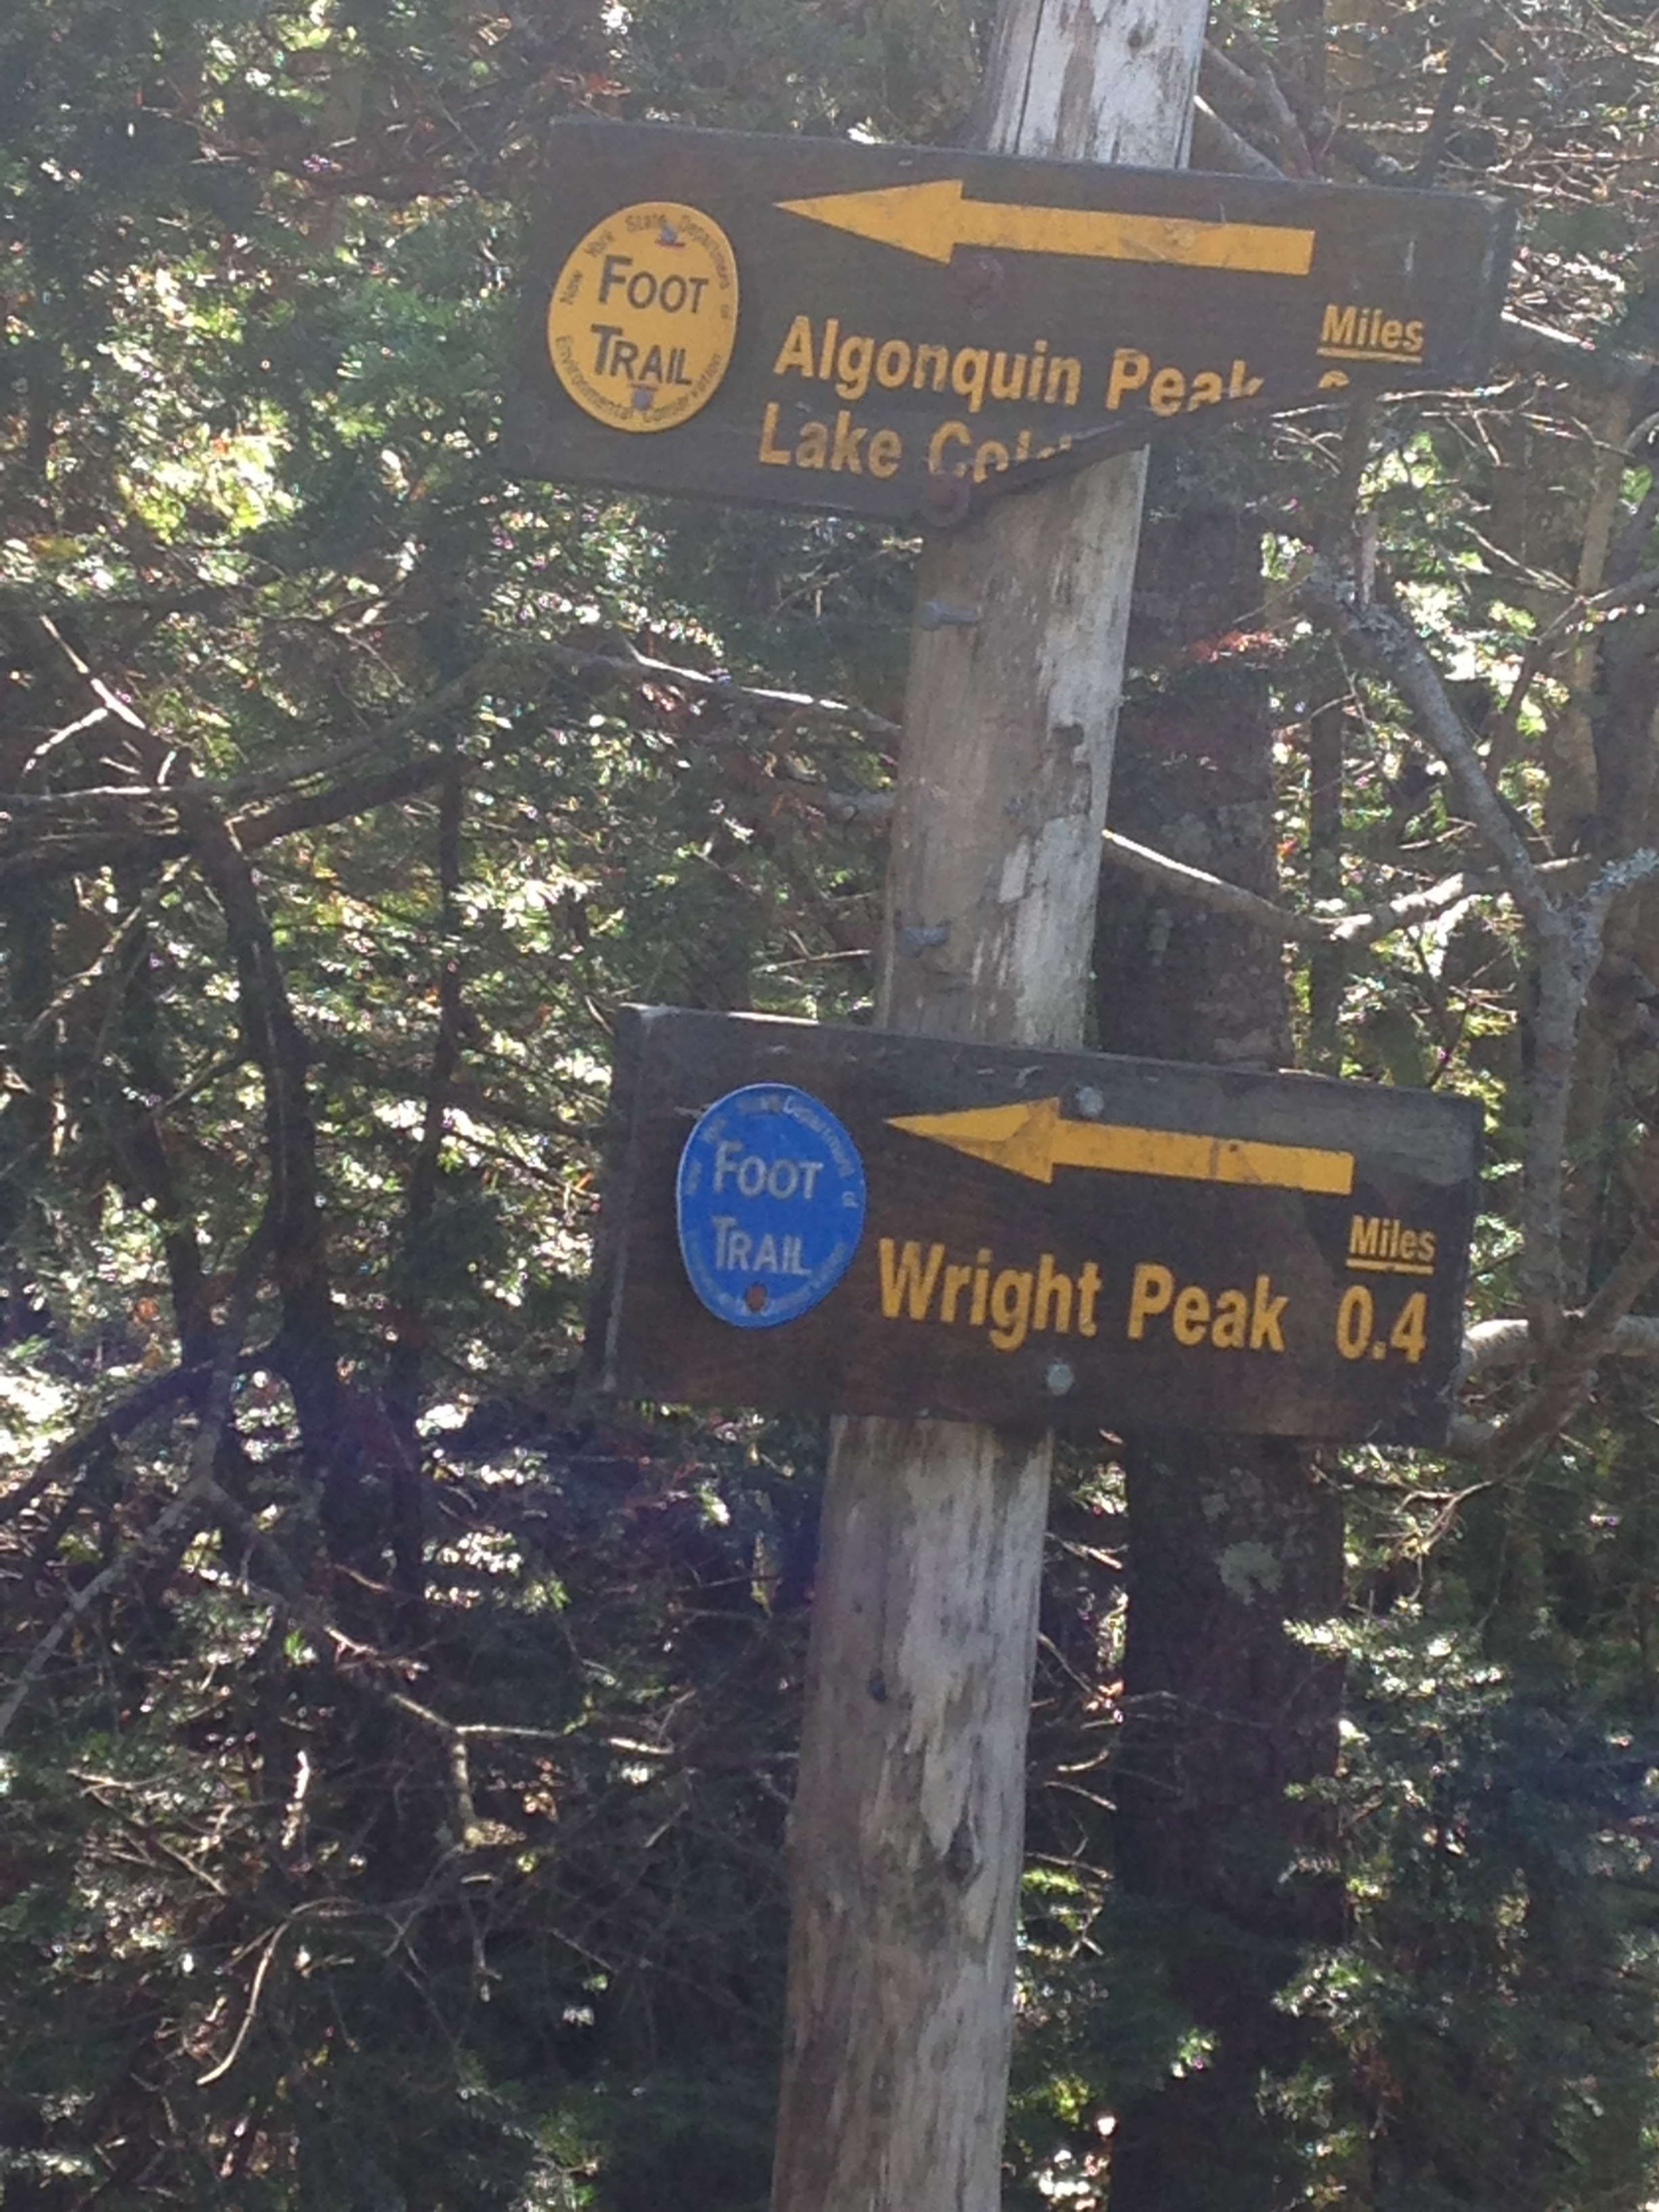
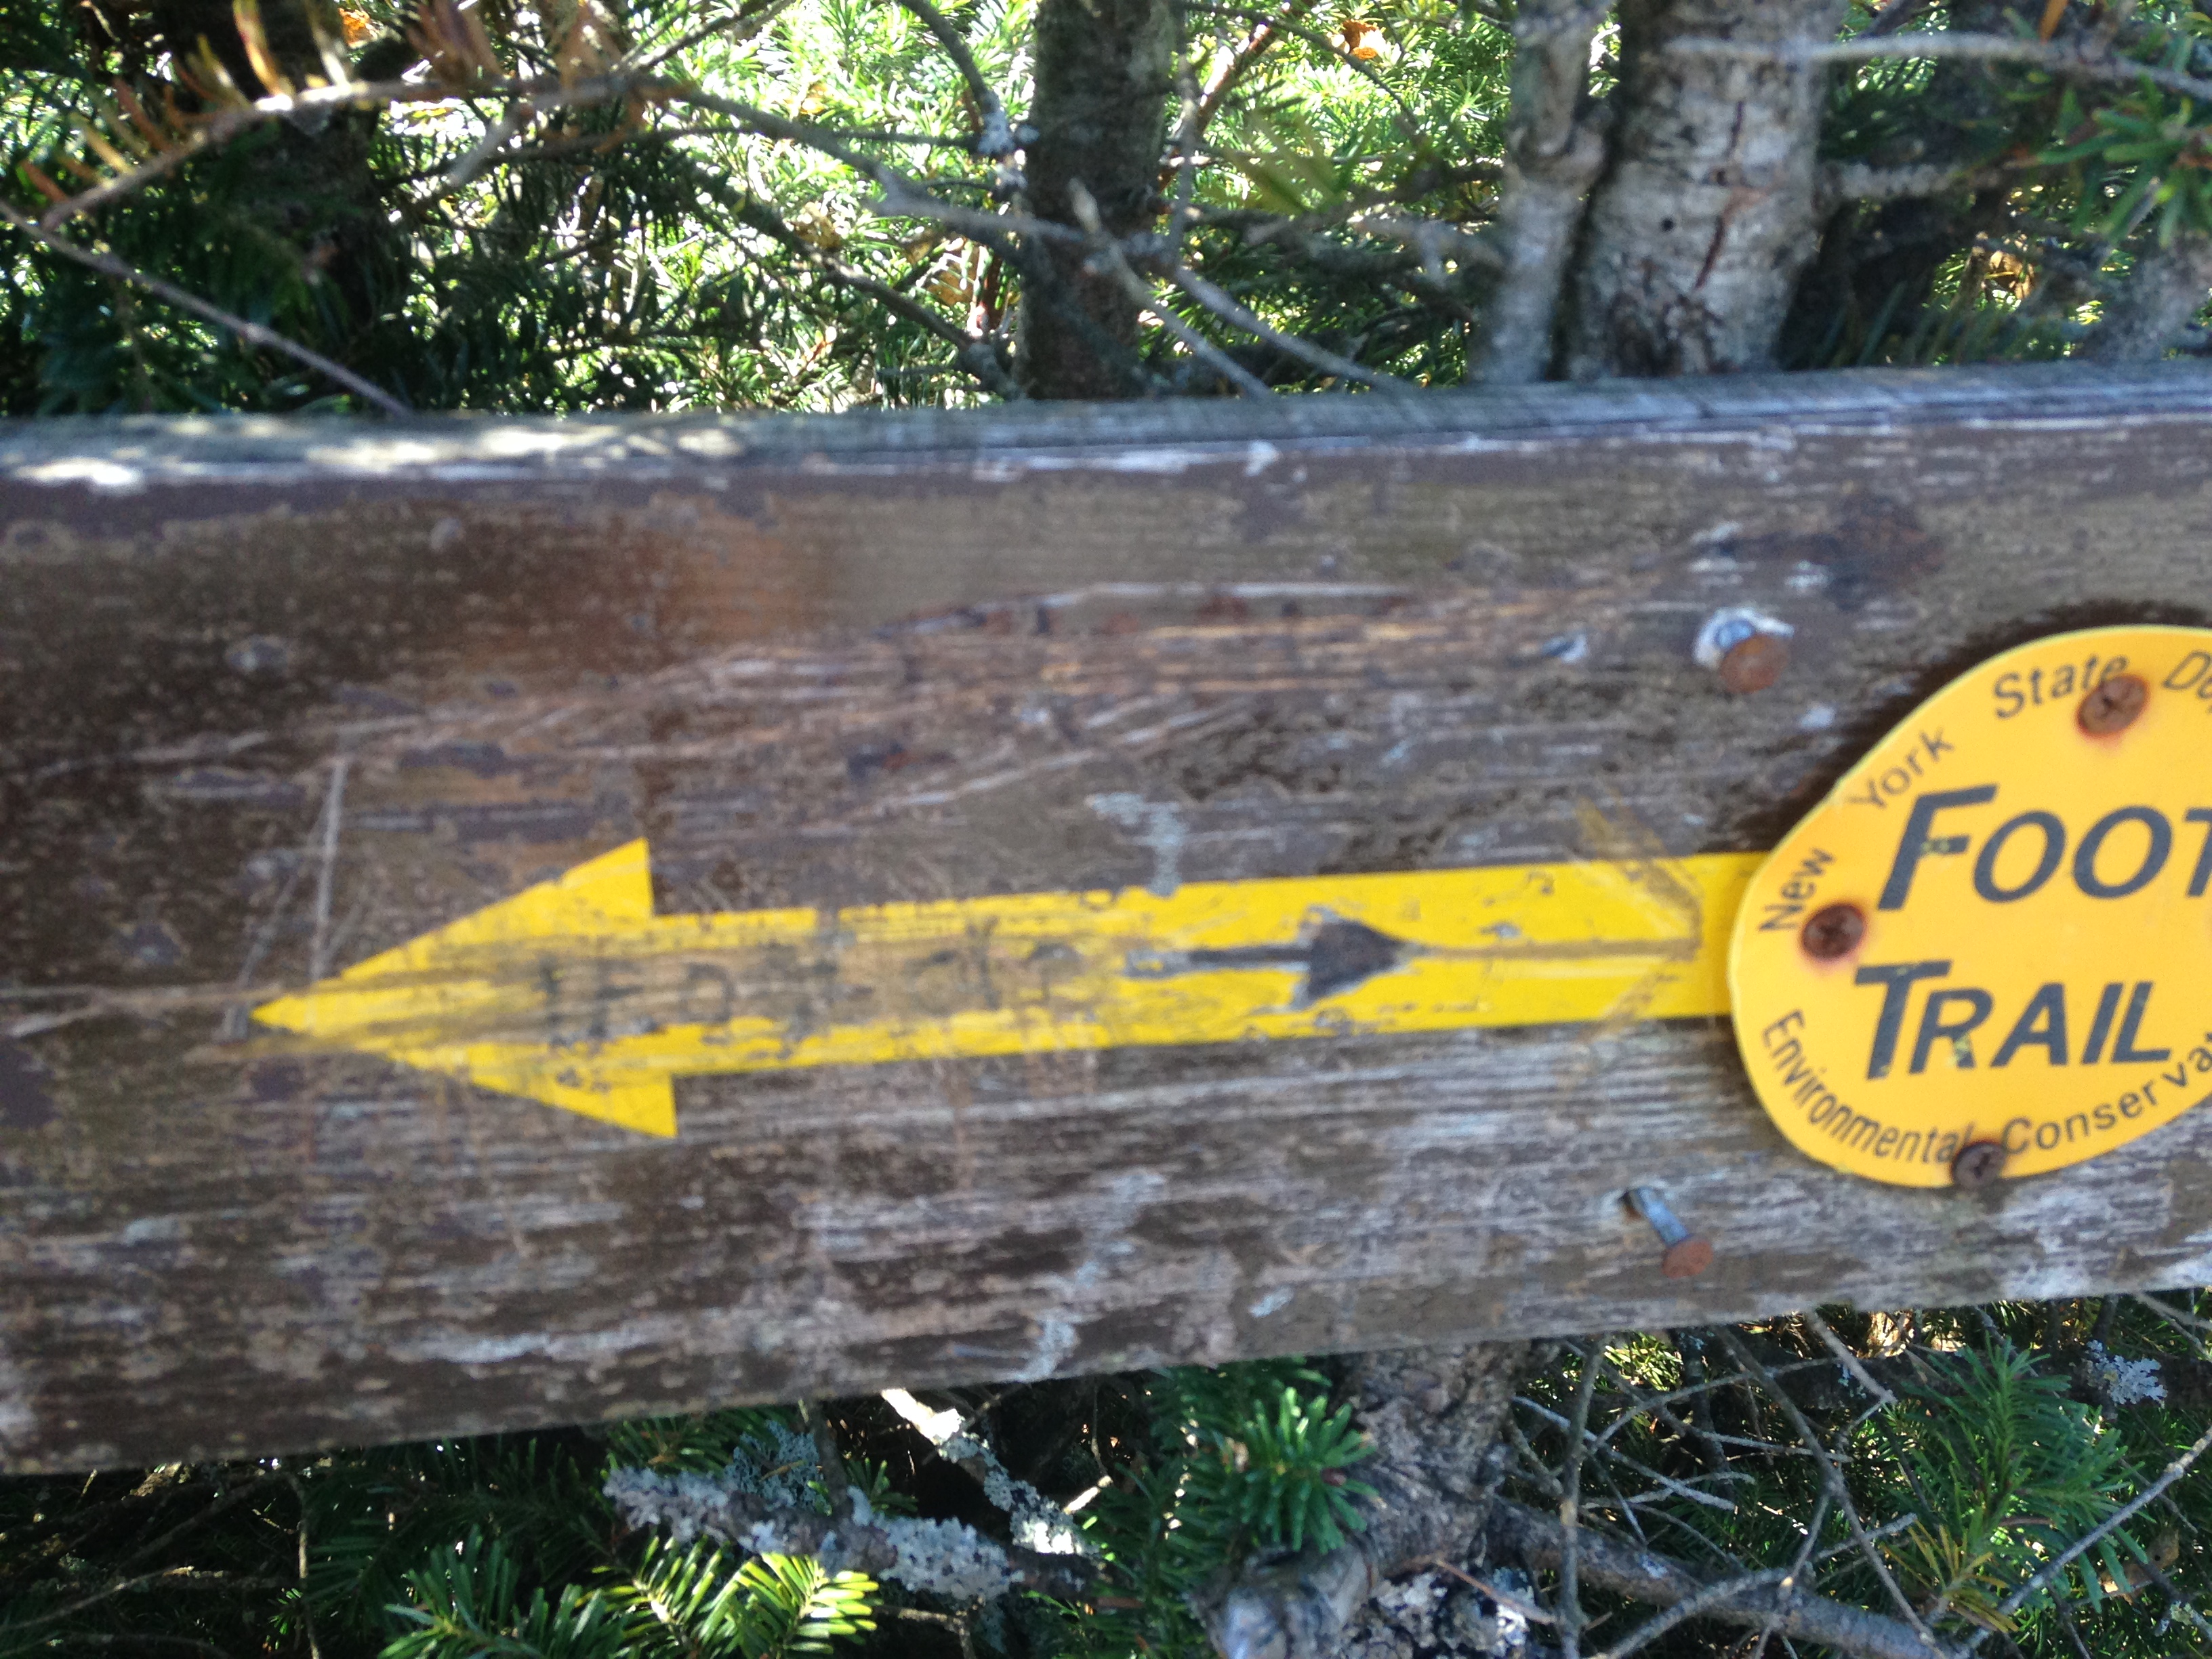
It’s just under half a mile down Algonquin to the place where the trail splits, and it’s easy to get confused here.

IMG_1821


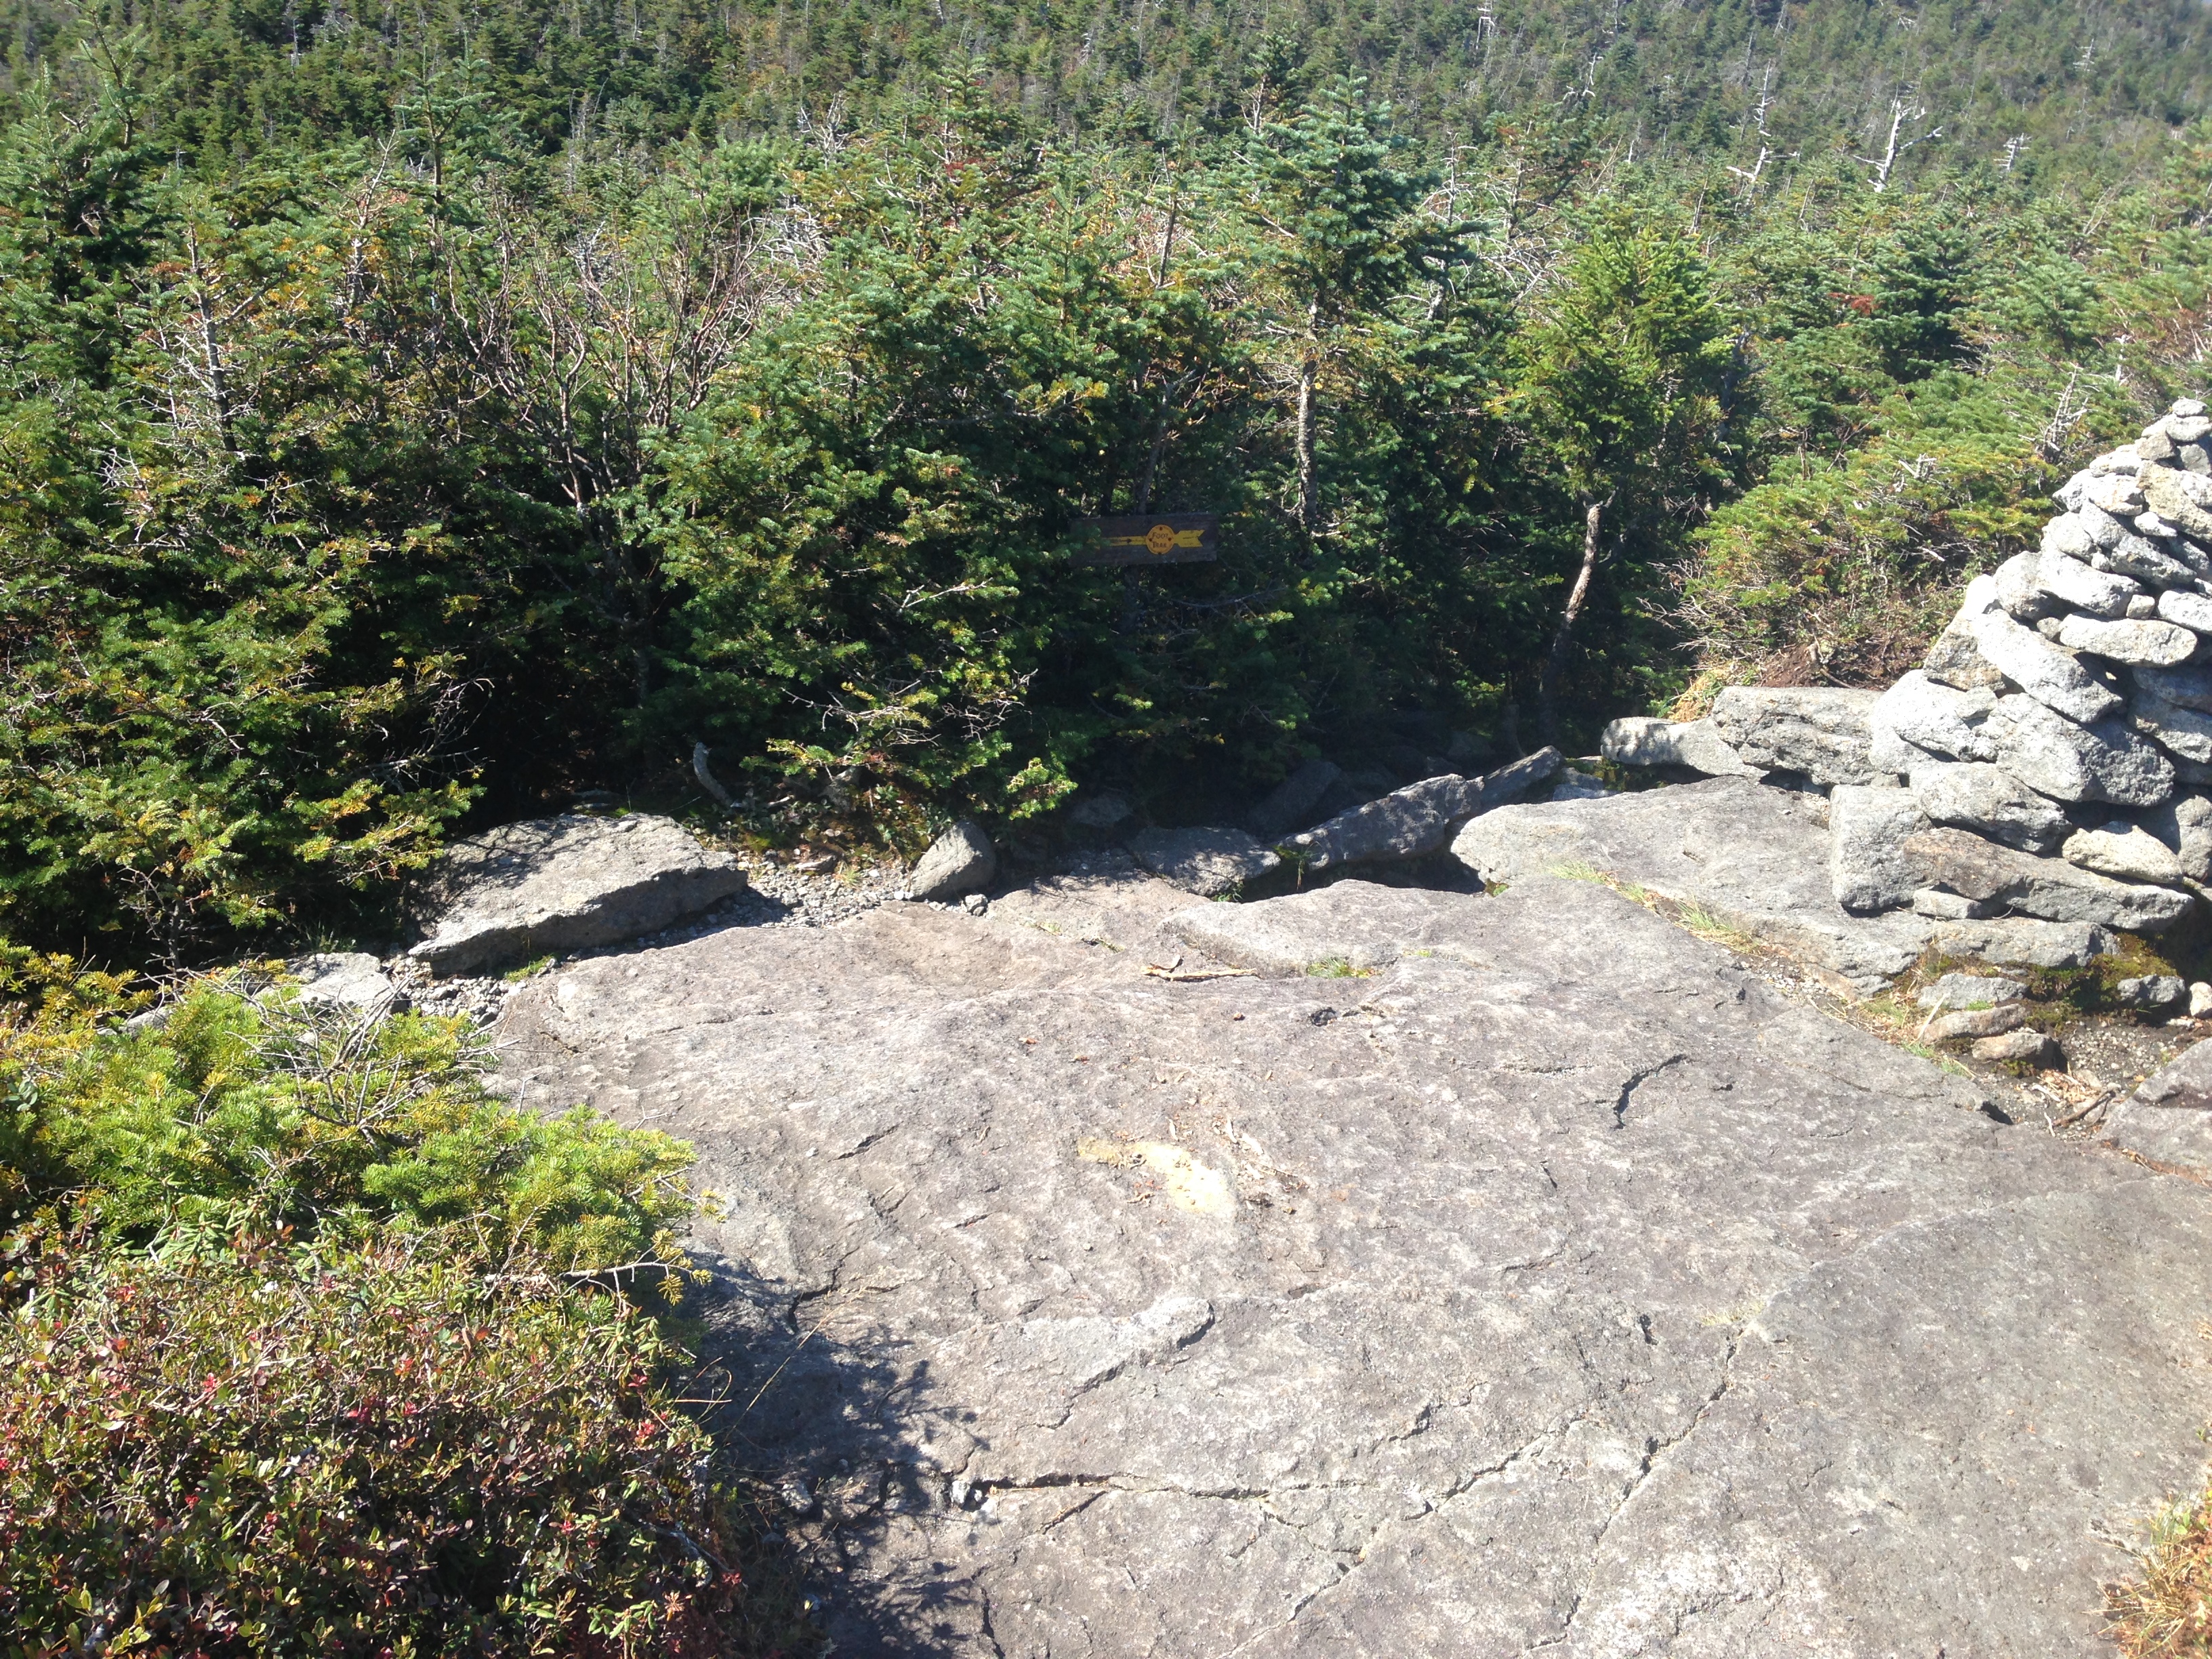
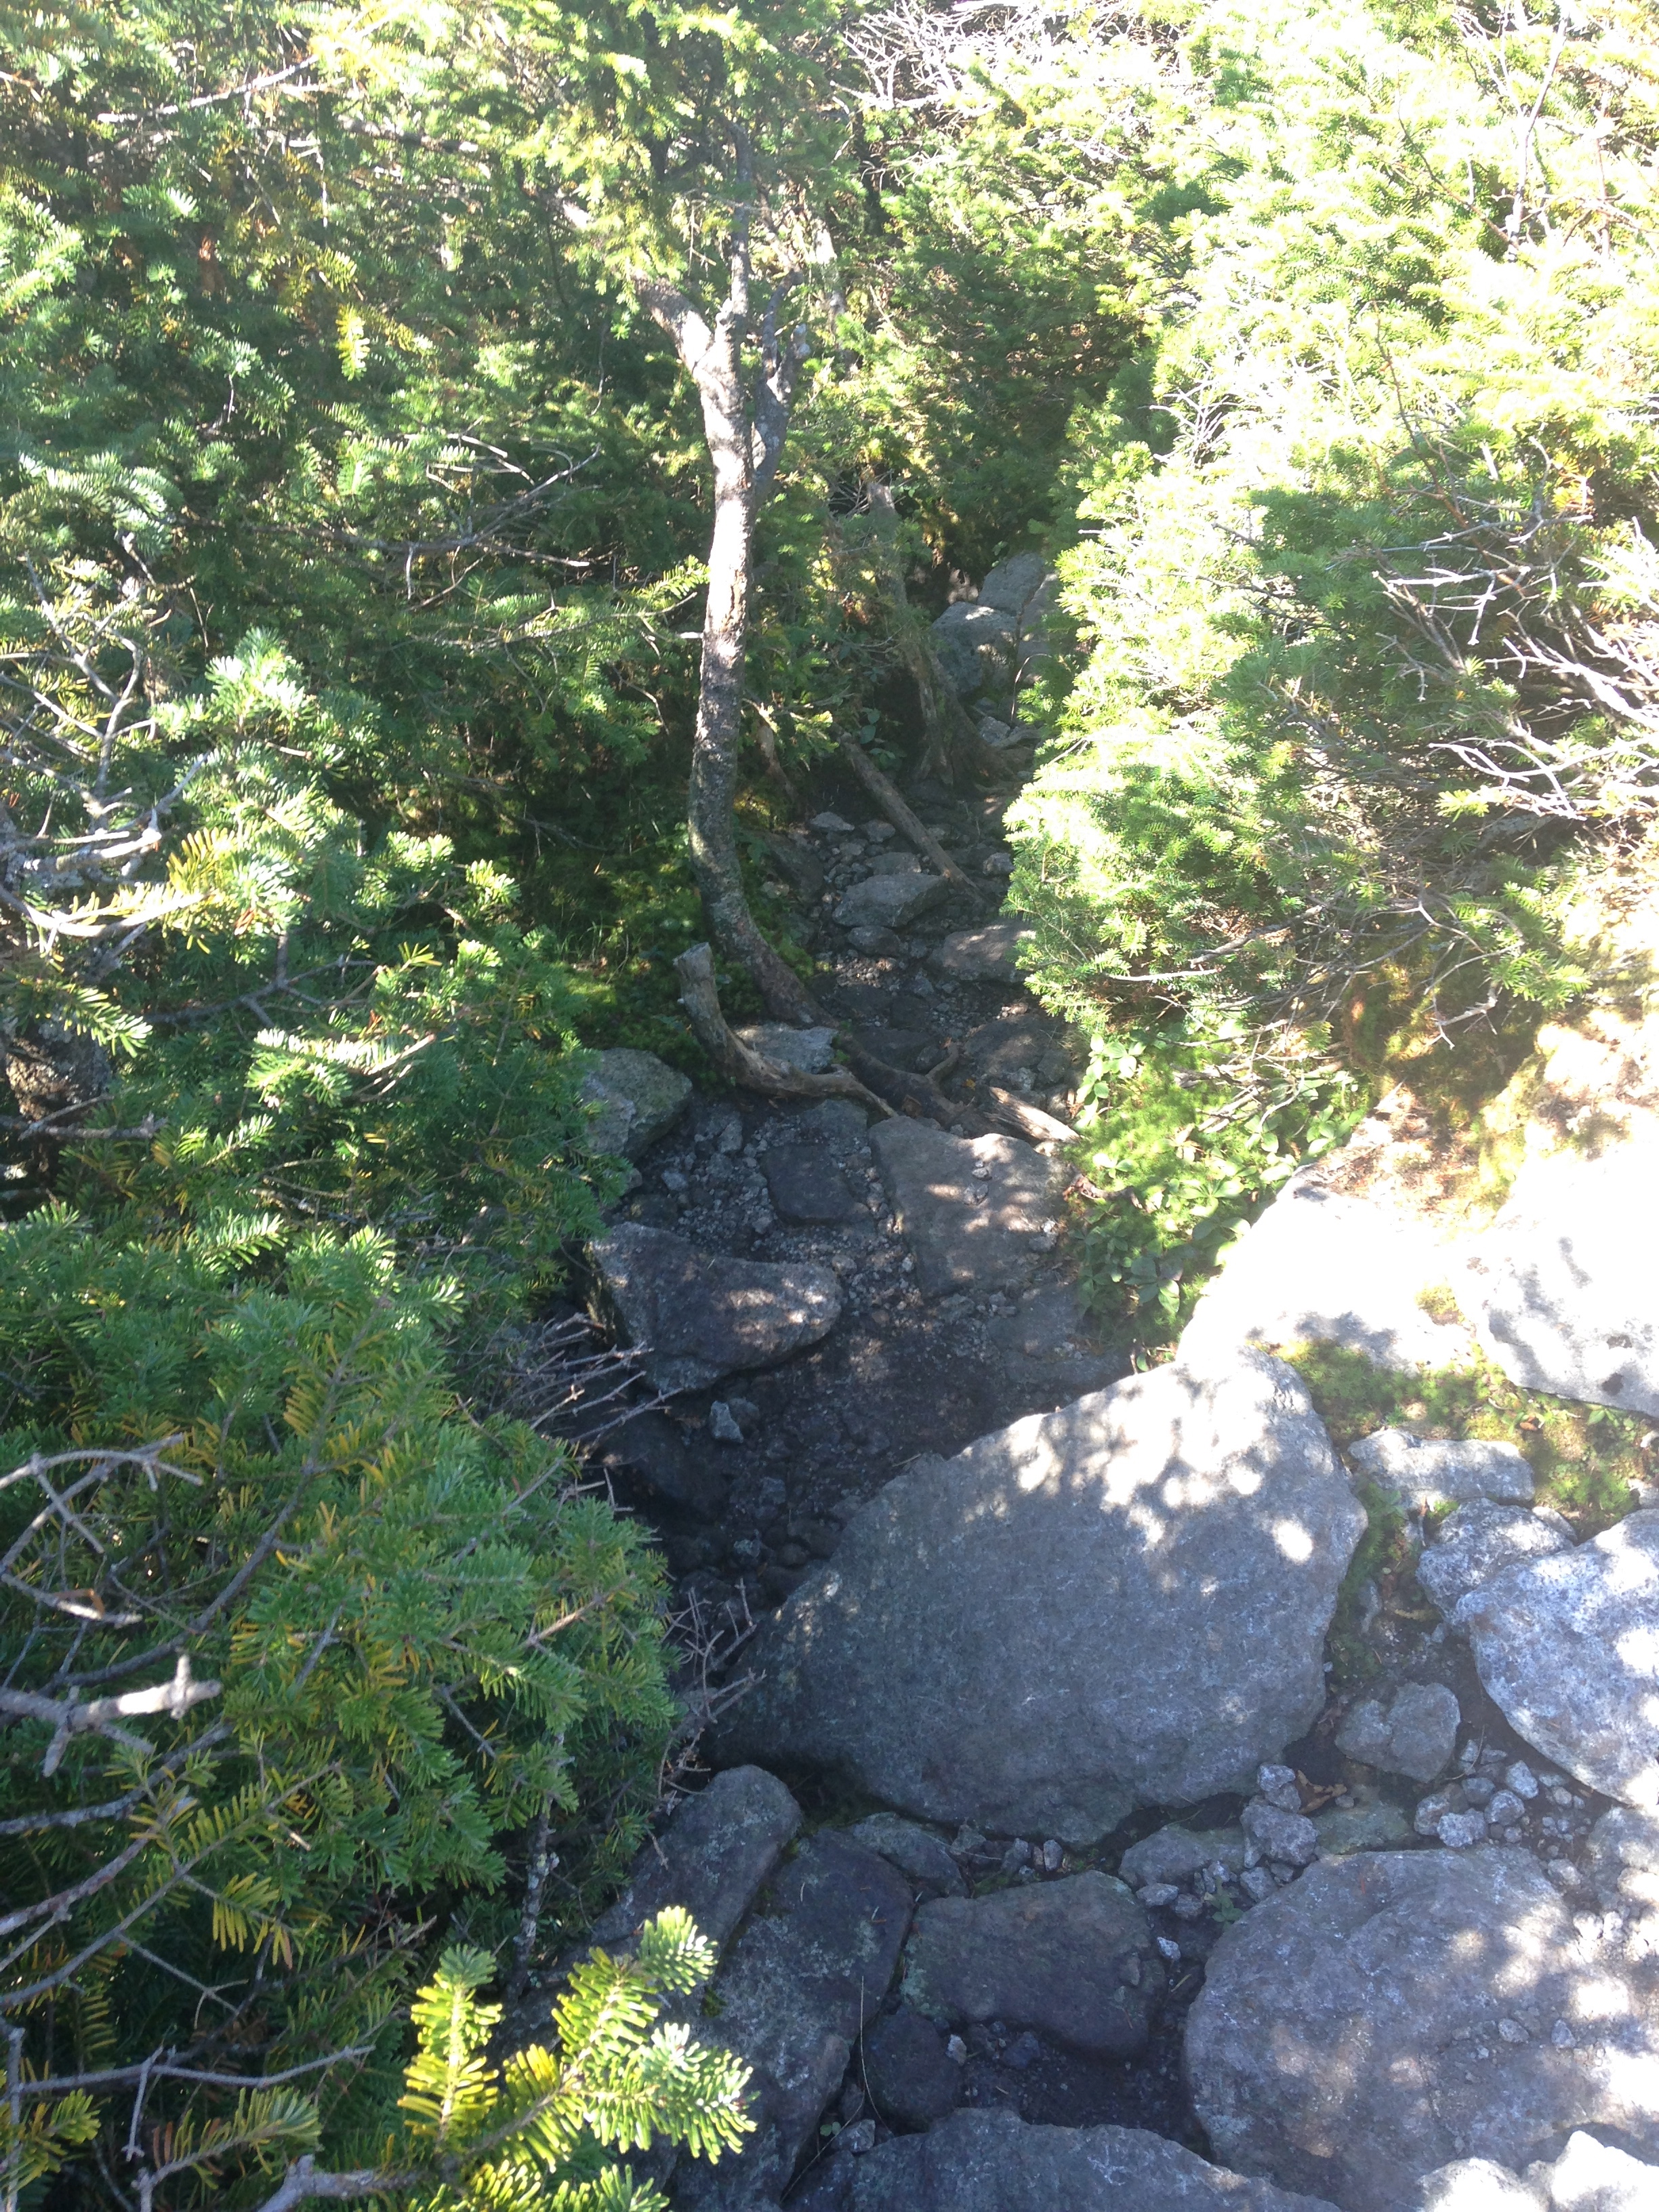
The marked trail goes left and descends toward Lake Colden. But if you’re climbing Iroquois, you actually need to go straight here, down a very narrow, snarly, easy-to-miss path through the trees. Someone tried to make that clear with a Sharpie, but it’s scratched out and easy to miss if you’re not paying attention.


IMG_1822


The Iroquois herd path is narrow – less than a foot wide in places, so if you pass another hiker, you’ll need to make friends quickly.

IMG_1825


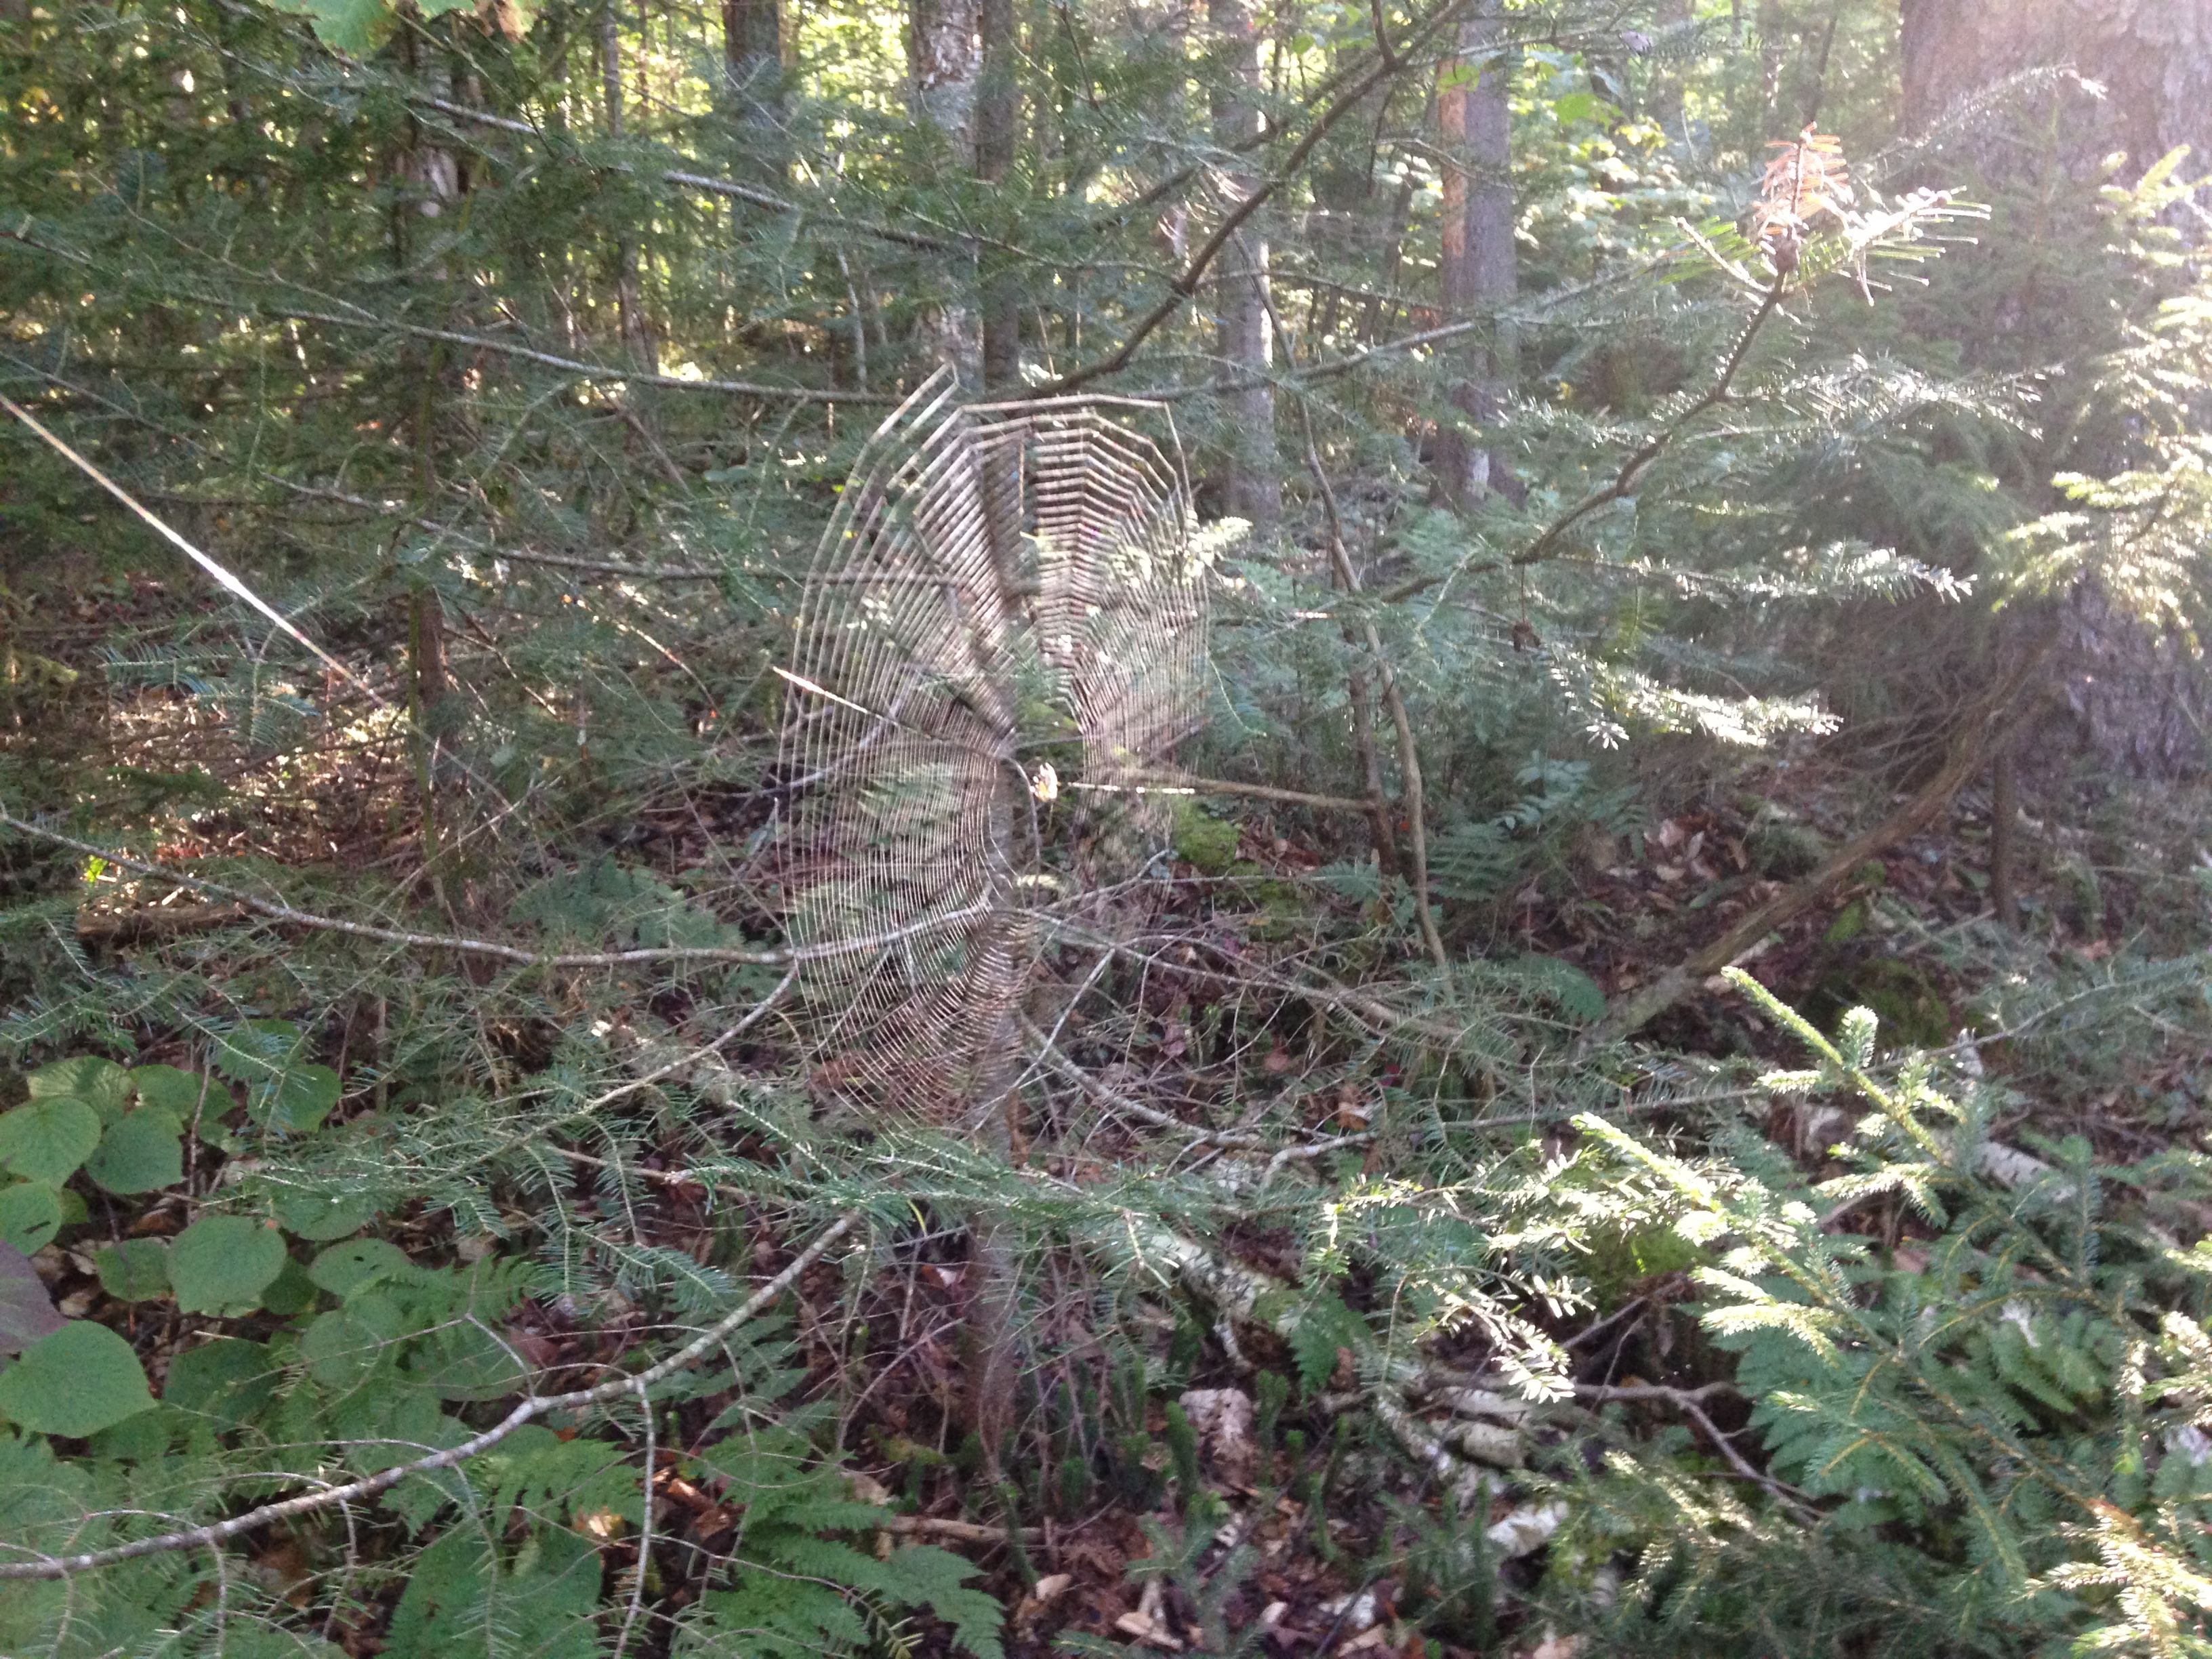
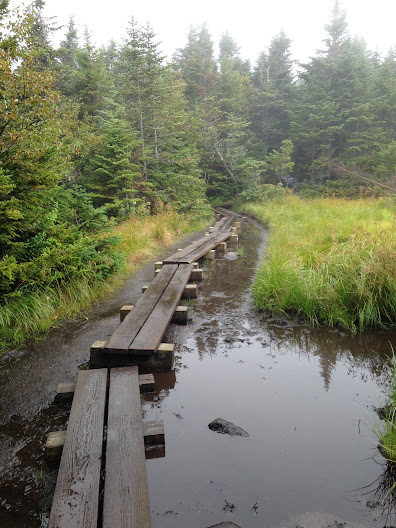
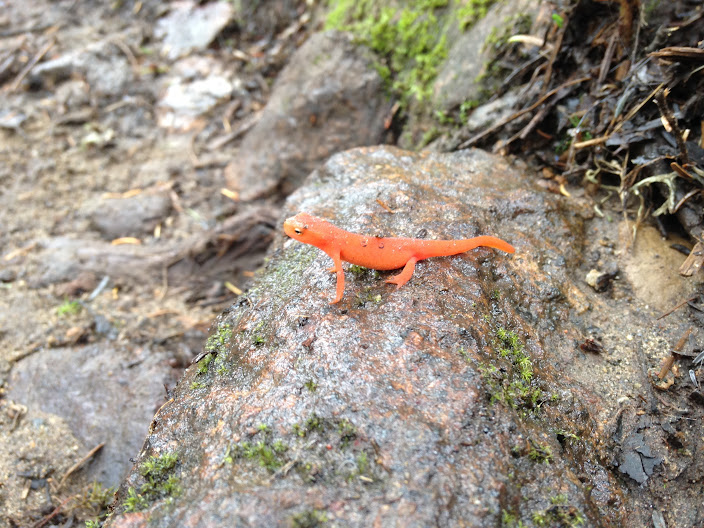
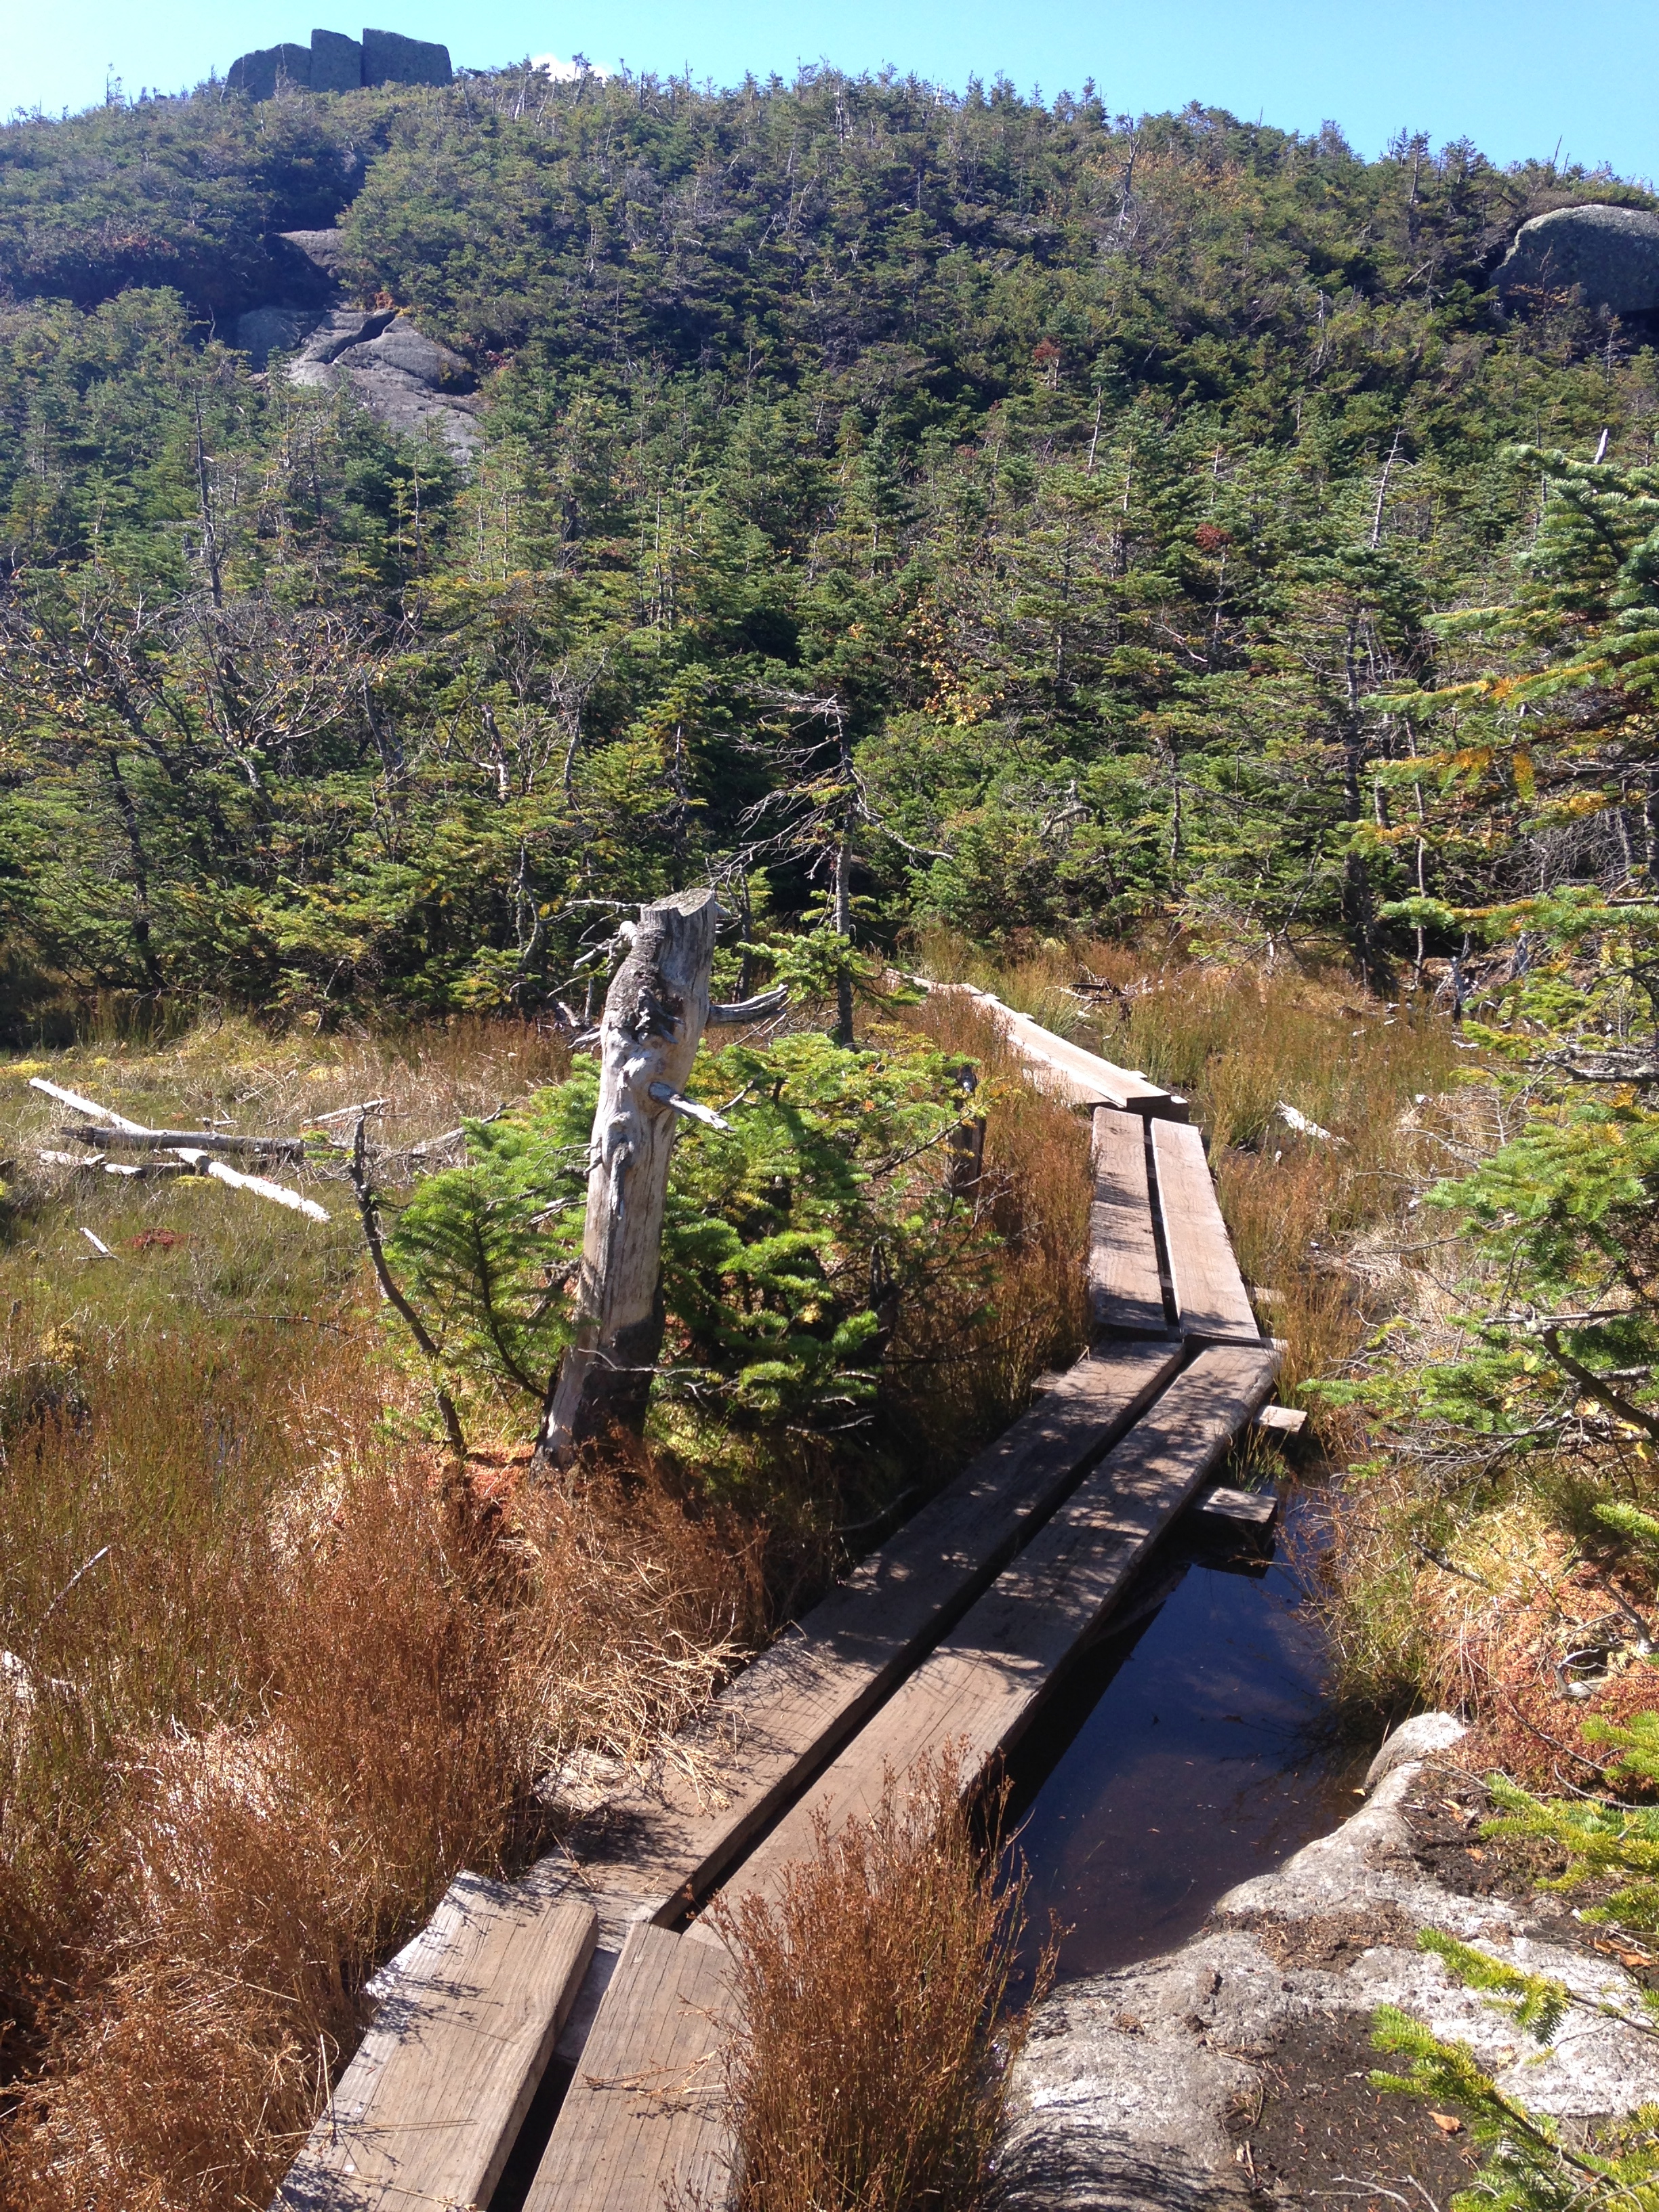
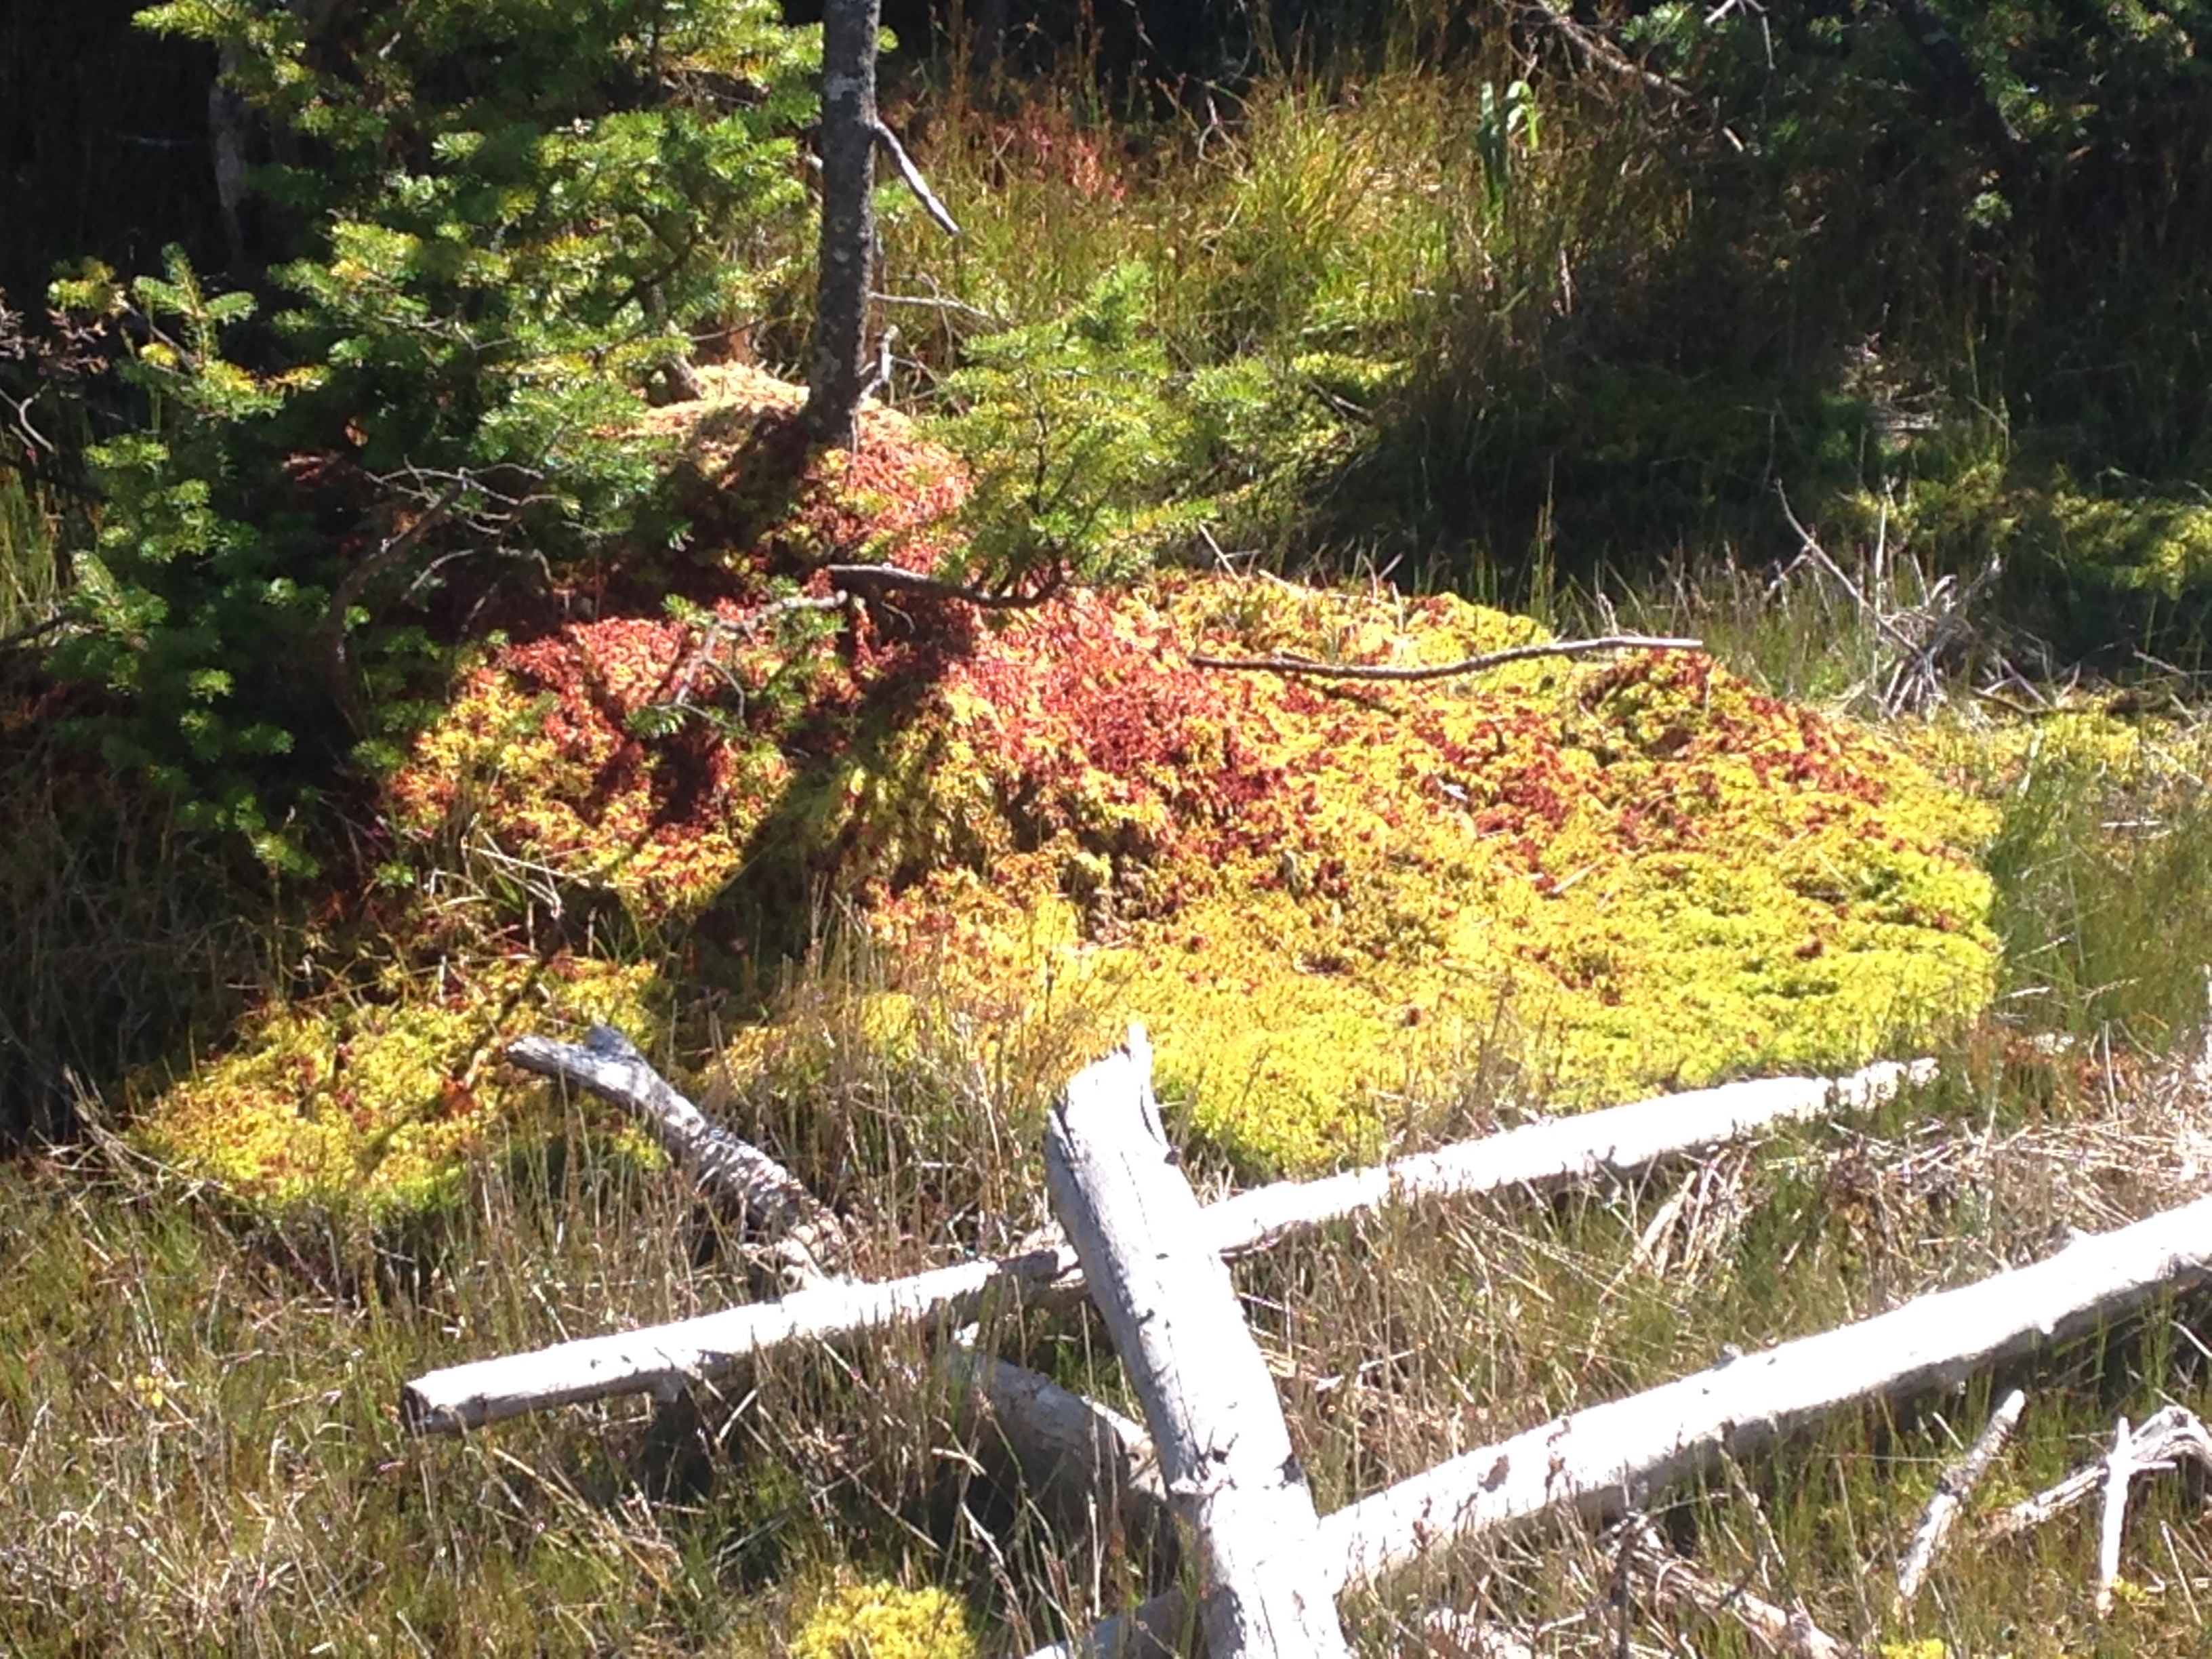
The herd path crosses a pretty little alpine bog over a mini-boardwalk. I’m always thankful for the work that’s been done on these trails to let me pass through places like this without having a negative impact.

IMG_1826


IMG_1857


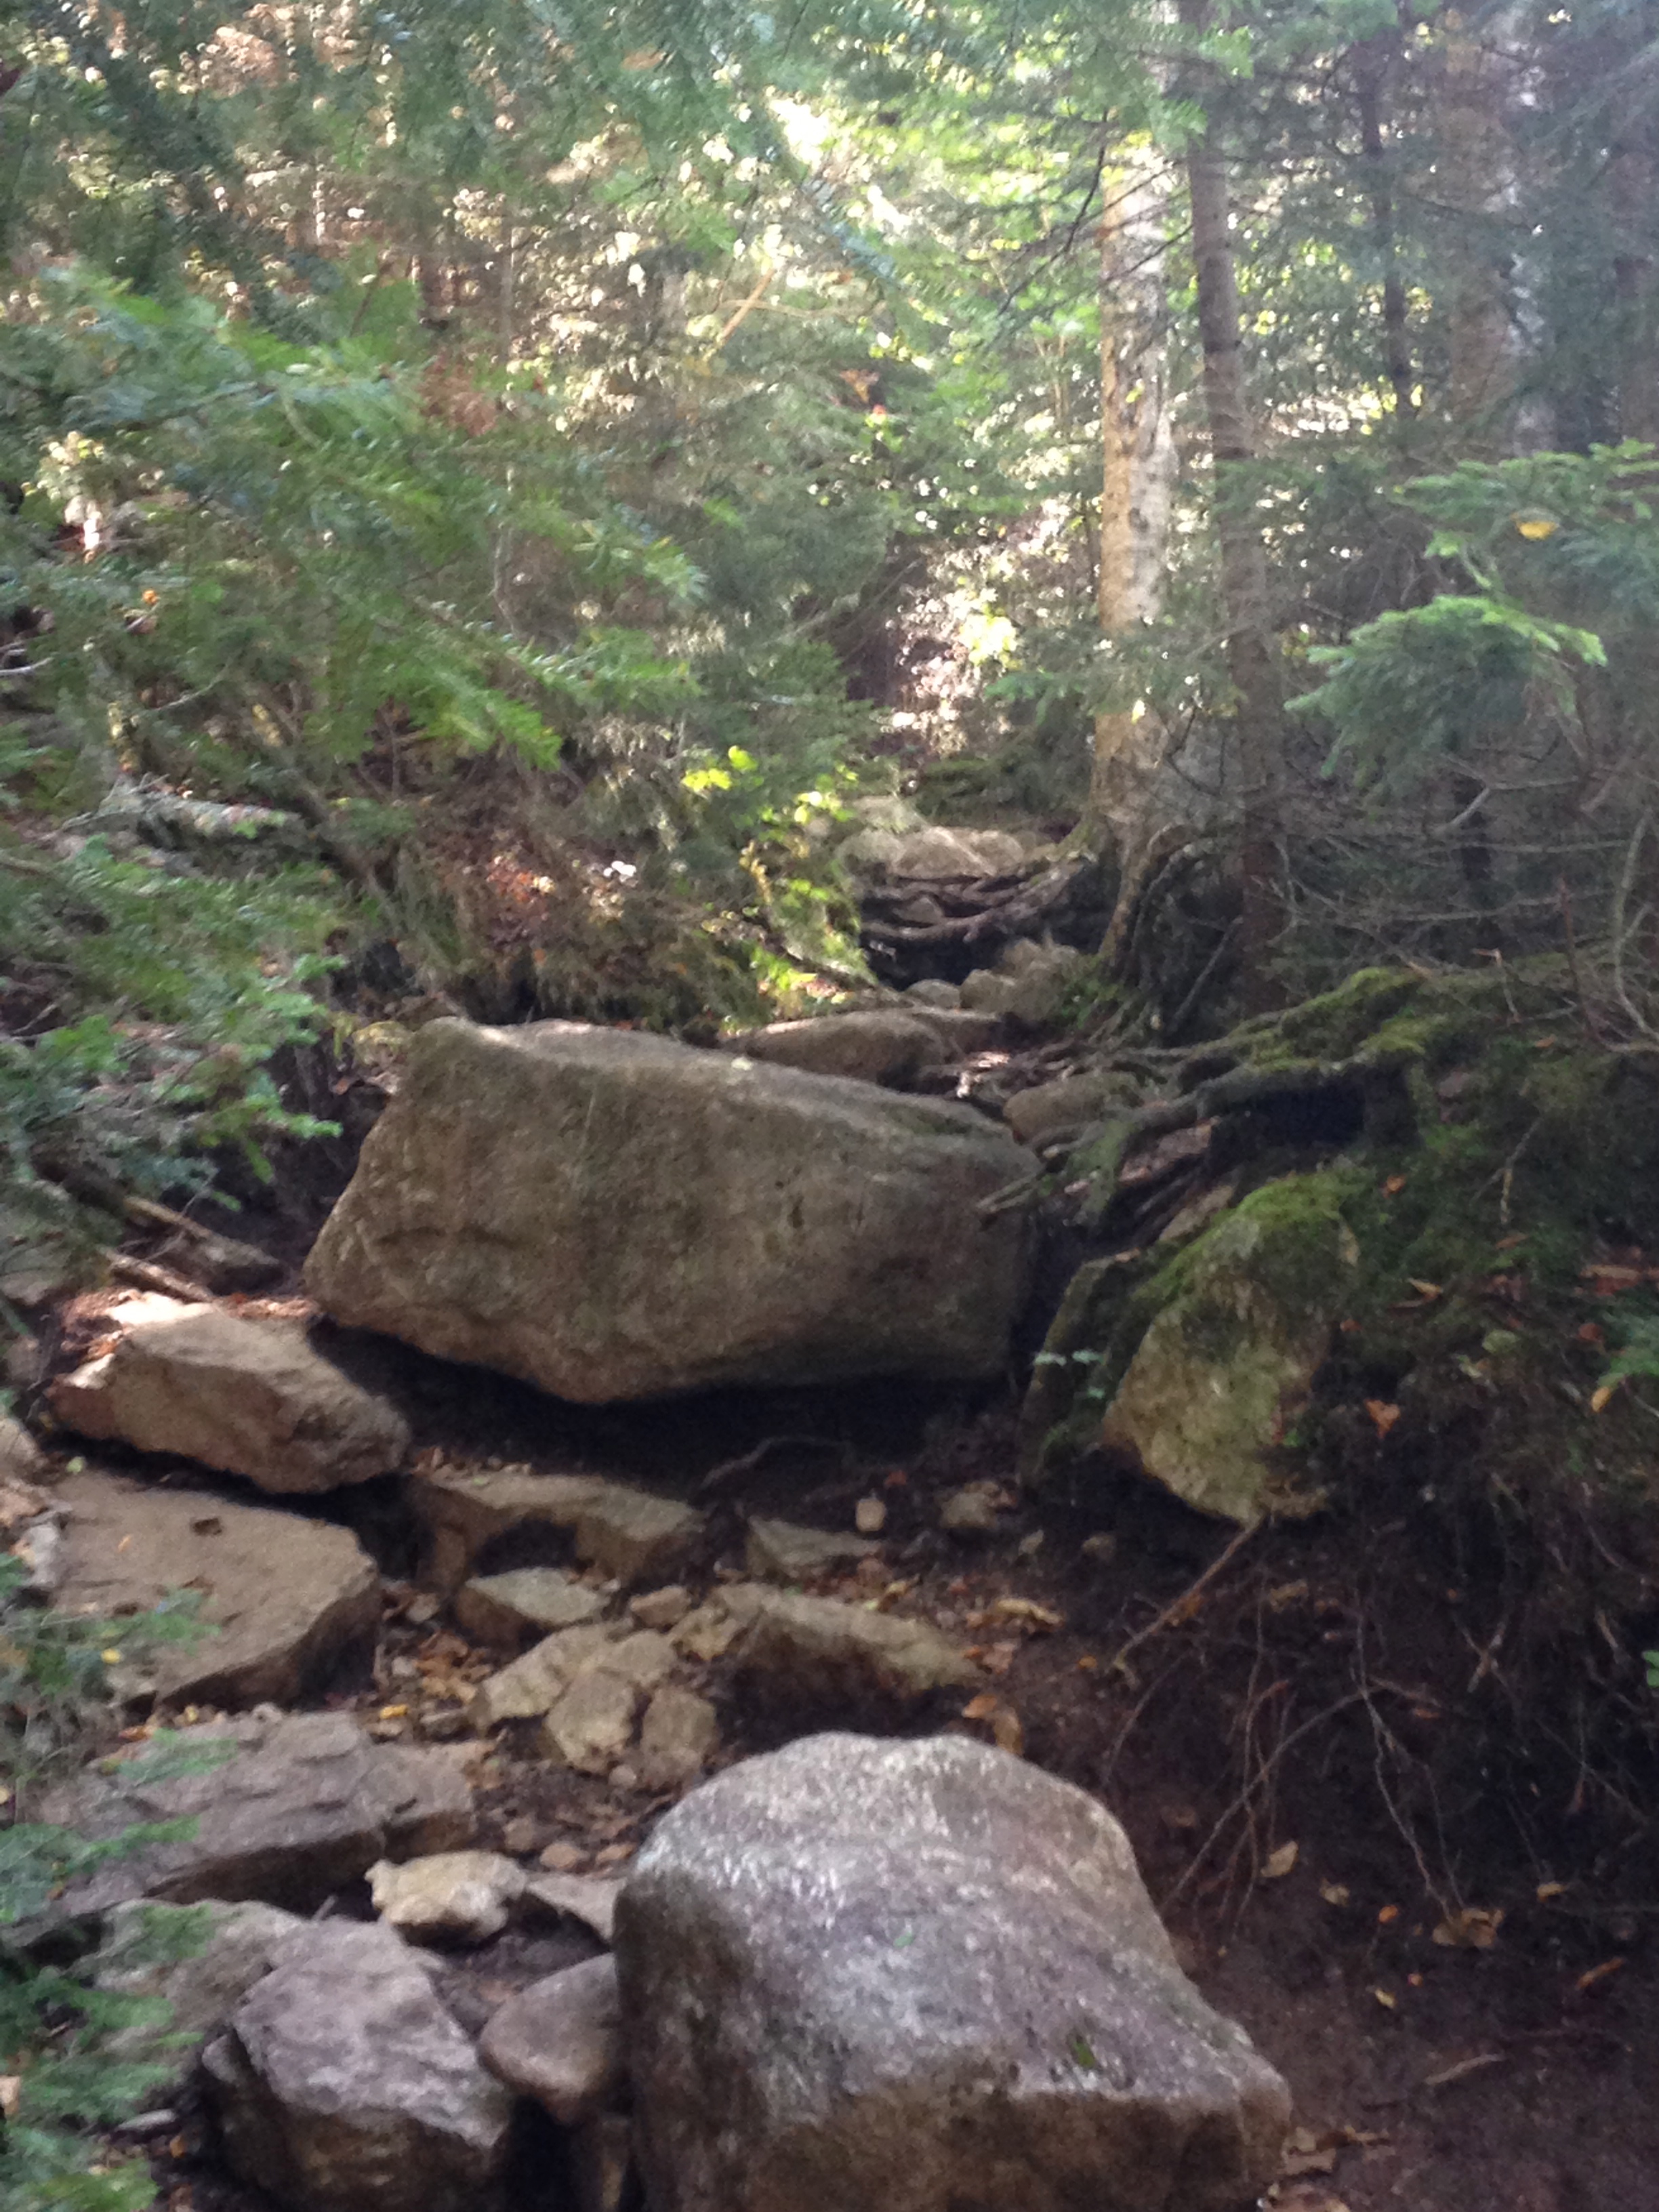
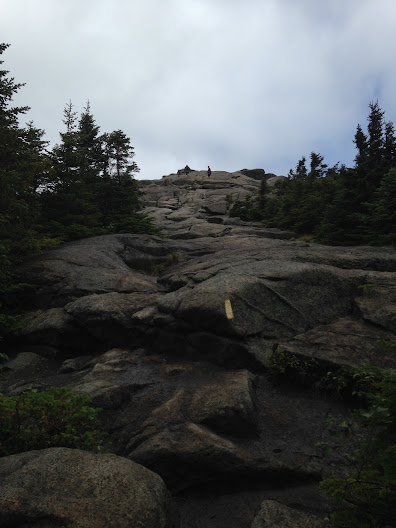
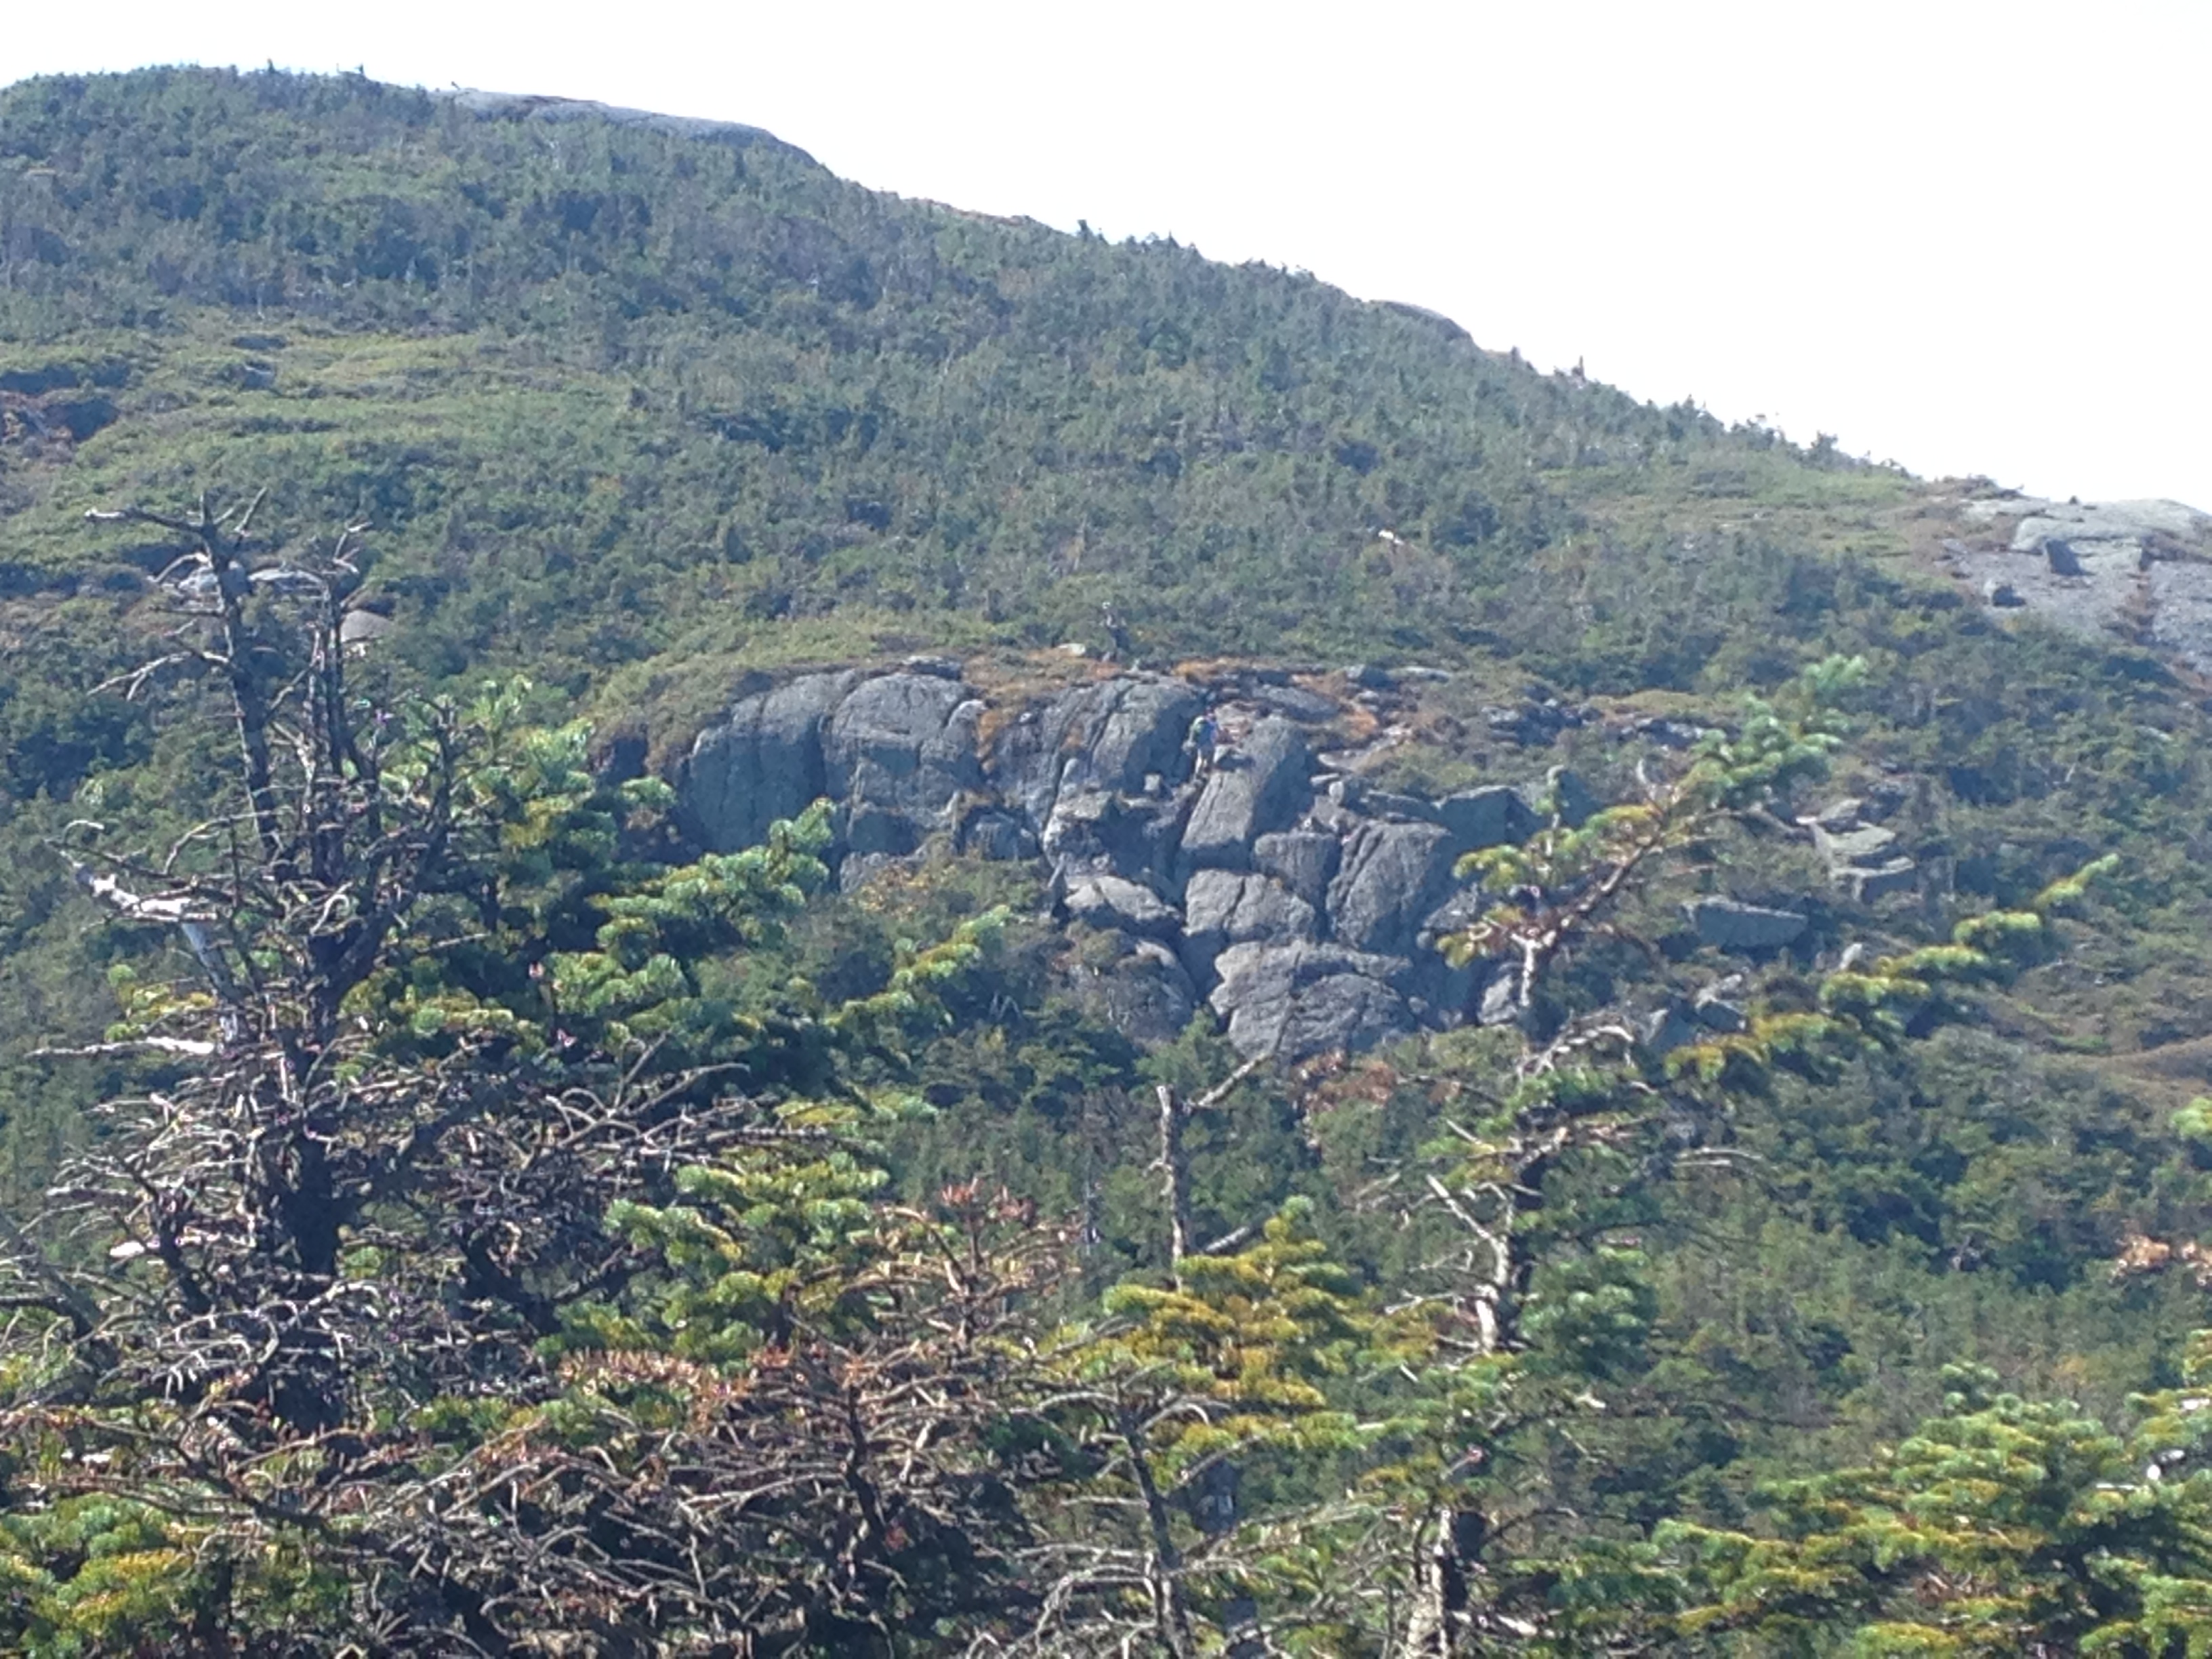
The route to Iroquois had a couple of rock scrambles that I found challenging. (Twice, I spent a few minutes trying to figure where the trail went around the cliff before I realized that the cliff was the trail.)  The photo below shows one of those spots, from a distance. Once you get right up to the rocks and start climbing, though, you can see that there are, in fact, plenty of good places to put your hands and feet along the way.

IMG_1856


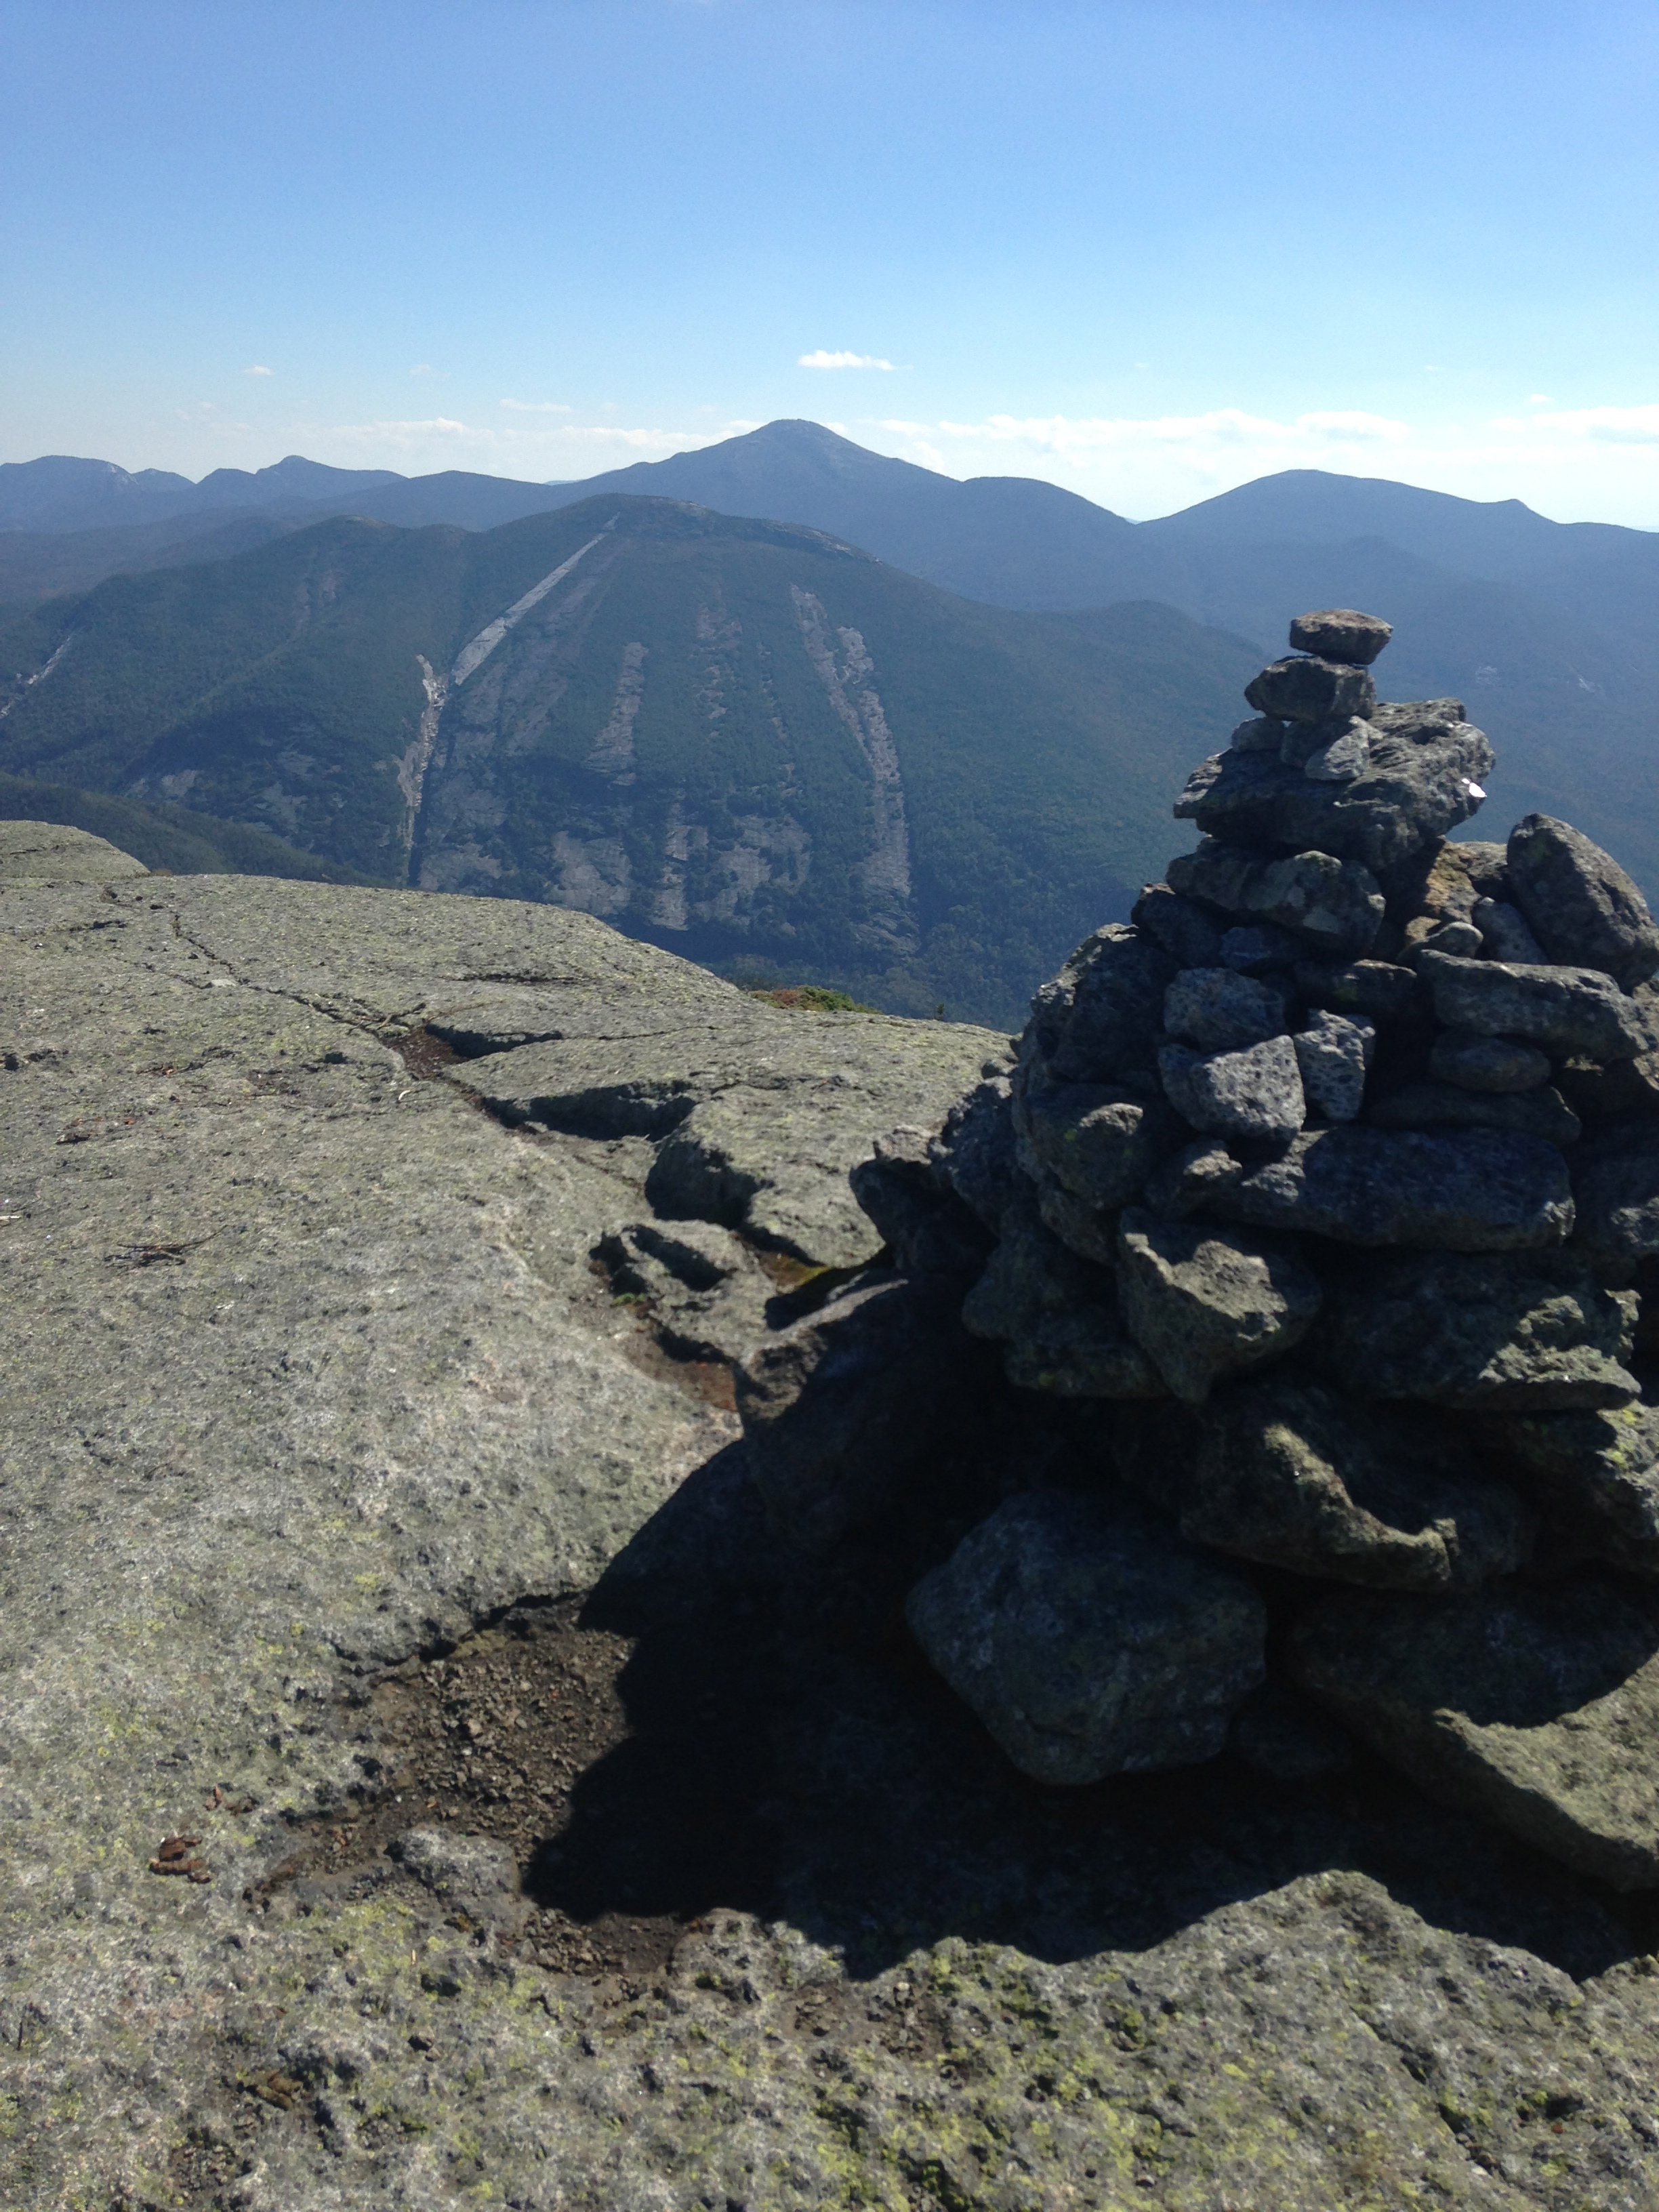
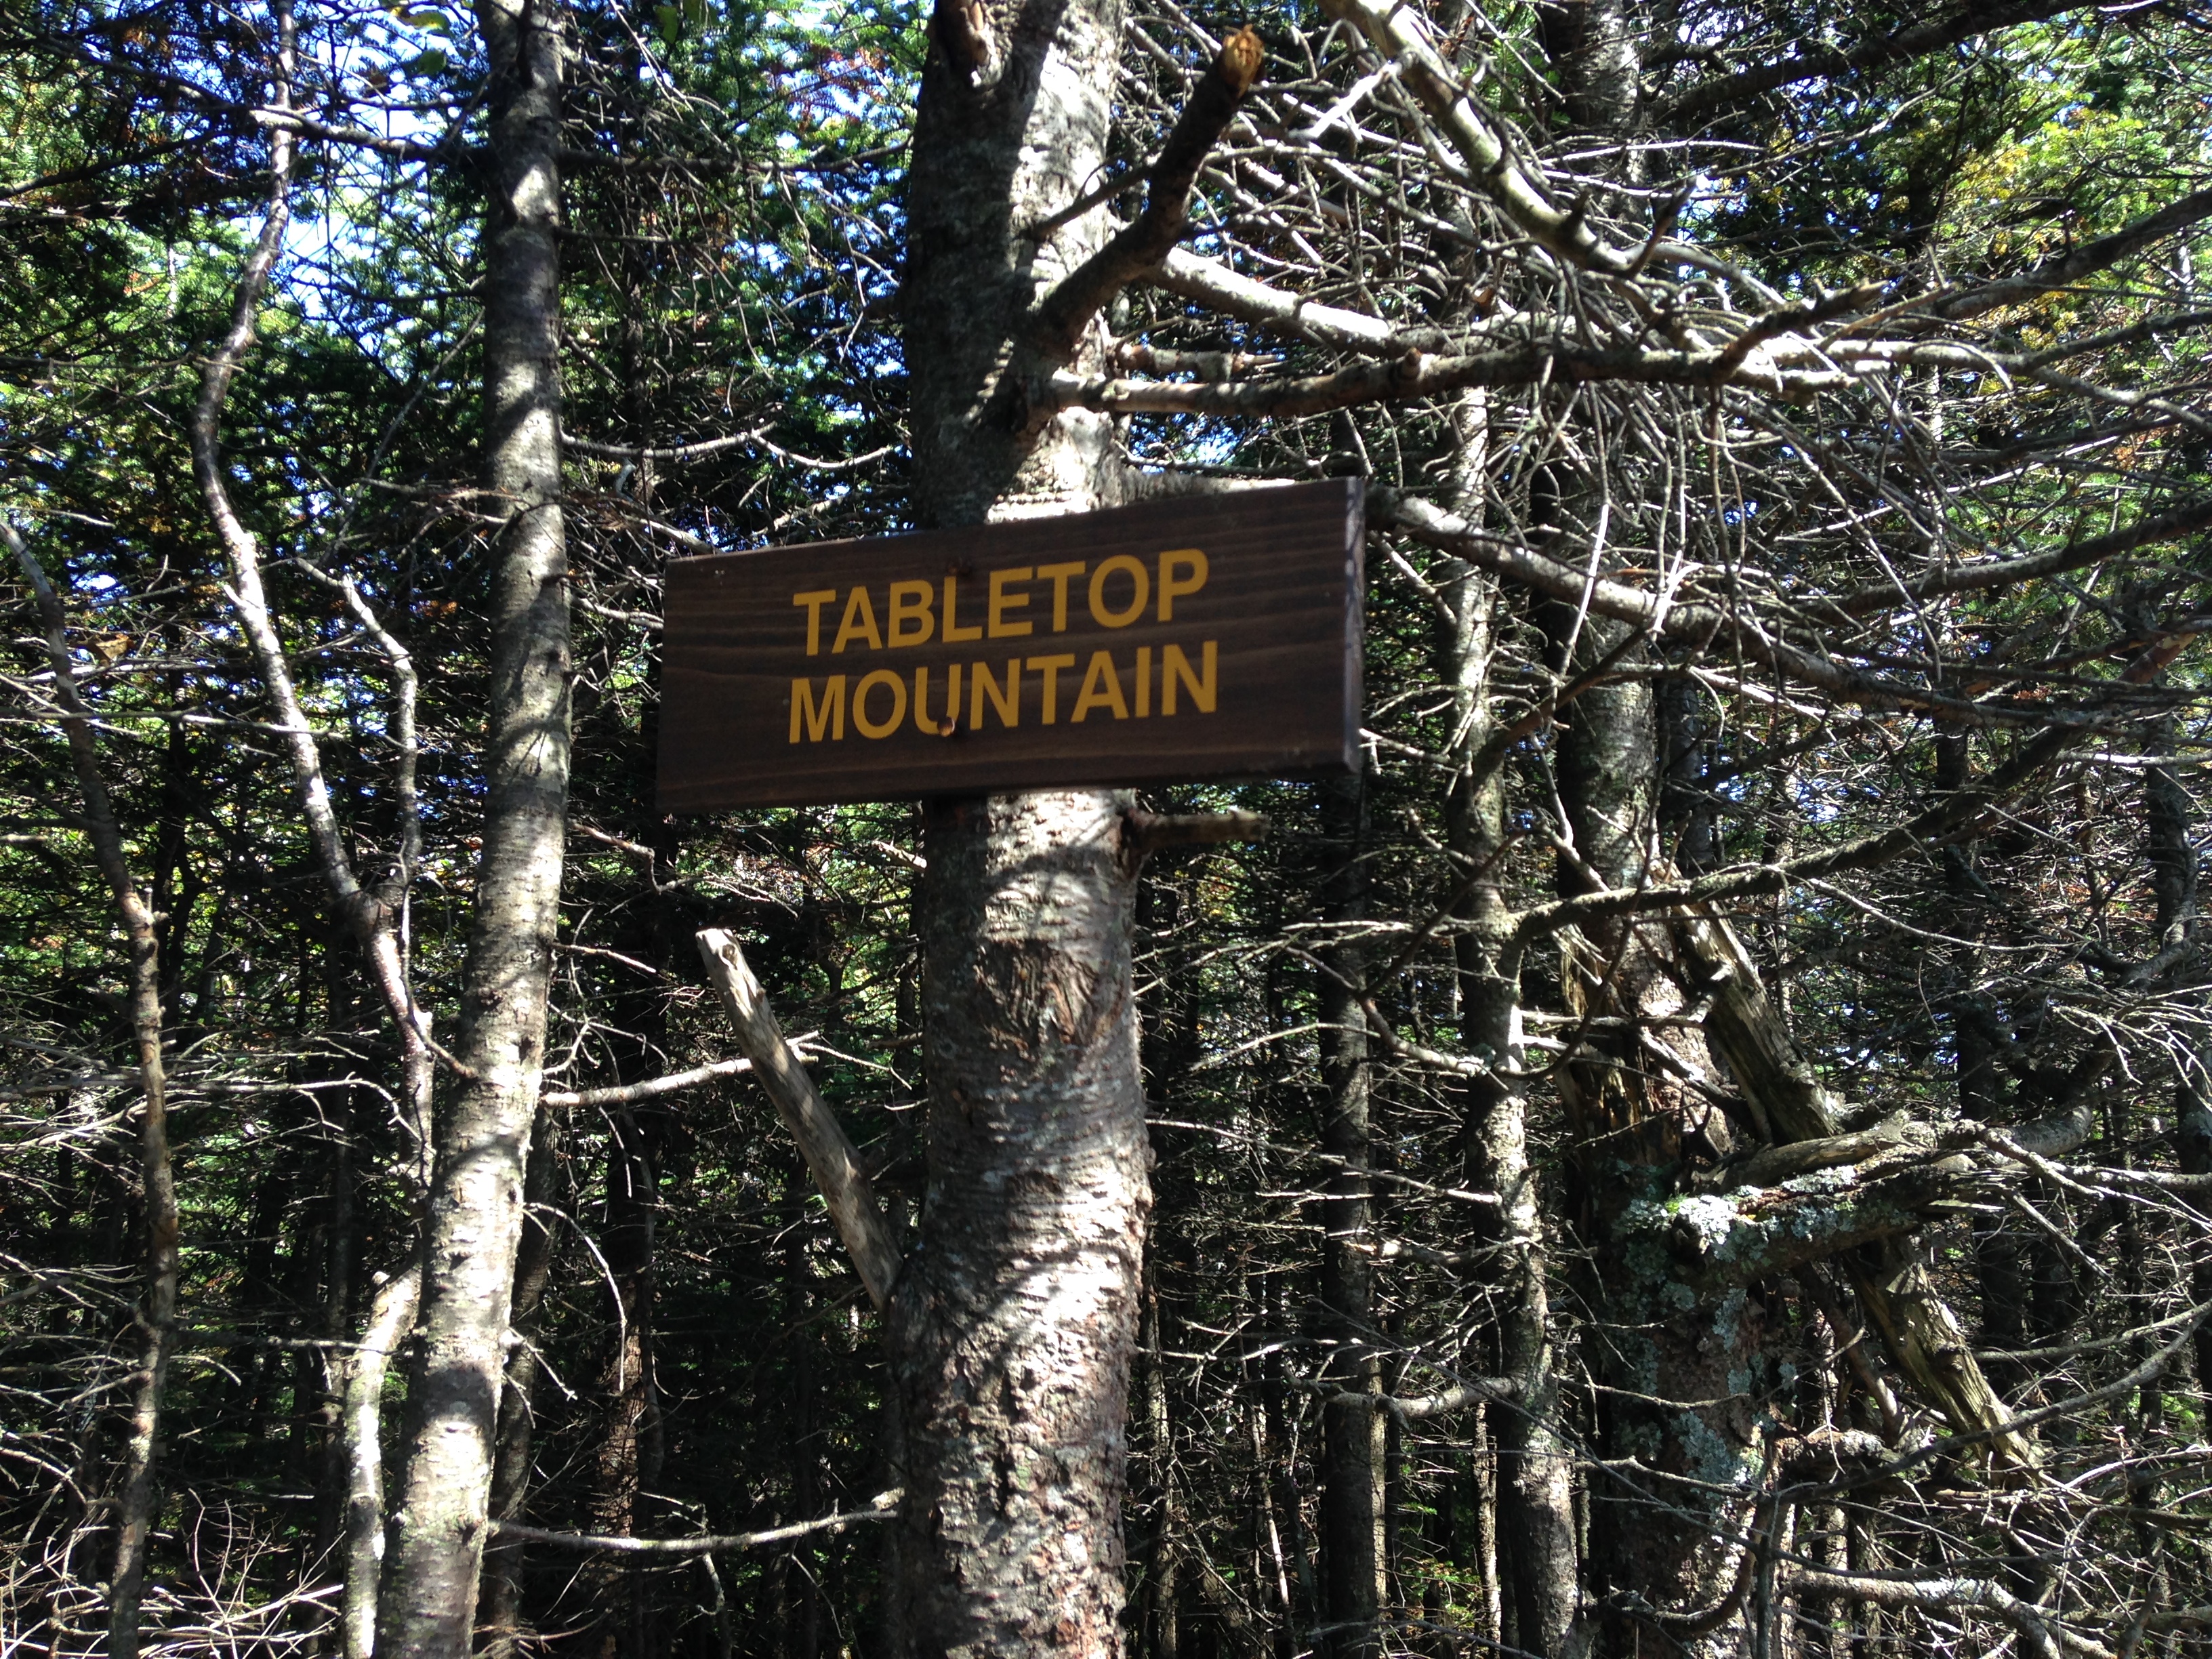
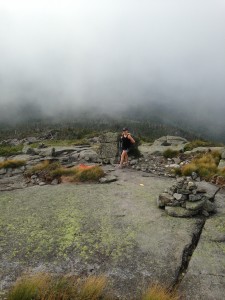
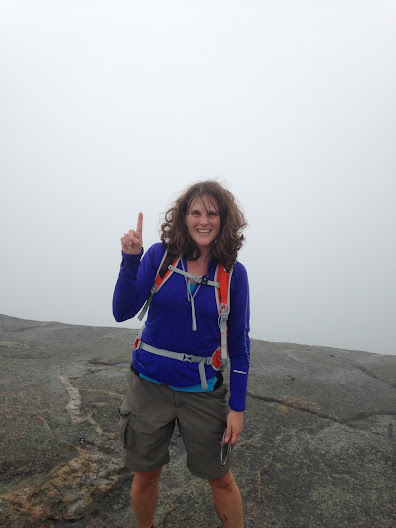
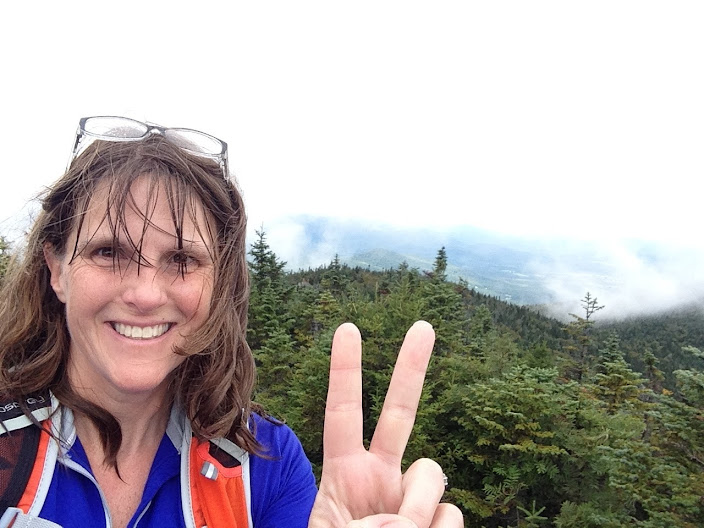
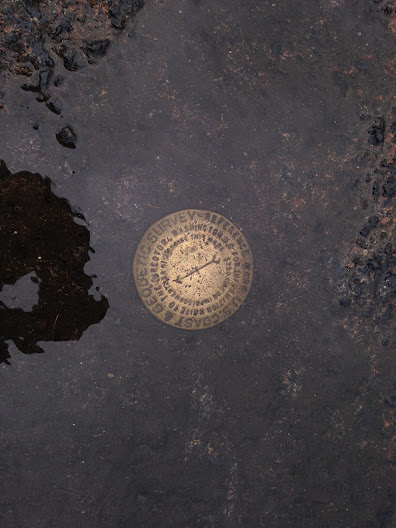
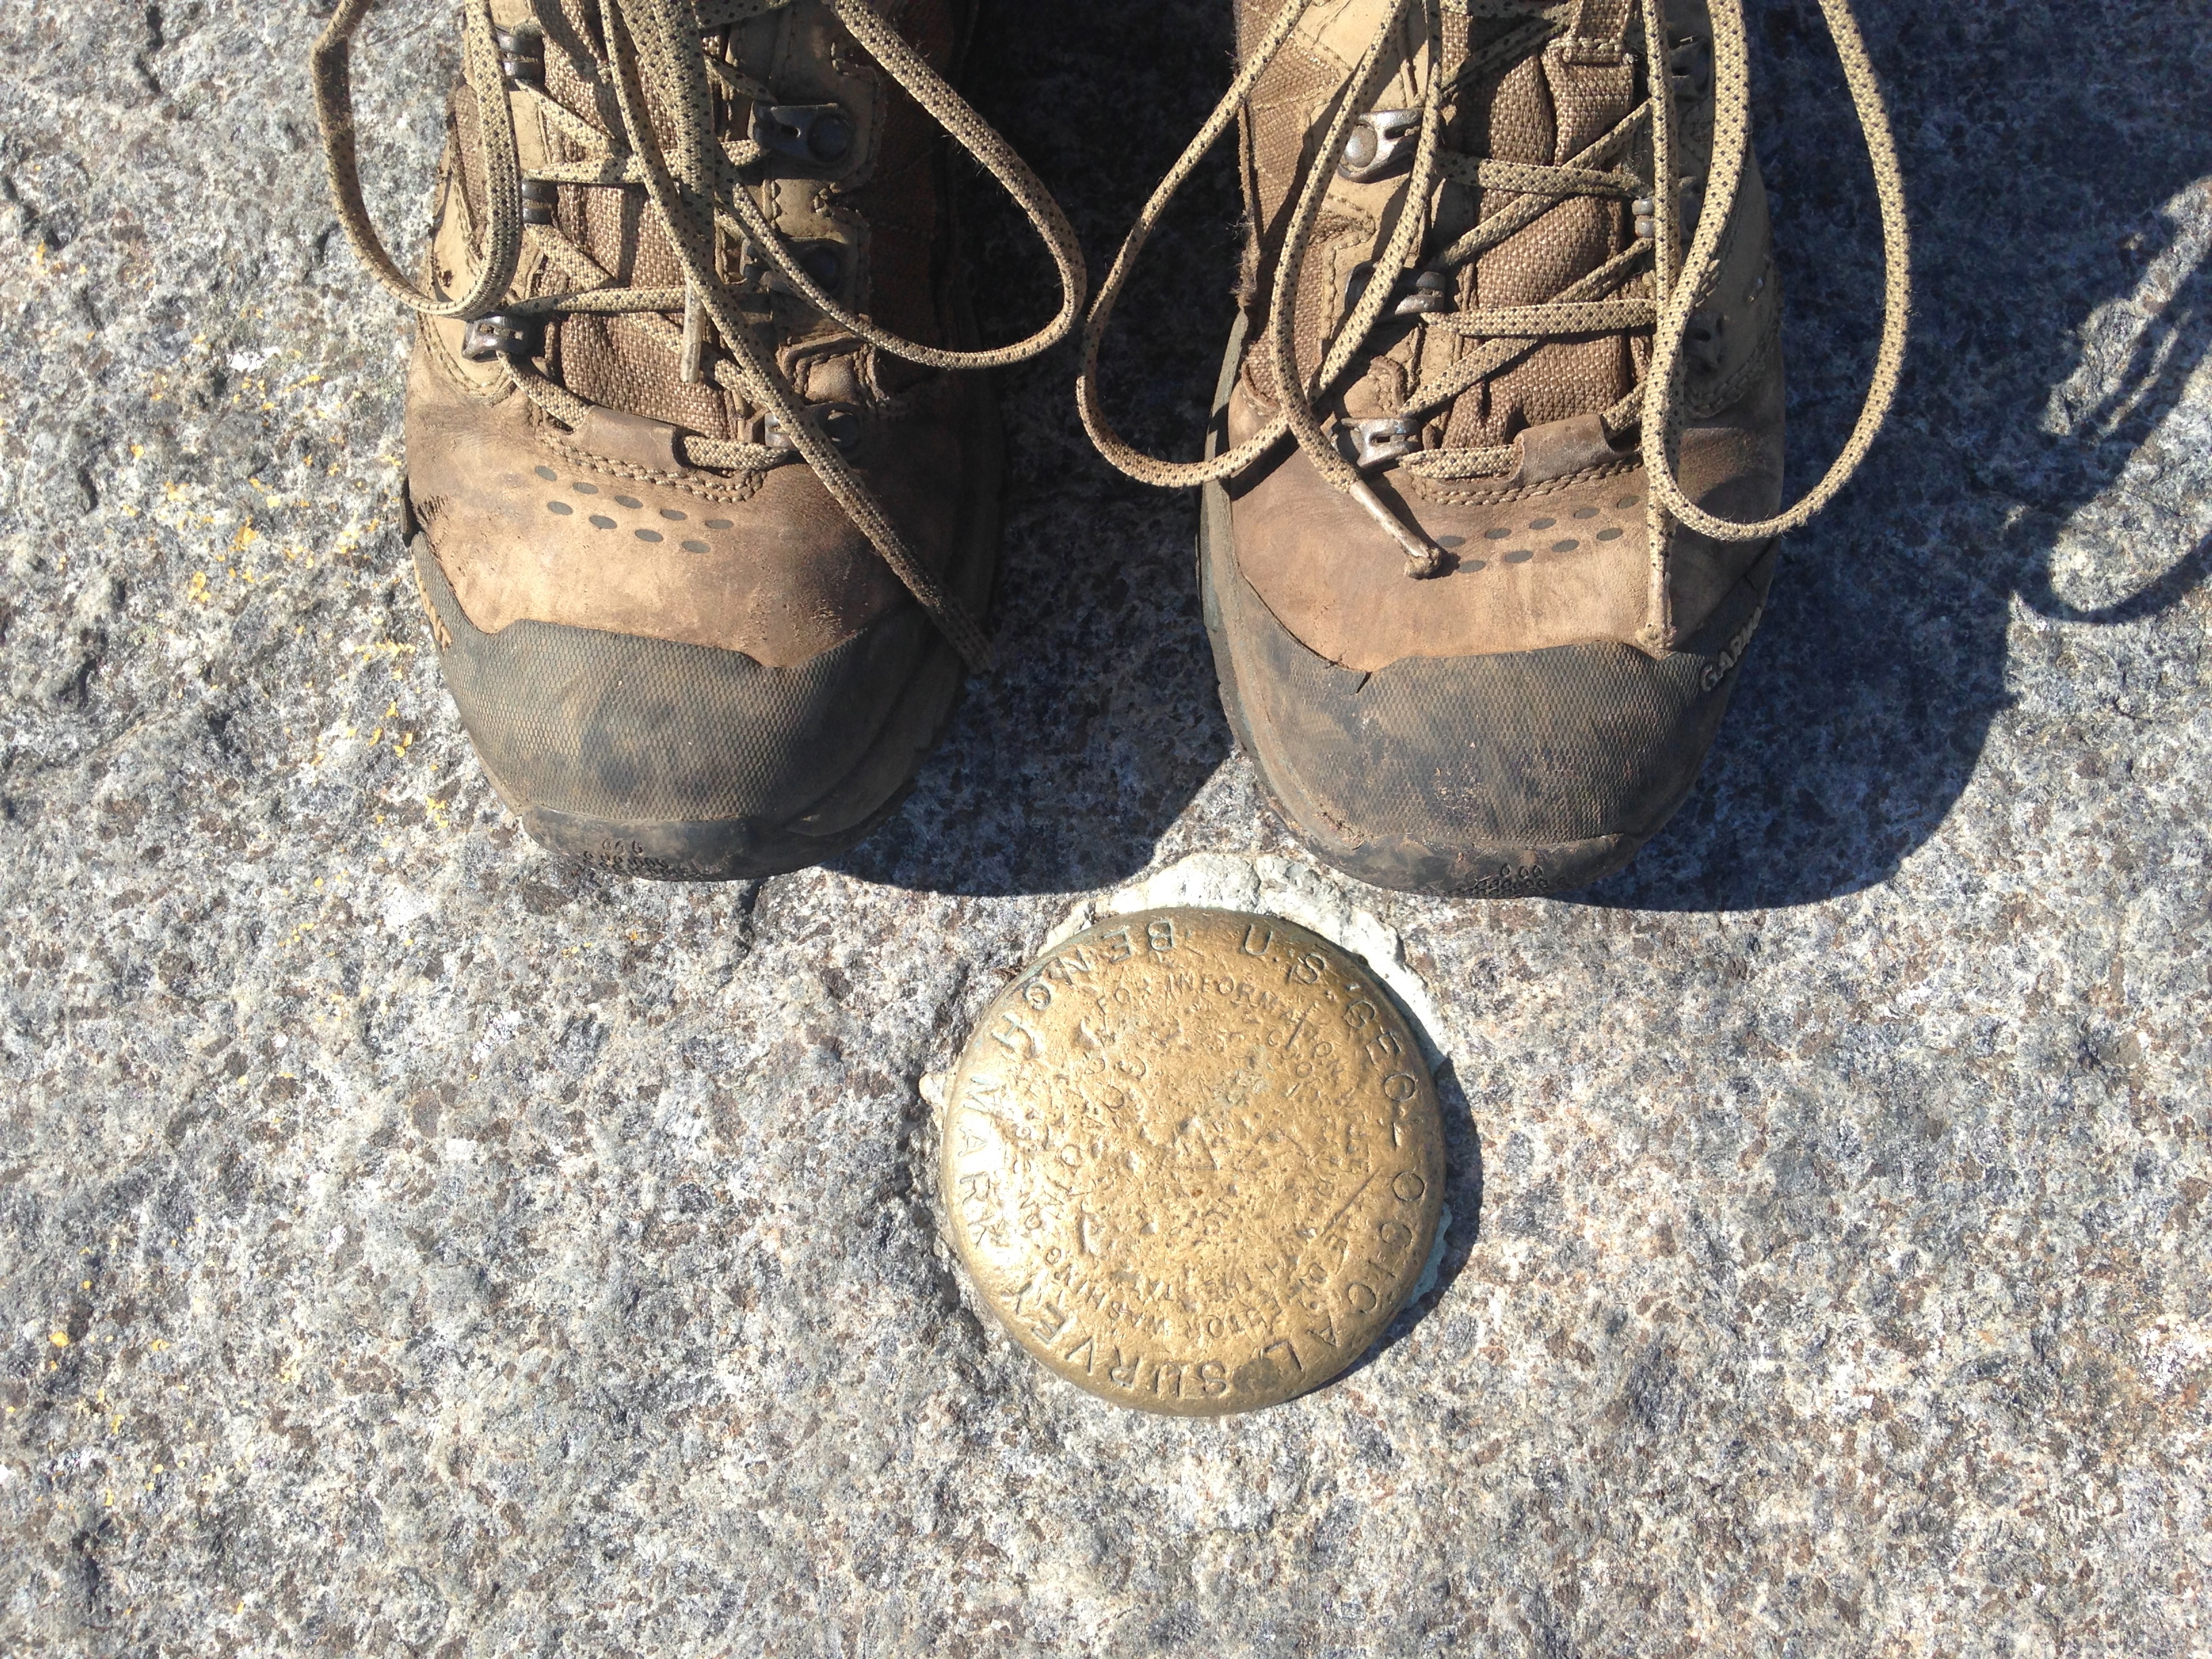
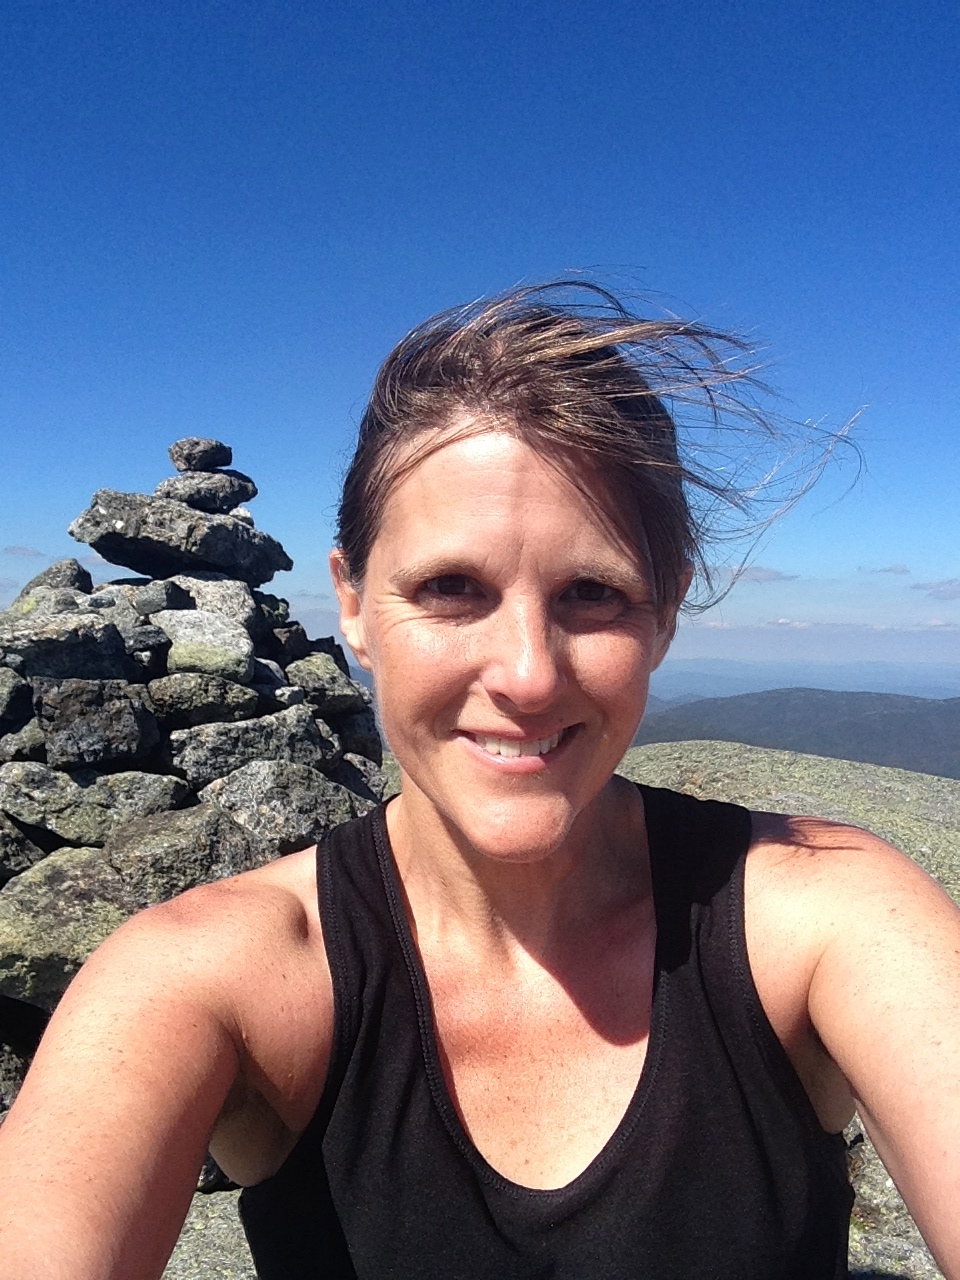
Iroquois’s summit is just as pretty as Algonquin’s but with fewer people to take photos, so I snapped a summit selfie with the rock cairn that marks the highest point. This is Adirondack High Peak #8 for me!

IMG_1848

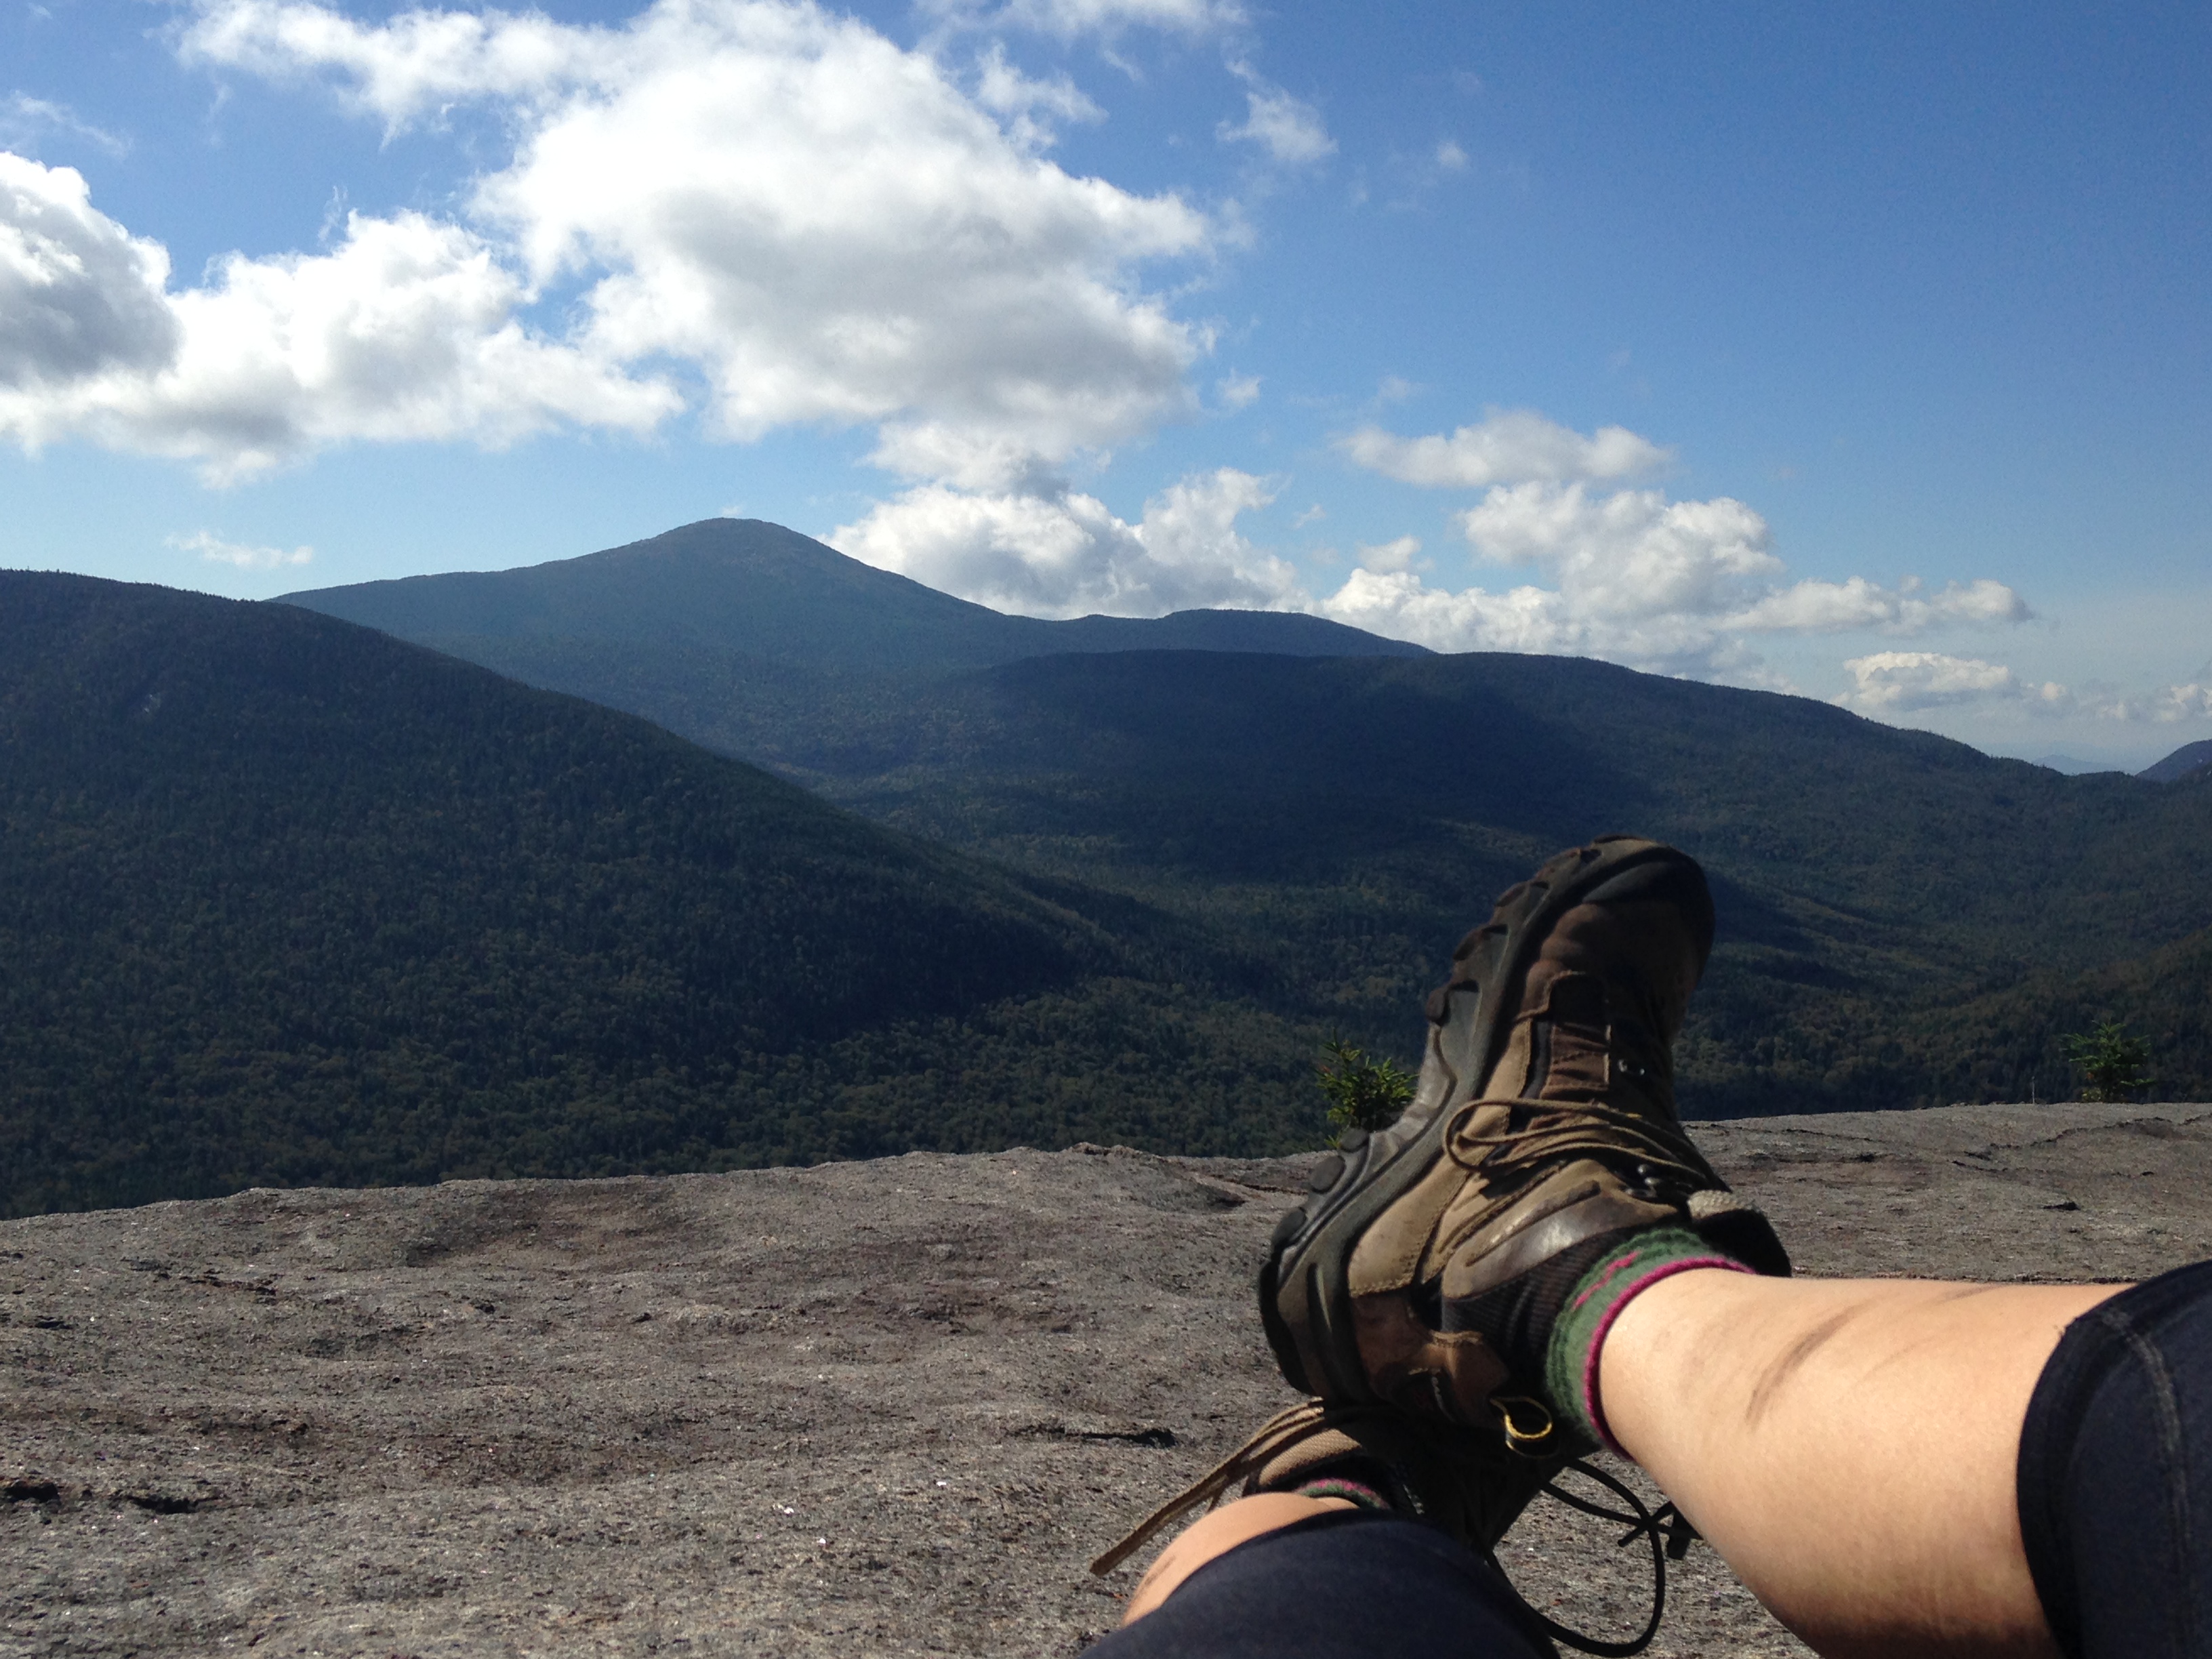
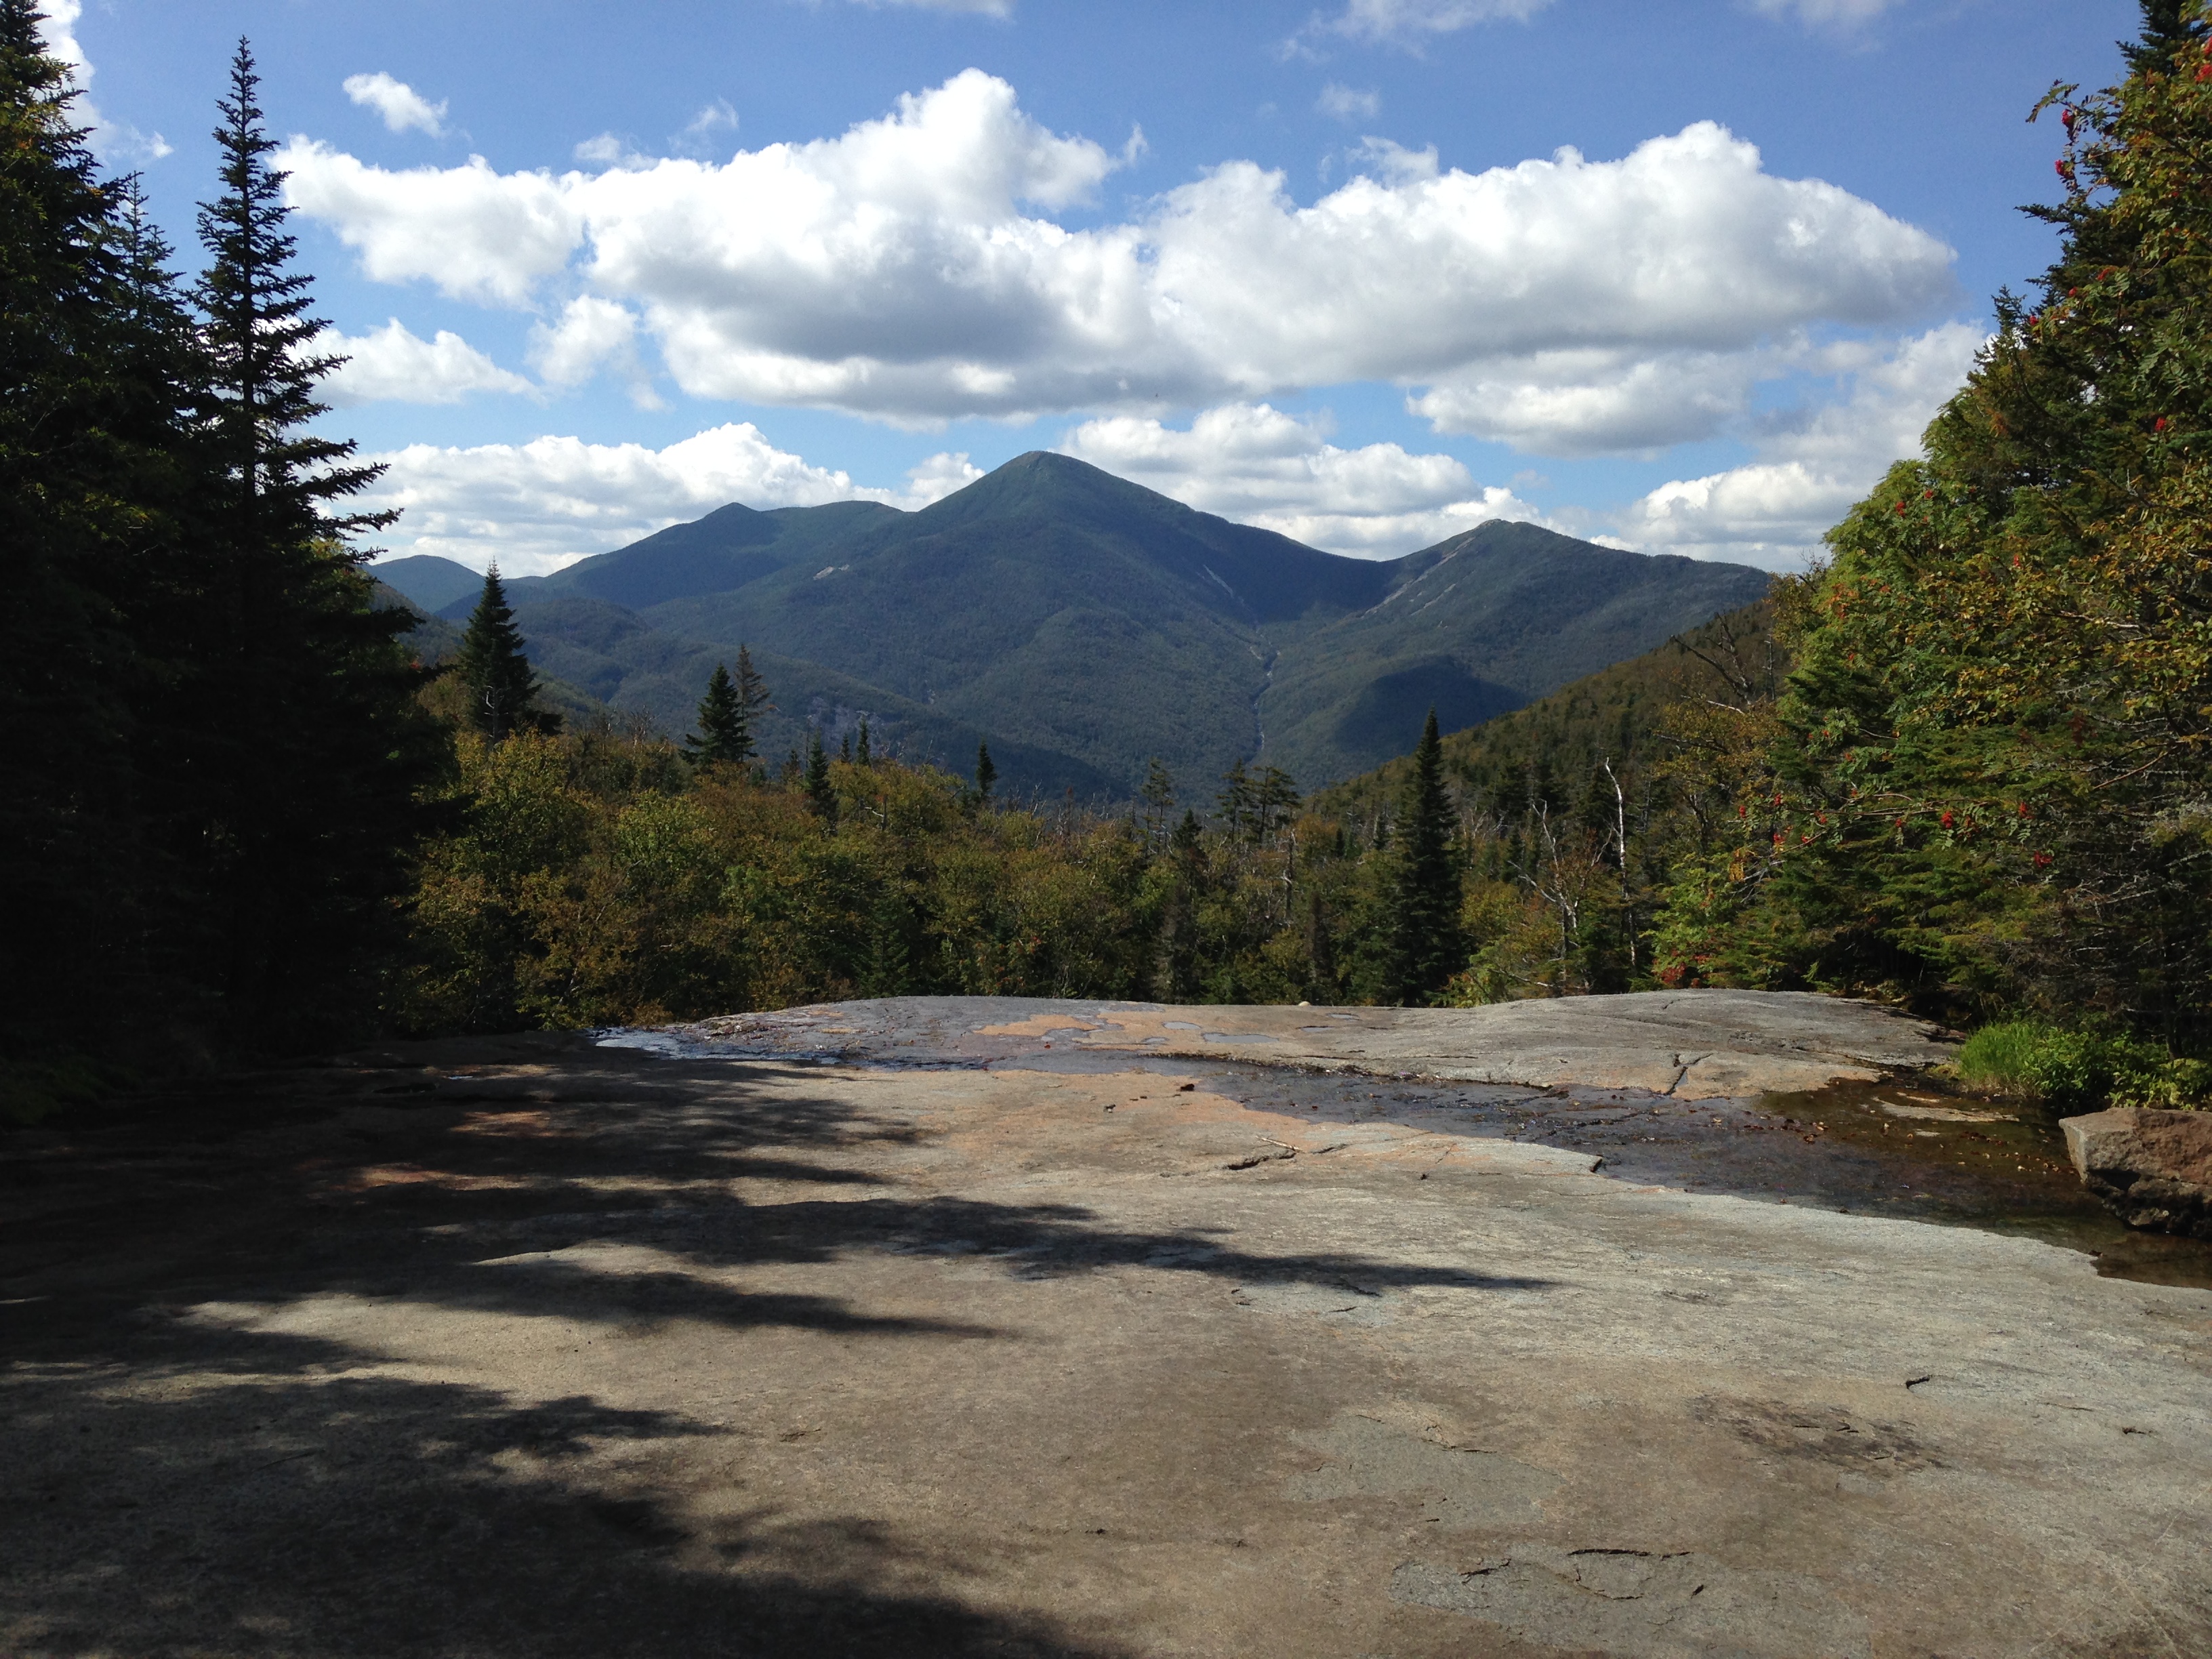
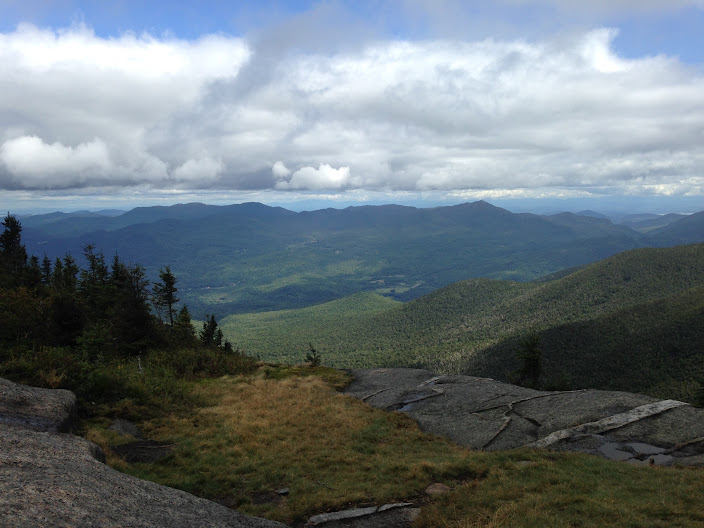
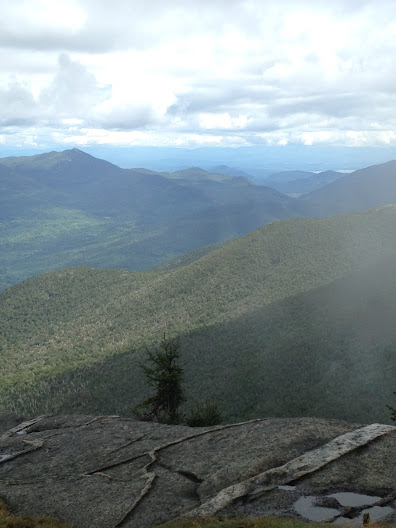
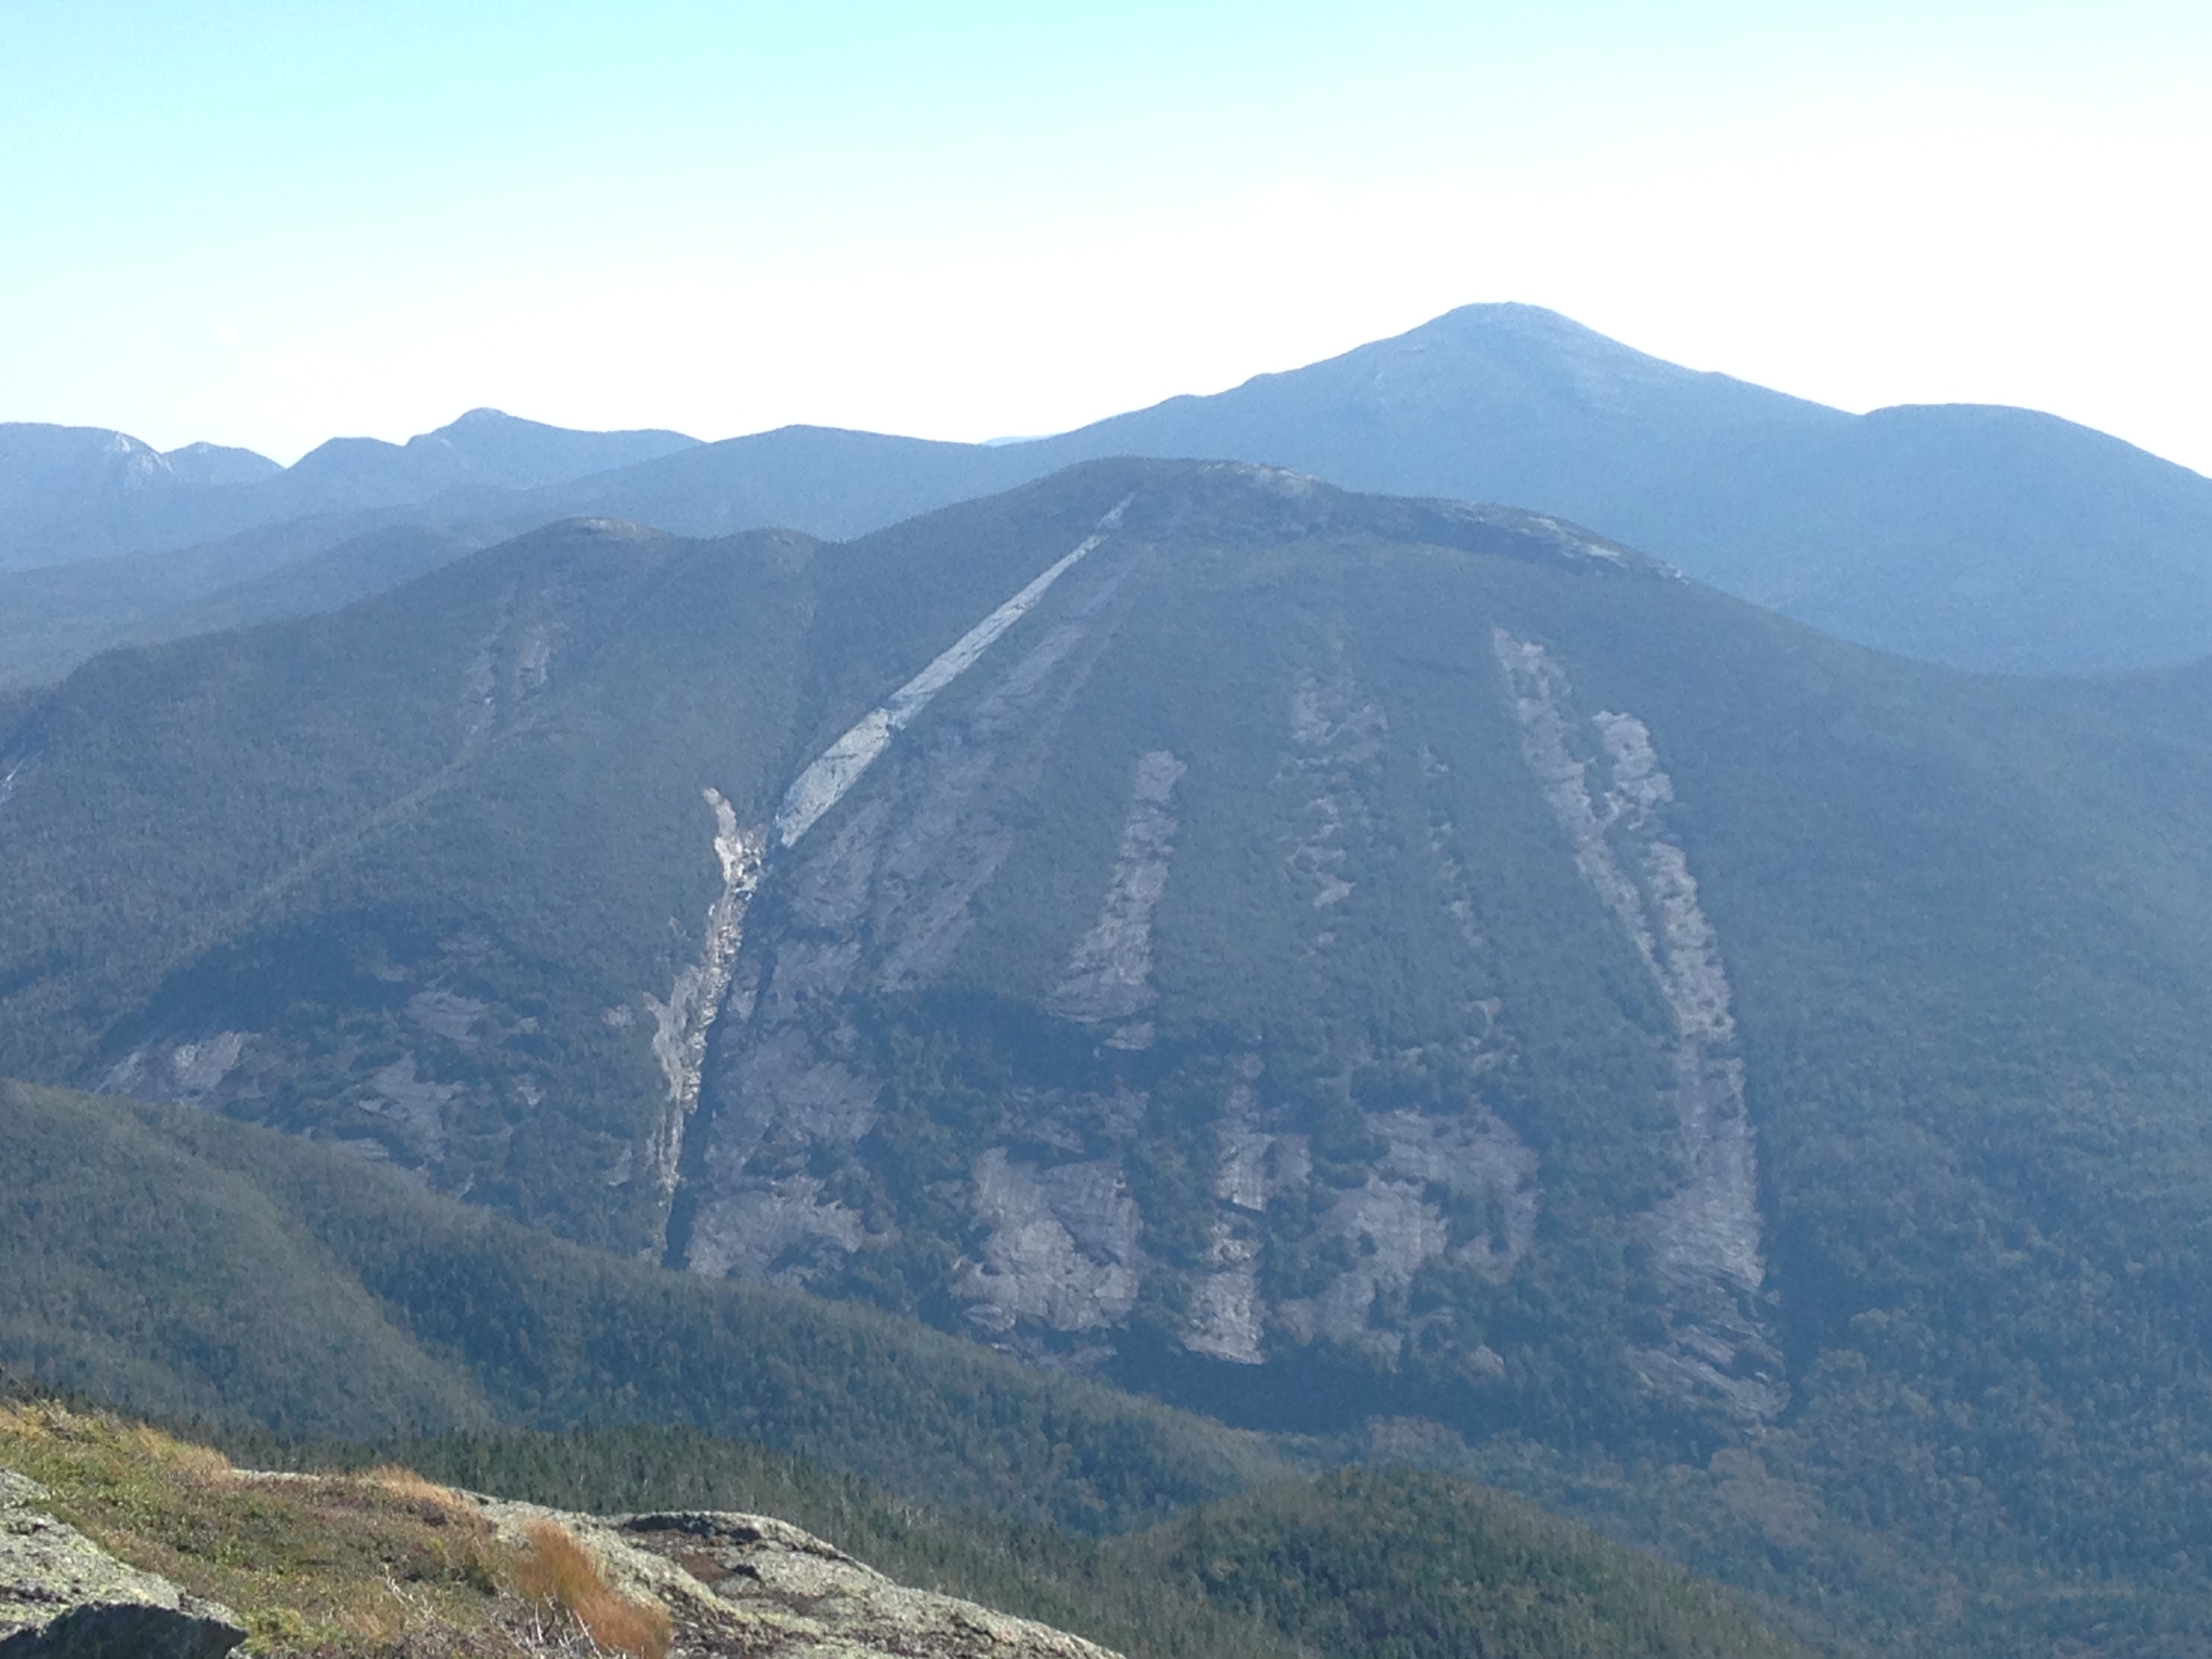
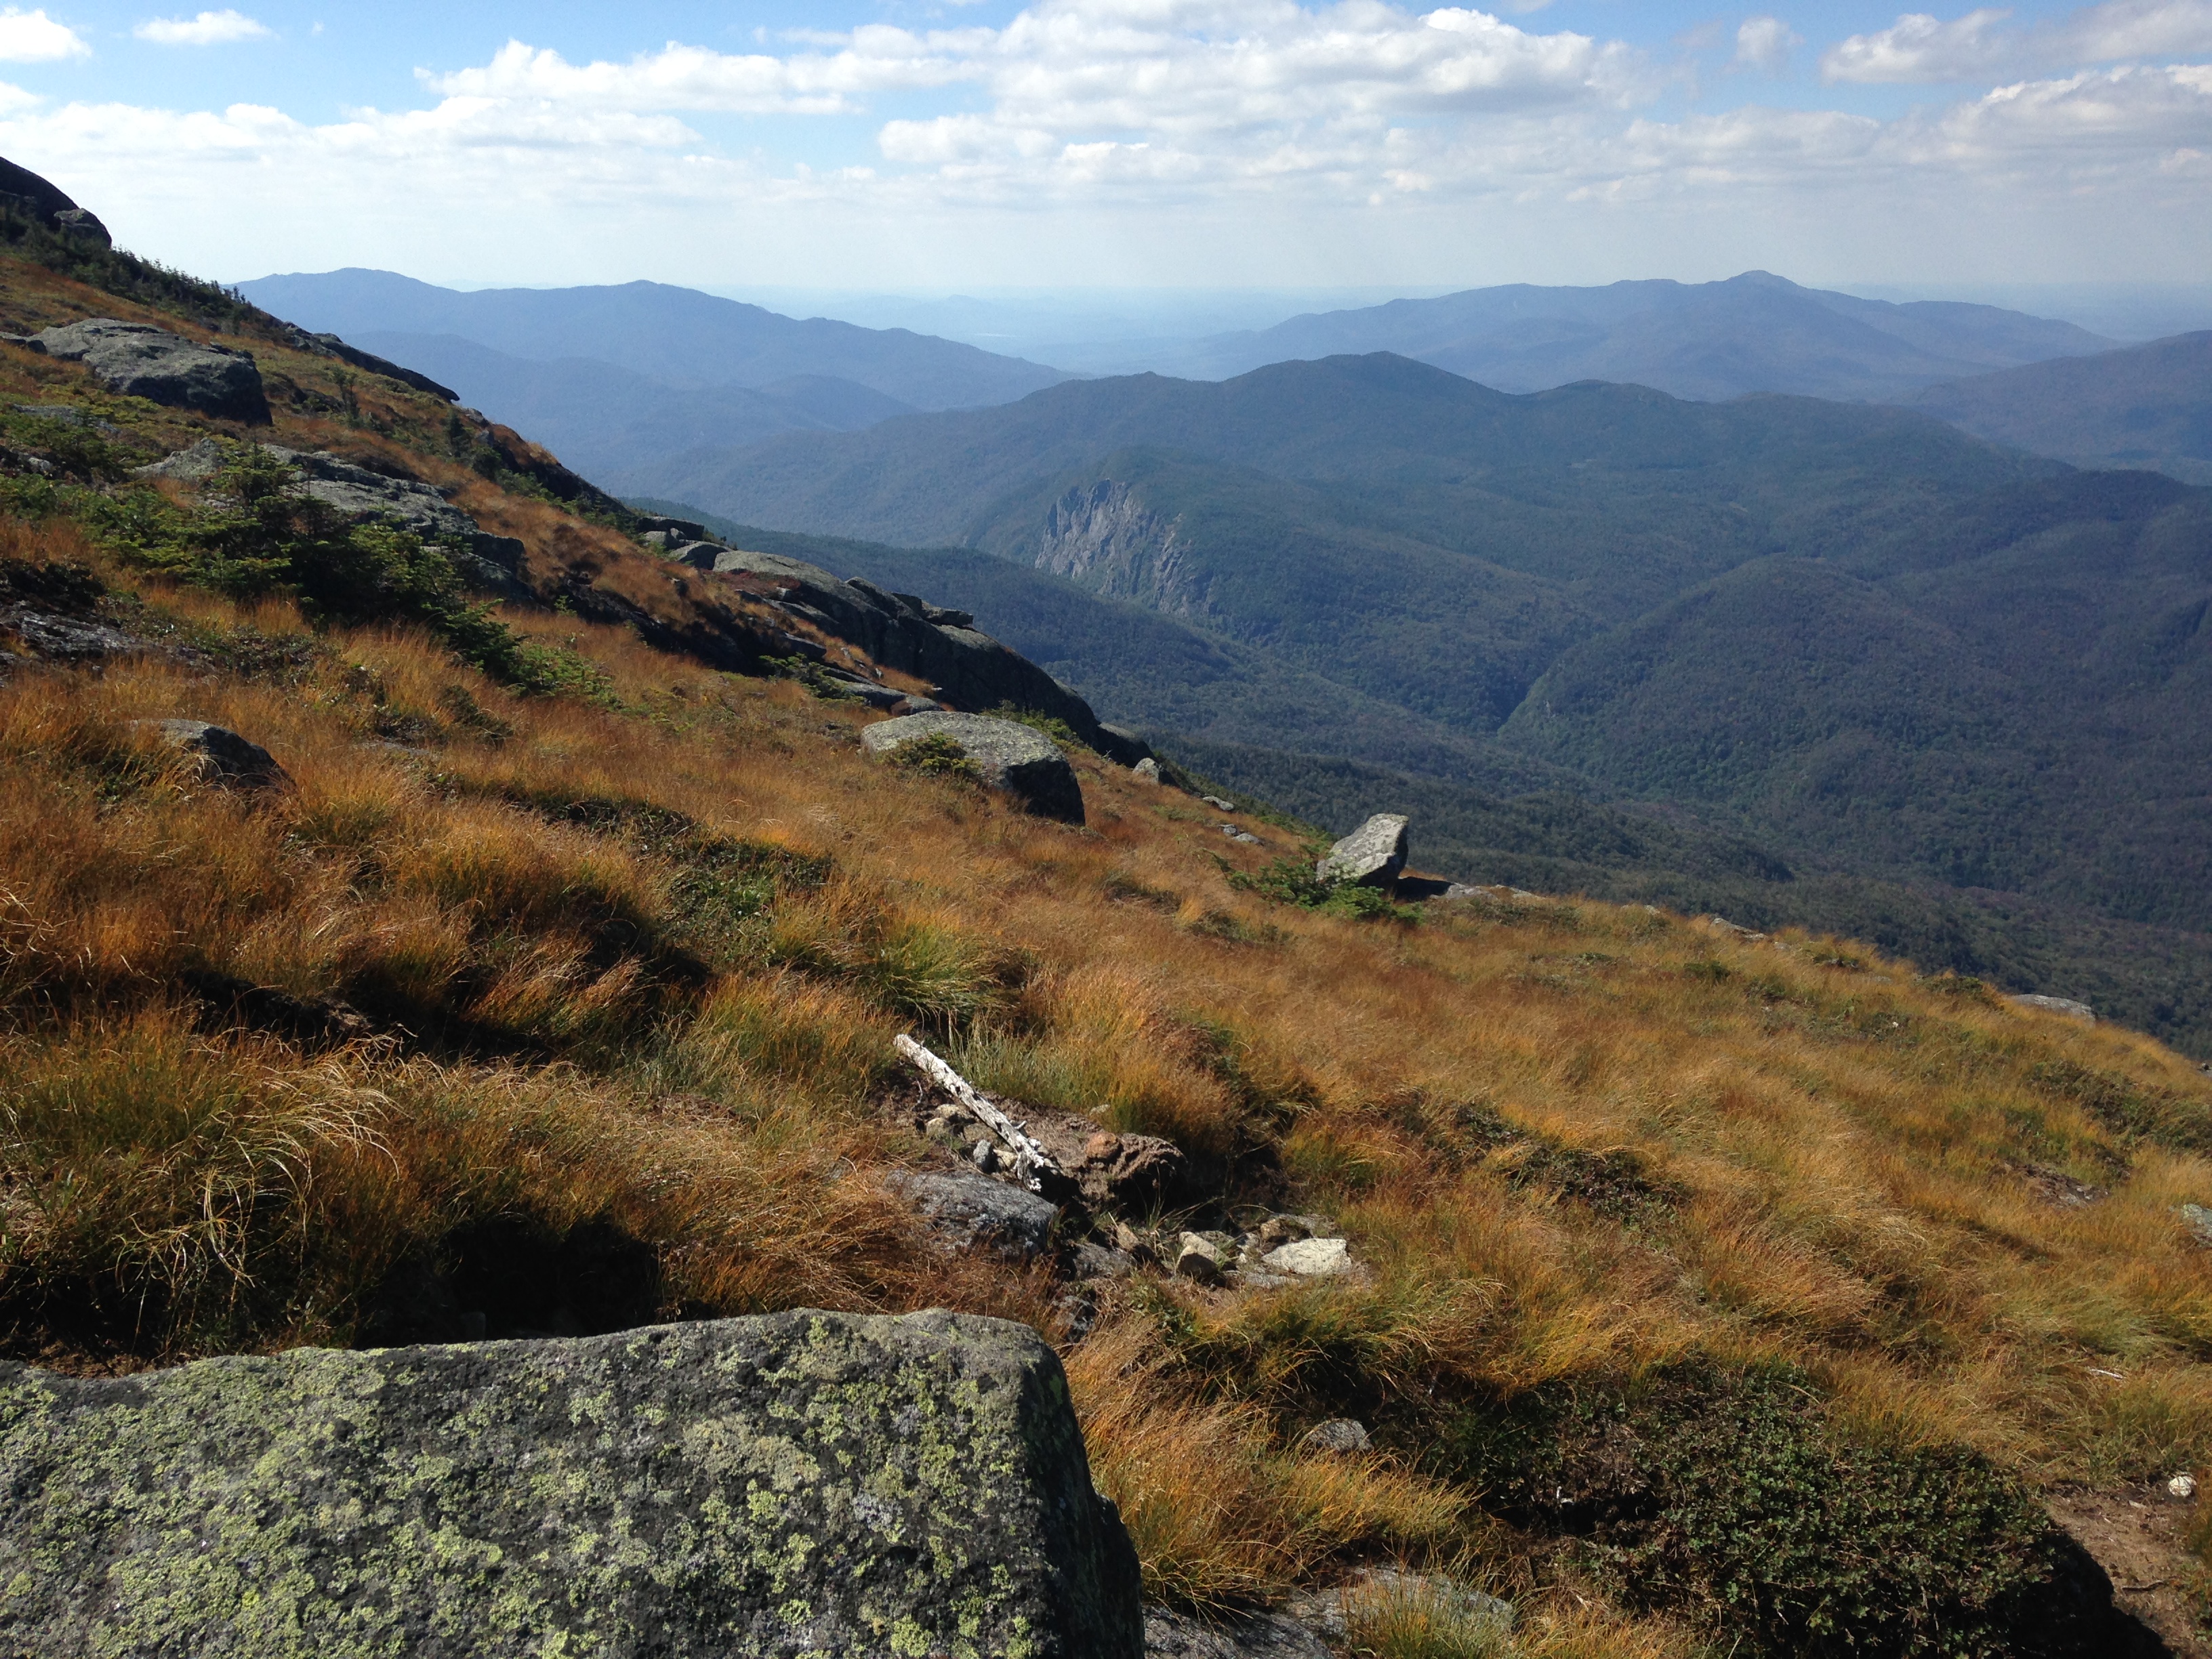
I had the mountain to myself for about twenty minutes while I had lunch and explored a bit. Again, there are views in every direction, including a great look at Mount Colden with its dramatic slides and New York’s tallest peak, Mount Marcy, over its shoulder.

IMG_1844


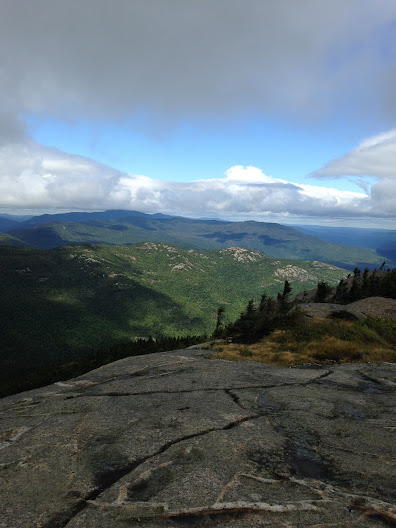
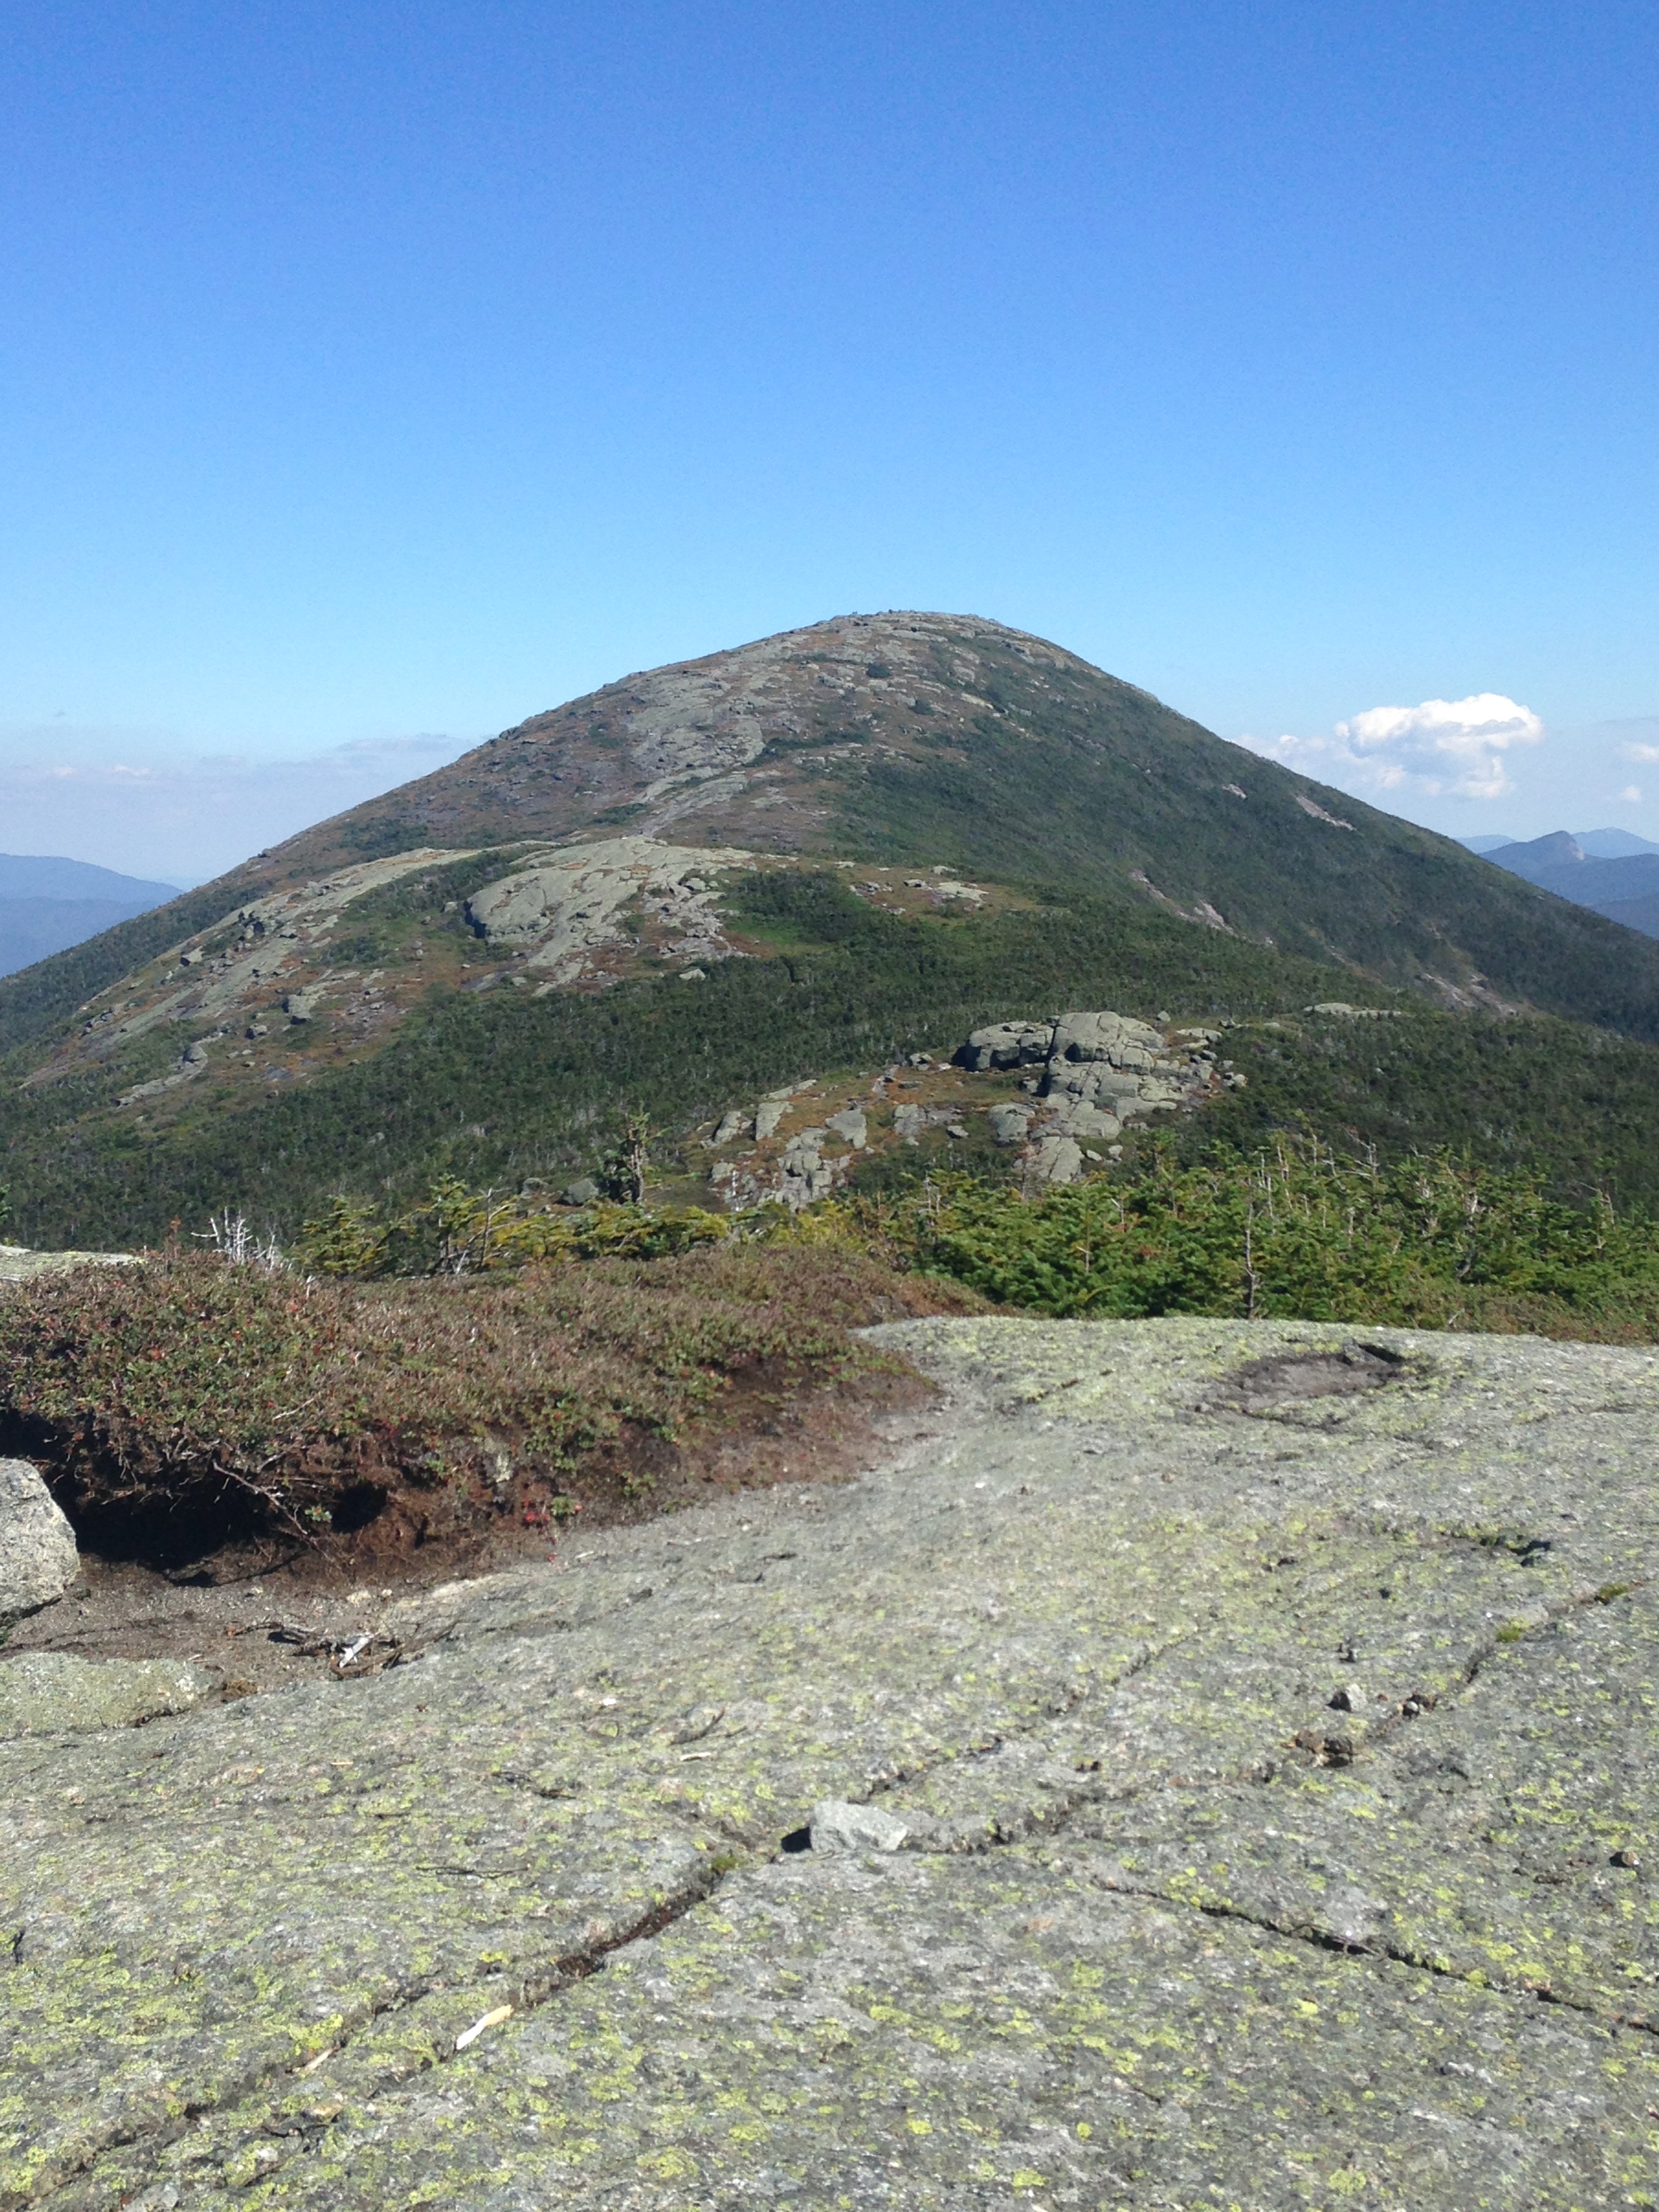
There’s also a nice view looking back at Algonquin, which reminded me that I’d have to climb it again to return to my car.

IMG_1845


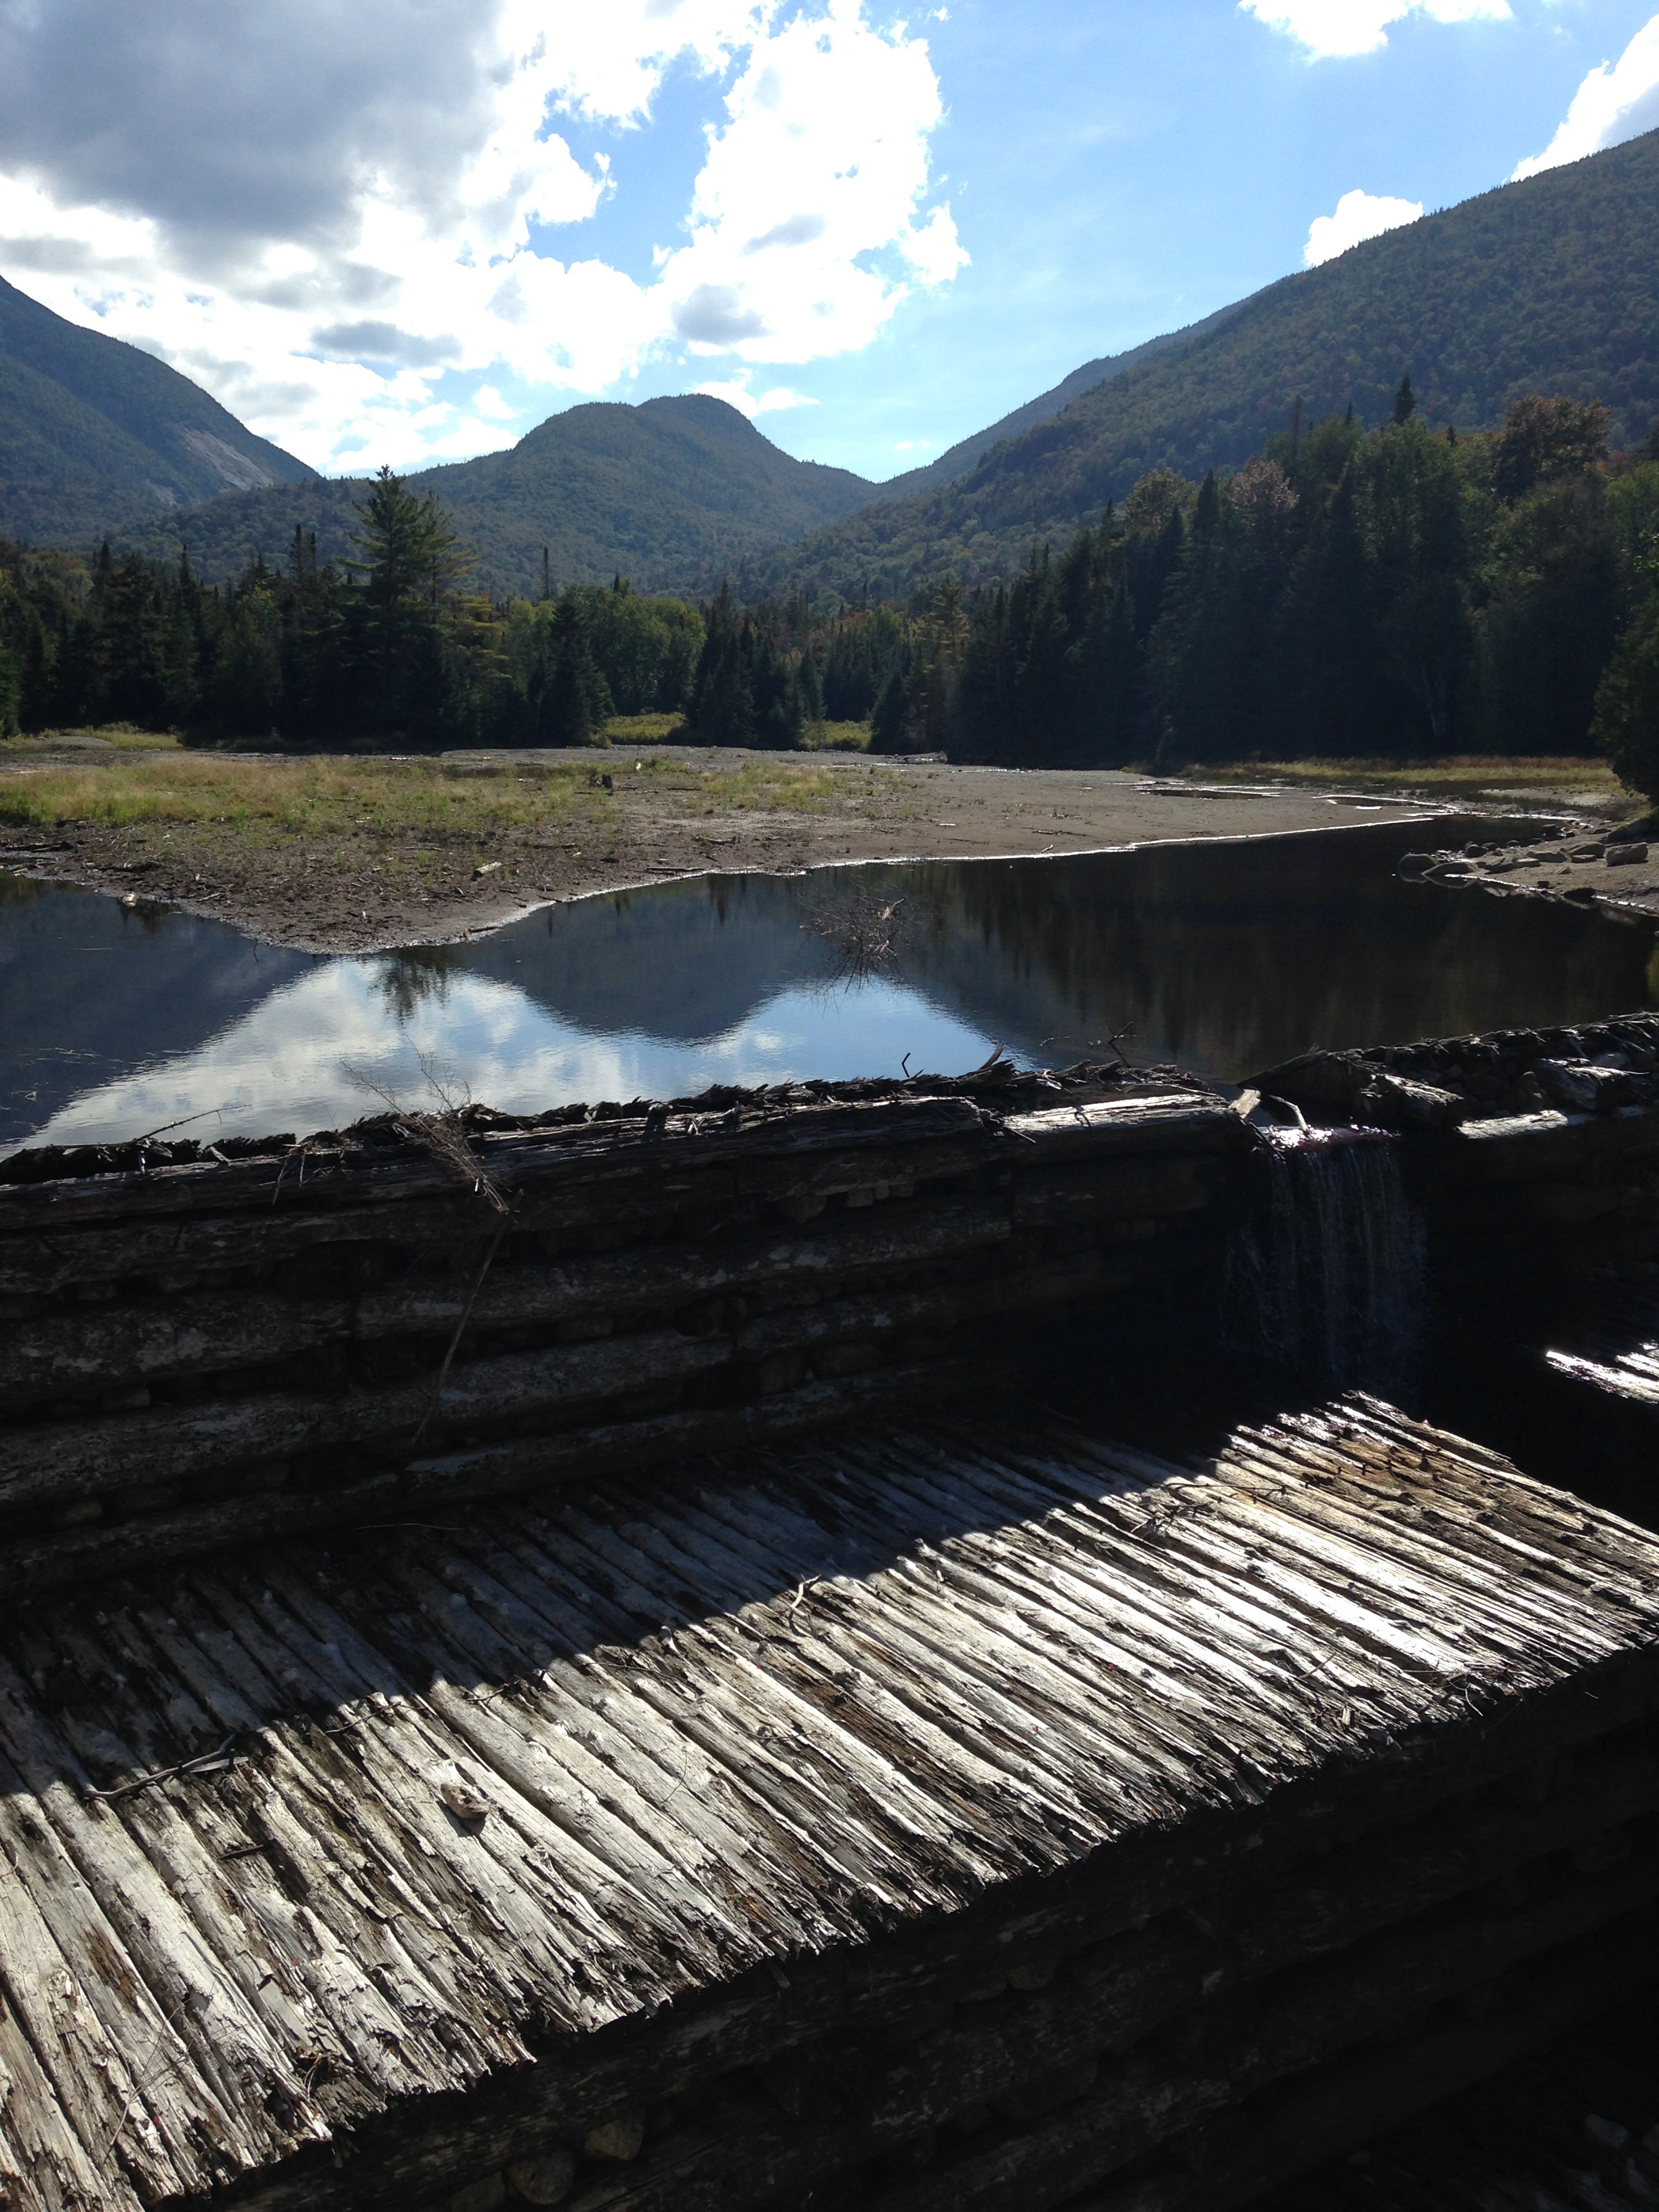
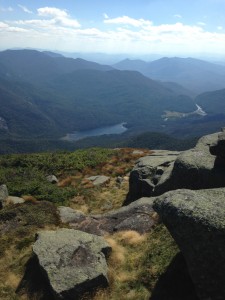
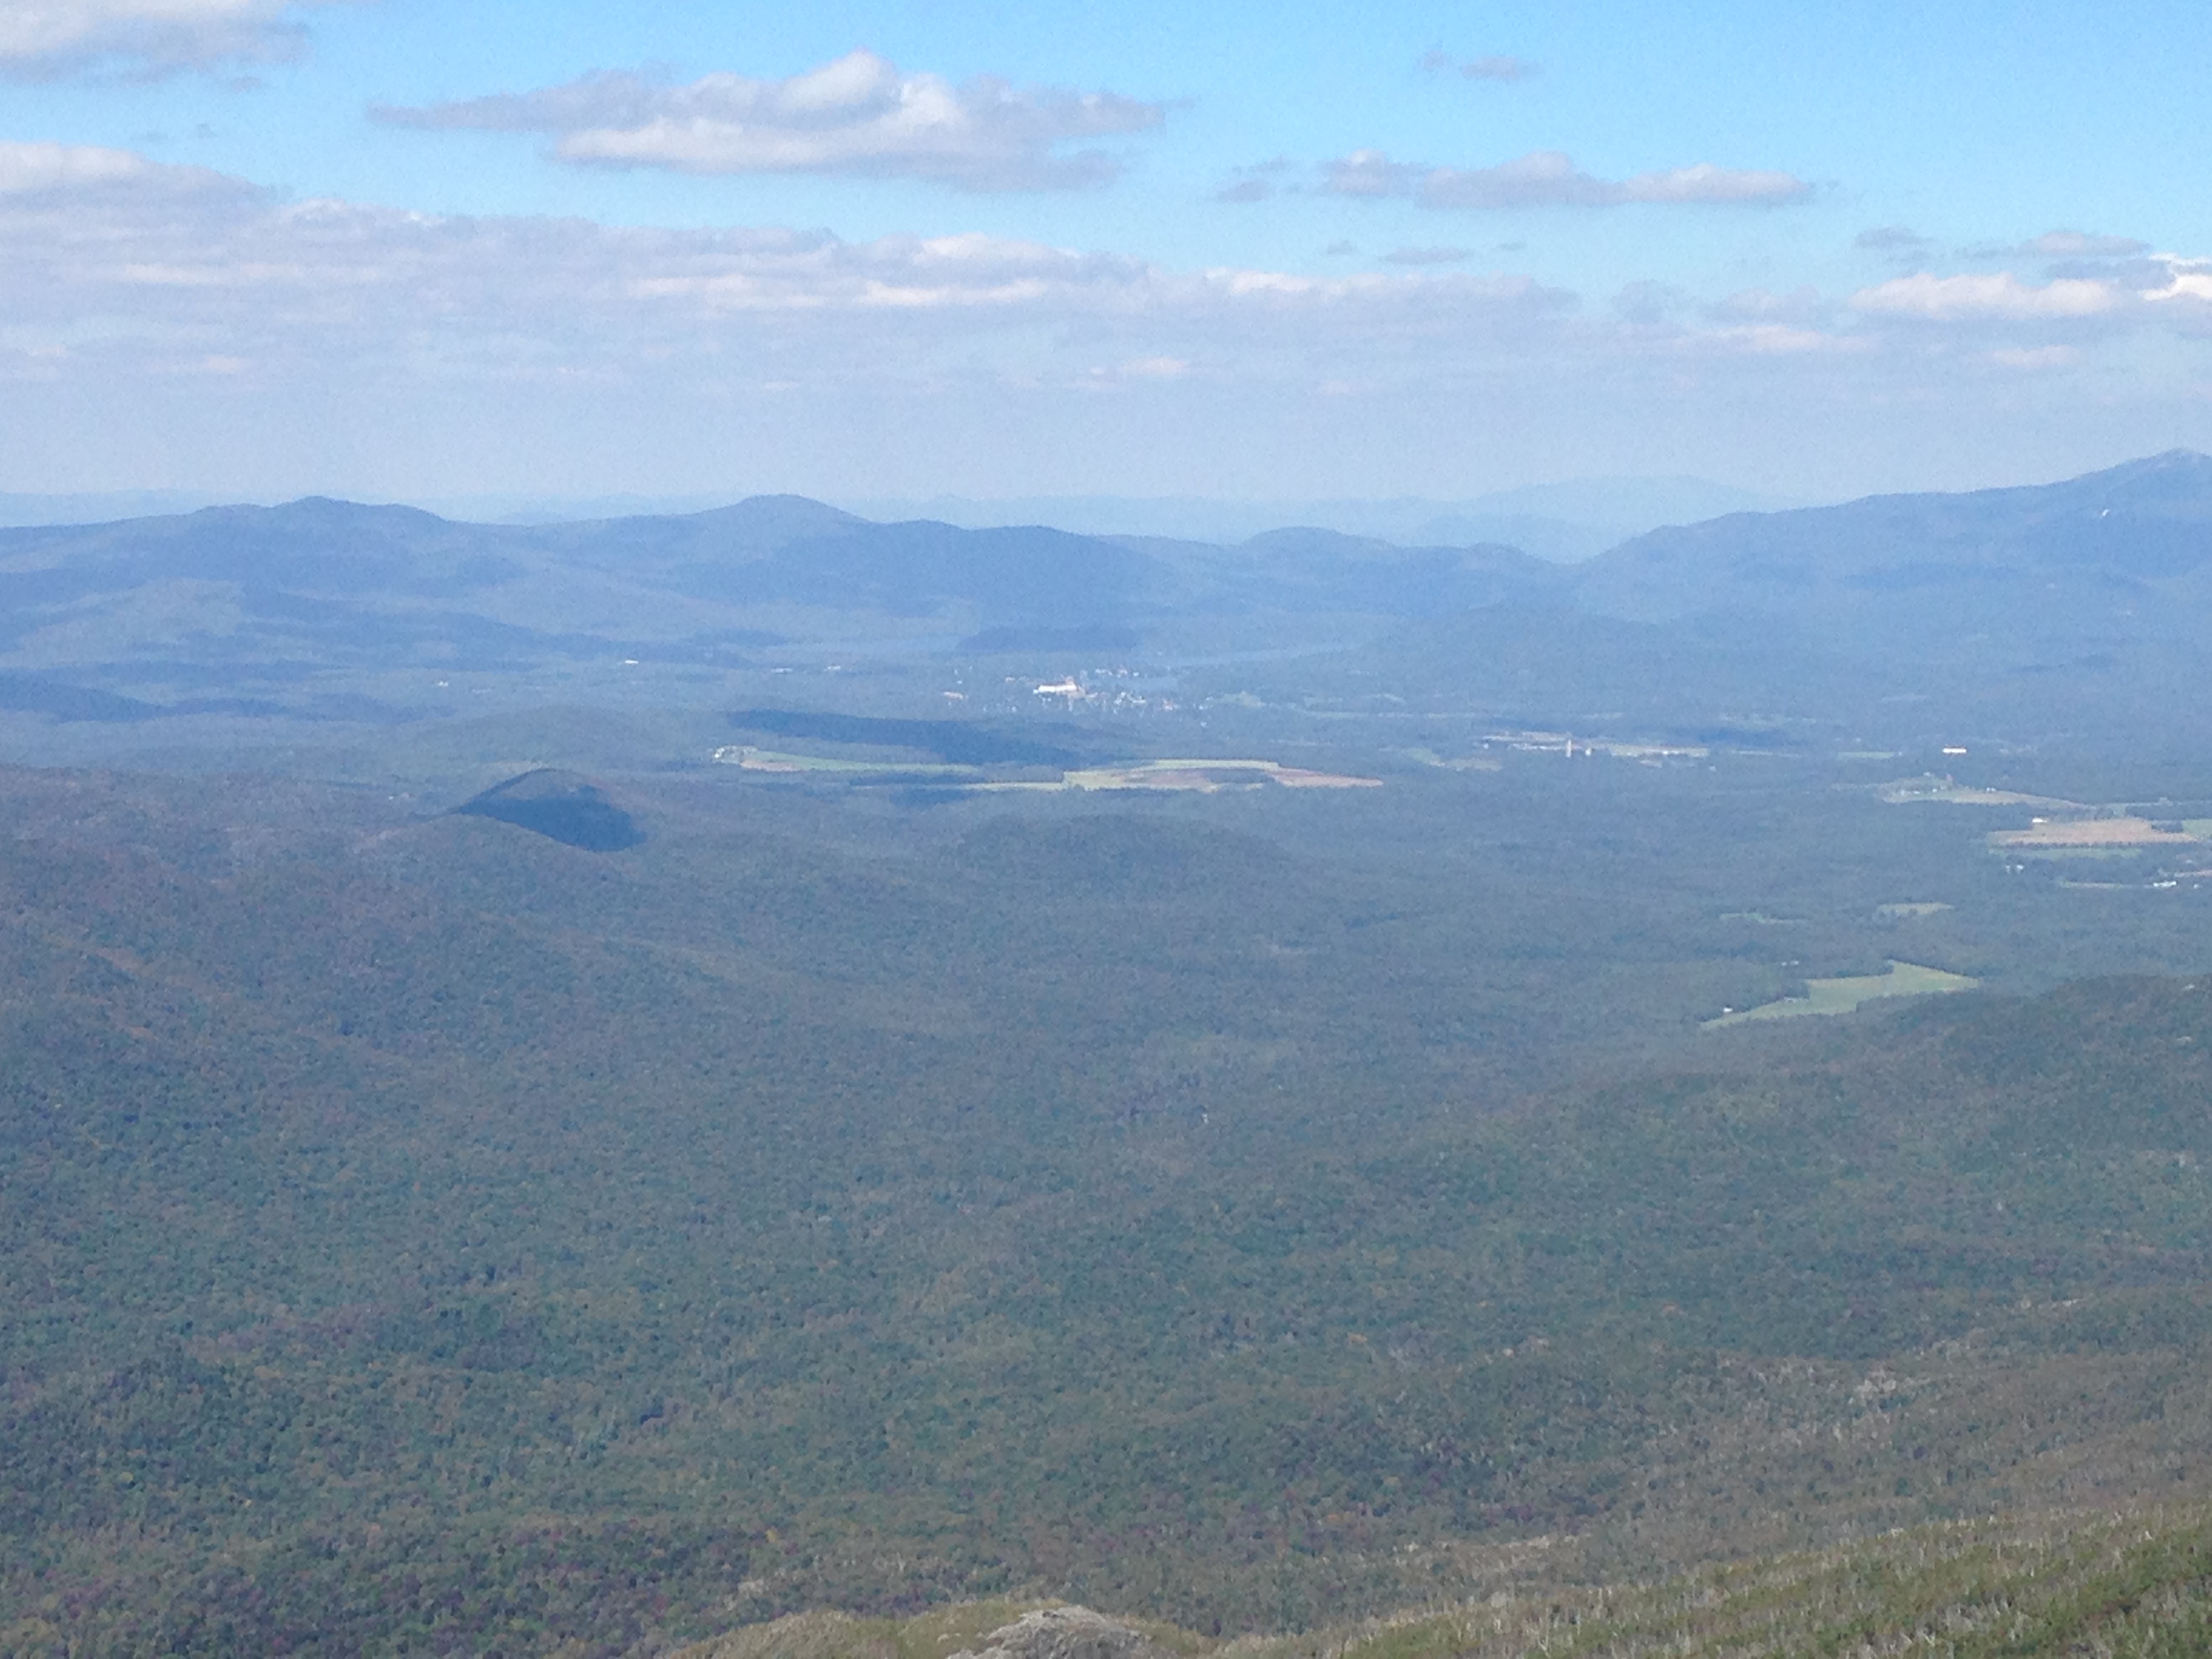
The hike back took about 50 minutes, and after a short trail mix break, I started climbing down Algonquin. The hike down took longer than I might have, because I couldn’t stop taking pictures. Here’s a look at Avalanche Lake and the Flowed Lands from Algonquin.

IMG_1864

This photo shows rocky Wright Peak, which I climbed a few weeks ago. It felt so much taller then!

IMG_1807


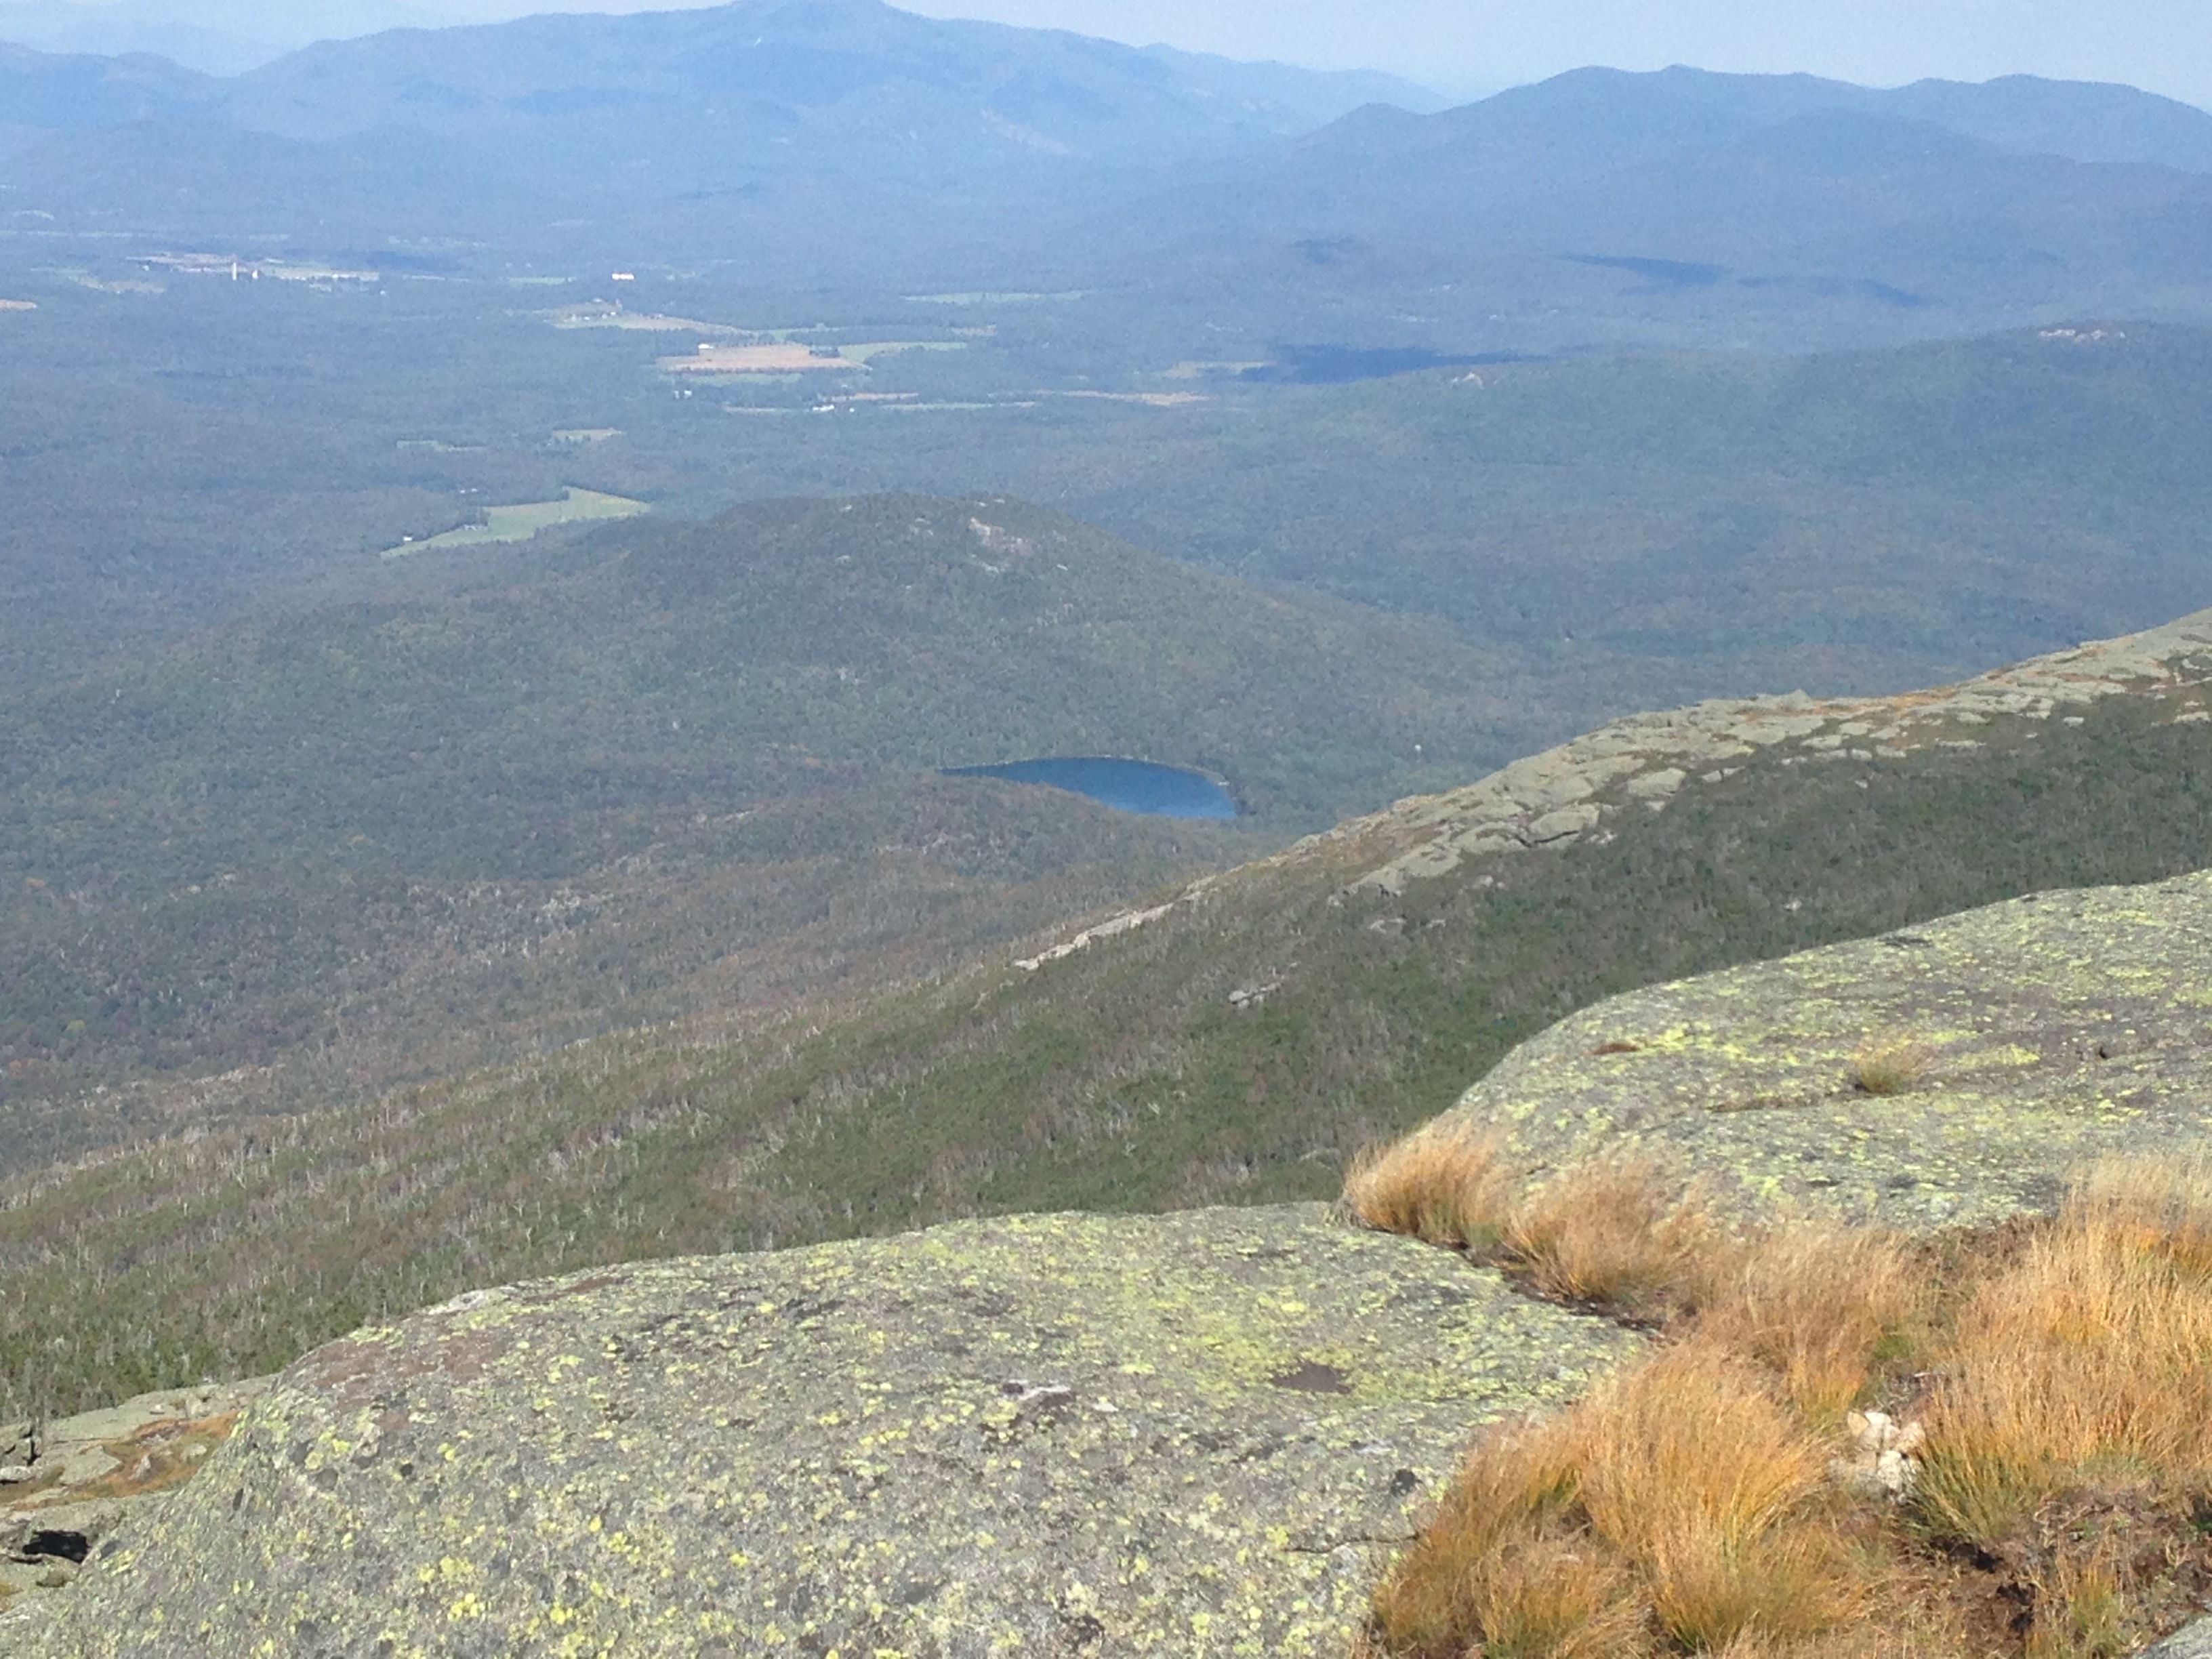
Here’s a look at Heart Lake, and behind it is Mount Jo, which also felt really tall when I climbed it for the first time. I couldn’t believe how tiny it looked from Algonquin.

IMG_1870IMG_1871


IMG_1866


It was tough to say goodbye to these views and go back into the trees, but the promise of cold water at the falls made it easier. I hiked down, took a quick break to filter water, and made it back to the Adirondack Loj at 4:25 – just about 7 hours and 45 minutes after I started out. The trip up Algonquin & Iroquois  ended up being about 11 miles RT – not my longest Adirondack hike to date but the toughest and the prettiest, for sure.


IMG_1838


46 High Peaks: Phelps and Tabletop 9.11.15

I took advantage of a beautiful September Friday to hike my fifth and sixth Adirondack High Peaks, Phelps and Tabletop.I signed in at the Adirondack Loj trailhead at 8:25am and started the hike with an easy and pretty 2.1 mile walk through the woods to Marcy Dam.

IMG_1652

IMG_1653

IMG_1725


IMG_1655


After Marcy Dam, the trail to Phelps follows the Van Hoevenberg Trail for a while. I knew I’d turn that way, but I always like to stop and read the signs anyway. It’s fun to think about where the next adventure might lead. I’ve heard that Avalanche Lake is stunning, so I have my eye on that for a future fall hike.

IMG_1656


It’s just over a mile from Marcy Dam to the trail that starts up Phelps Mountain, and the hike is a beautiful one that meanders along Phelps Brook much of the way. Then the climbing begins for the last mile up Phelps.

IMG_1664


IMG_1666


This climb was steep, but it didn’t feel as difficult to me as the first mile up Esther Mountain, where the loose, rocky trail goes pretty much straight up Marble Mountain for the first mile. On Phelps, I had the summit all to myself for about twenty minutes – a rare gift in the high peaks in the popular fall hiking season.


IMG_1677


IMG_1689


After a short break, I headed back down. Pretty soon, the sound of the brook let me know I was almost back at the Van Hoevenberg Trail. There’s a really cool tree near the Phelps junction.

IMG_1719


Since I’d made pretty good time, I decided to tackle Tabletop as well. This is an unmarked, unmaintained herd path, and many of the older books and trip reports make a point of saying that there’s no sign – just a marker for a ski trail, so I ended up turning off the Van Hoevenberg Trail before I should have, onto a ski trail. It got me to the summit eventually, but with more mud & blood than the people who’d gone on the real herd path. If you’re climbing Tabletop, you should actually turn right at this junction in the trail, instead of going straight under that birch tree onto the ski trail that leads off to the left.

IMG_1717


If you turn left, the “trail” is not much of a trail, though it does eventually meet up with the herd path.


IMG_1701

The photo below shows where I should have turned after staying on the VH trail a bit longer. As you can see, there is a sign that shows where to turn onto the herd path now.

IMG_1716

The real herd path, which I met up with eventually, is much cleaner than the ski trail, though it’s still muddy and full of gnarly roots. The summit of Tabletop is wooded, but there’s a marker and a bit of a view through the trees.

IMG_1707


IMG_1704


After I made my way down Tabletop, I took a quick side trip to Indian Falls to filter some water and enjoy the view of the MacIntyre Range.

IMG_1712

IMG_1713


I took one last break to admire the view from Marcy Dam and made it back to the Loj at 4pm, just about 7.5 hours after I’d started out. The hike ended up being about 14 miles RT, but much of that was over fairly level ground, getting out to the two peaks. All in all, another beautiful September day in the Adirondacks!

IMG_1724

46 High Peaks: Esther Mountain 9.7.15

I tackled my first trailless Adirondack High Peak today! Esther Mountain is one that I’ve seen on the drive to Lake Placid hundreds of times, but somehow, I never paid it much attention with its busier neighbor, Whiteface, right there to the left.

photo 4 (24)


One thing I’ve learned from reading guide books & others’ trip reports is that the “trailless” peaks aren’t just vast wilderness. The herd path up Esther Mountain looked a whole lot like a trail to me – just without the signs and trail markers, so it was more important than usual to pay attention and carry a map and compass. The only time I had difficulty with this trail was at the very beginning, in part because my guide book made such a point to talk about how the trailhead isn’t marked – not at all. So when I got to the parking area near the Atmospheric Research Center in Wilmington and found this, I was perplexed.

photo 5 (22)


There’s a simple sign there now, pointing hikers in the right direction, down the trail into the woods. After a short hike, that trail opens up to a dirt road that my book hadn’t mentioned. photo 1 (42)

The right path leads back up to the research building, so I went left and found another left turn into the woods, flagged with an orange marker. I could see down the trail that additional blue markers identified it as a snowmobile path. I thought maybe this was another new “unmarked trail” development – like the sign on the bench – so I turned down this snowmobile path and hiked about half a mile before I figured out it was wrong and turned back.  If you are climbing Esther Mountain, you should not go this way. 🙂

photo 2 (44)


Instead, you’ll want to continue along the dirt road. This goes to the base of Marble Mountain, which was a ski area a long time ago, before the days of Whiteface Mountain and ORDA. Here’s an interesting article about that history. 

If you’re going the right way, you’ll see this:

photo 3 (38)


And then this:

photo 2 (45)


The right path is blocked off. The left path goes back to Wilmington. The middle path is the one that you want. It goes straight up Marble Mountain. My book described it as a long and steep. That part was right.

photo 1 (40)


This goes on for almost a mile, and it was my least favorite mile of the hike, both on the way up and on the way down (which makes it my least favorite two miles, I suppose). The rocks are loose and gravelly, so you have to be careful with your footing. I’d only brought one of my trekking poles and wished I’d brought them both.

At the end of this climb, the top of Marble Mountain has a lookout area with what I thought were the best views of the entire hike.

photo 2 (42)


After this lookout, the trail climbs just a little more before there’s a sign…

photo 1 (43)


…and then another fairly long and steep-but-not-super-steep climb. As a relative beginner in the High Peaks, I found this mountain to be kind of challenging because of the loose gravel, but there were no real rock scrambles or climbs like the walls on Wright, which I did last week. Esther just felt long sometimes. But even though there weren’t waterfalls or stream crossings to break it up, there were cool red mushrooms and friendly toads.

photo 5 (21)

photo 3 (39)


photo 4 (23)


Eventually, the trail climbs up to a junction where one path goes straight to continue on to the Whiteface summit and the other turns right to climb Esther Mountain. This junction is marked with a big heap of rocks in the middle of the trail, so it’s pretty hard to miss. There’s a sign now, too.

photo 2 (47)

photo 1 (45)


For an unmarked, unmaintained trail, this was fairly easy to follow.

photo 5 (23)

The trail gets narrow at times, which means some scratchy, grabby tree branches may snatch your reading glasses off your head if you tend to wear them as a permanent accessory like I do. But it’s a pretty walk through interesting woods that change as you climb and then descend into a boggy area between Lookout Mountain and Esther.

photo 2 (43)

photo 1 (41)

photo 4 (26)


The opening in this tiny shed is less than two feet tall. Shelter for gnomes or fairies? Actually, I think it may have been an old emergency toboggan shed for mountain rescues.


photo 3 (40)


Esther Mountain has a small false summit with a view that’s a little better than the glimpse of Whiteface you see at the real summit. It’s cloudy, but you get the idea…


photo (34)


After a few quick photos, I continued on to the summit, which I had been warned would be anticlimactic. It was.

photo 2 (46)


There were no sweeping views like I enjoyed on Wright and Cascade, but there’s a plaque here with a great story about how this mountain got its name.

photo 1 (44) photo 5 (20)

Actually, Esther McComb is believed to have made the first recorded ascent of this peak not “for the sheer joy of climbing” but kind of by accident. As the story goes, she was trying to climb nearby Whiteface, got lost, and ended up on this other mountain instead. I wish the plaque included this part of the story. I chose this mountain today because of Esther, and I especially love the story of her mistake. As a writer, I can relate to climbing and climbing in one direction, only to find myself somewhere else at the end of the day.


46 High Peaks: Wright Peak 9/3/15

After hiking Cascade and Porter last week, I wanted to try a “next step” High Peak, and the friendly, smart people on the Aspiring 46ers Facebook group suggested that Phelps, Wright, or Big Slide might be good options. My friend Sandy and I settled on Wright and set out on the trail after lunch yesterday, hoping that a forecast for clearing skies as the day went on might let us stay dry and catch a slightly better view at the top.

The trail starts out at Adirondack Loj, where we were happy to find plenty of parking, since the holiday weekend hadn’t officially started yet. We started off through the woods on the Van Hoevenberg trail toward Marcy Dam. After almost a mile, the trail to Wright Peak and Algonquin diverges and goes on a while longer before it starts to get steeper.

photo 3 (34)

We were watching for the left turn to the Wright Peak trail (the main trail continues on to Algonquin, which we’d planned to save for another day) and worried we might have missed it, but two summit stewards on their way down the mountain assured us it was up ahead. They reminded us to stay on bare rock at the summit to protect the fragile alpine vegetation, which is truly lovely and has made a great recovery in recent years, thanks to raised awareness. We found the trail junction, hiked a bit more, and after a steep rock scramble, started the last push to the summit.


  photo 5 (19)

photo 1 (39)

While not super-challenging in the world of the High Peaks, this is the steepest mountain I’ve climbed so far. It was exhilarating and a little scary to be climbing on bare rock above the tree line, and we enjoyed the cooler breeze on this last push. This summit was High Peak #3 for me, and the first for Sandy, or maybe the second. (She’s not sure if she climbed Cascade once a long time ago.)

photo 2 (39)photo 1 (37)

The summit was cloudy, but there were some fleeting glimpses of neighboring Algonquin.

photo 3 (32)

After a little time at the summit, we hiked down through the rocks to see the wreckage of a B-47 bomber that crashed here during a training mission in 1962. 

photo 4 (20)

It was after four, and we knew we had a steep climb down, so we didn’t take as much time as we might have to explore the top of the mountain before heading back down into the clouds.

photo 2 (41)

When we got closer to the Loj, we saw these cool mushroomy, fungusy looking things growing among the conifers. I’d seen them on an earlier hike here and found out this is actually a parasitic plant called Monotropa uniflora, also called ghost plant, or Indian pipe. It’s not green because it doesn’t have chlorophyll, which other plants need to make food. Instead, this plant steals food from the roots of nearby trees. 

       photo 1 (38)photo 2 (40)

We made it back to the Adirondack Loj at about quarter after seven, just about six hours after we’d set out. I learned two things on this hike – first, that I think I prefer getting an earlier start to the day so there’s less clock-watching at the summit and on the way back. And second, I learned that I like to hike with trekking poles. Sandy had brought an extra pair for me to try, and they really made a difference, especially on the way down, so I’m going to shop around for a pair soon.

Already looking forward to the next peak!

46 High Peaks: Cascade & Porter 8.27.15

Each New Year’s Eve, my family tapes a big sheet of paper to the sliding glass doors in the living room with the words “In (year), I want to…” at the top. Throughout the night, we all add things to the list. Some are personal goals. Some are hopes. Some are small joys. There are no rules, really. The list stays there all year and reminds us of the things we say we want but don’t always make time to do. This year, one of the things I added to that list was “Climb a High Peak.”  I’d climbed smaller Adirondack mountains – Poke-o-Moonshine and Rattlesnake are family favorites – but wasn’t sure I was ready for the longer, tougher trails.

Last week, with summer drawing to a close and that 2015 hope still taped on the door, I decided it was time to give it a try. I set out on a morning that was a little shaky in the weather department but decided to go anyway. I figured that if I still enjoyed climbing high peaks in the cloudy drizzle, I’d know that I wanted to do more.  My plan for the morning was to climb Cascade, which has an elevation of 4098 feet, with an ascent of 1940 feet, and then tackle Porter as a side trip if all went well. Cascade on its own is 4.8 miles RT, and the side trip up Porter adds 1.4 miles to the hike.

This is a climb that starts almost right away, after you enter the woods from the trailhead along Rt. 73 between Keene and Lake Placid. There are three small parking areas, and even though I arrived on the late side (around 10am) I was able to find a spot in the busy summer climbing season, probably because it was a cloudy weekday. And then I was off and climbing…

Approaching the summit, it became clear that today was not going to be one of those “million-dollar-view” days. I was essentially climbing into a cloud.

This was my first hike with so much climbing above the treeline – a new experience that I loved! The yellow hashes and some cairns mark the route, not only for ease of travel but also to keep hikers off fragile alpine vegetation. Here I am at the top of my first High Peak, after about an hour and fifteen minutes of climbing…

Stop laughing at my hair. It was drizzle-windy, and I forgot to bring a pony tail holder.

Given the lack of nice views, sunshine, and general warmth at the top of Cascade, I didn’t spend long at the summit. I found shelter behind a boulder, ate some grapes and a granola bar, drank some water, and headed back down to the junction with the trail for Porter.

This trail descends maybe three tenths of a mile before it starts climbing toward the second peak. It was muddier than the Cascade Trail. I met some people hiking this way with nice, clean sneakers and felt a little sad for their shoes.

I loved this tiny salamander. It’s an Eastern Red-Spotted Newt in the juvenile, or eft, stage.

On my way to Porter, I met another hiker who warned me that the summit isn’t all that obvious, so many people pass right by, thinking it’s a false summit. I was thankful for that information and paid attention to my GPS so I’d know when I was close to the end of the .7 mile trail. Happily, when I reached the small, rocky summit on my second High Peak, the clouds were starting to part just a bit.

While there’s much to be said for hiking on a gloriously clear day, it was also pretty amazing to see the clouds part, little by little, to reveal the surrounding mountains. I caught a glimpse of the Cascade summit and wondered if another climb up might yield a prettier view now that the skies were clearing. So I headed back through the mud to Cascade. Approach number two looked more promising…

When I reached the top, it felt like a whole different mountain. The Adirondacks are pretty amazing that way.

I had lunch at the summit (warmer this time!) and headed down to my car. All in all, the hike took about four hours with summit time, and I am officially in love with these high peaks. I’m hoping to do a few more before the summer/fall season ends, and I’m already dreaming about which mountains I’ll write on that paper taped to the wall for 2016.